
Introduction
This guide will run through the steps to waterproof a Hitec HS-646WP Servo.
This servo is advertised as being waterproof but it only has a IP67 rating which means at best it will only survive at 1m depth for 30 mins before taking on water.
We are achieving better water ingress protection by filling the servo with a dielectric silicone grease.
Tools
Parts
-
-
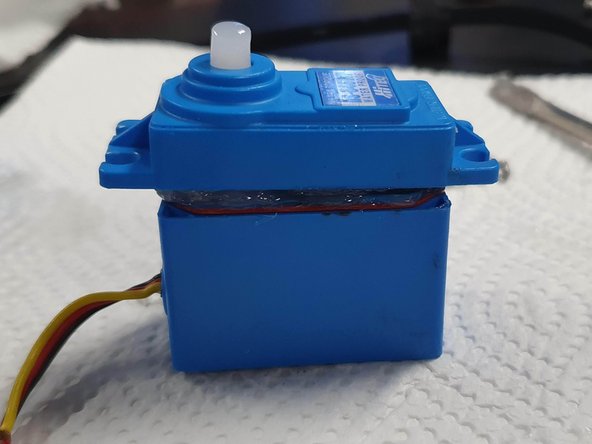
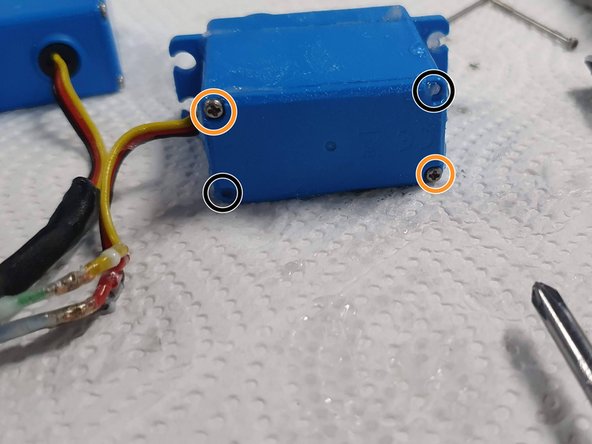
Locate the 4 screws on the bottom of the servo
-
Remove the 4 screws using the Phillips #1 Screwdriver
-
Remove the bottom plate with the screws from the servo and sit to one side.
-
-
-
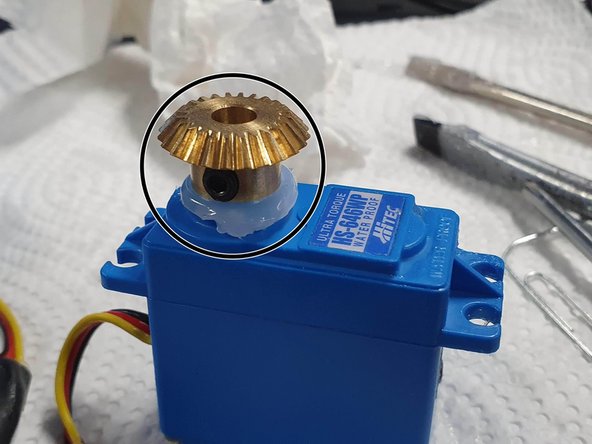
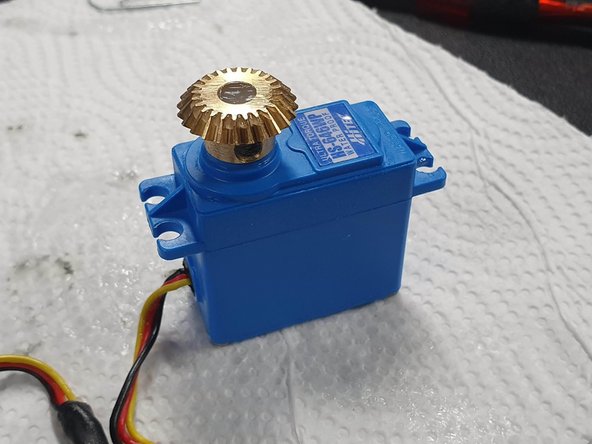
Ensure you have removed the servo horn or gear from the spline of the servo before attempting this step.
-
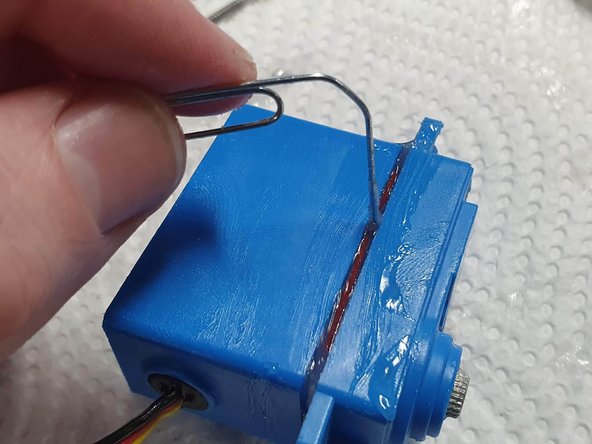
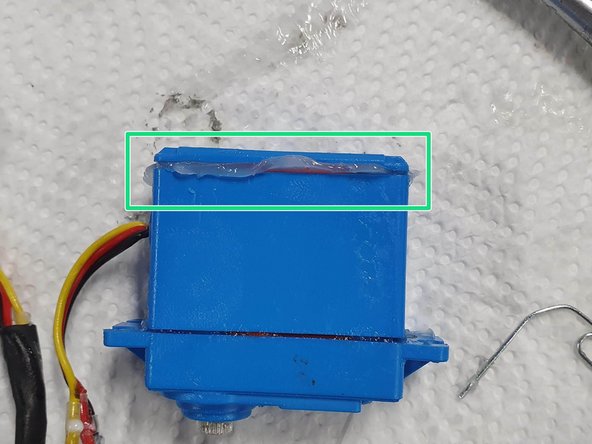
Pull the top cover of the servo away from the servo body to remove it.
-
When removing the top cover ensure the gears stay in place.
-
If any of the gears do get removed. Use the image as a reference of how they should be put back on.
-
-
-
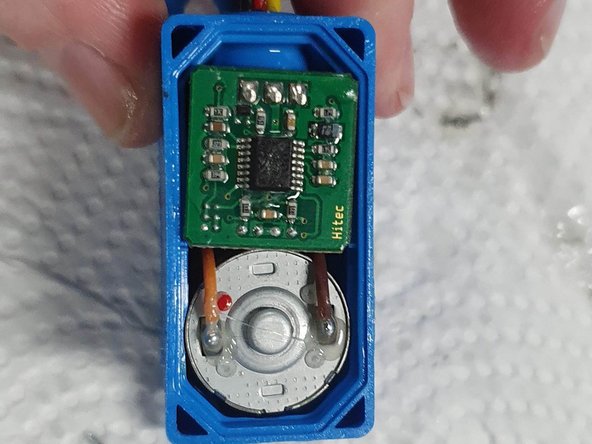
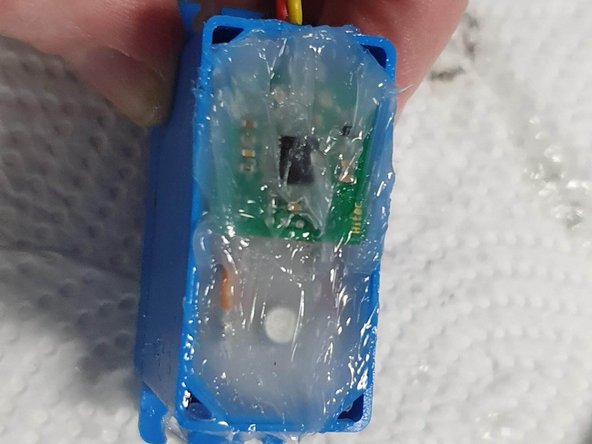
Turn the servo over to show the bottom where the motor and circuit board are.
-
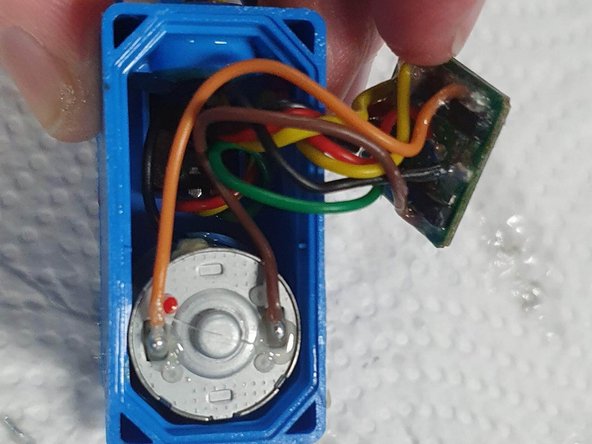
Carefully lift out the circuit board to reveal the space underneath it.
-
-
-
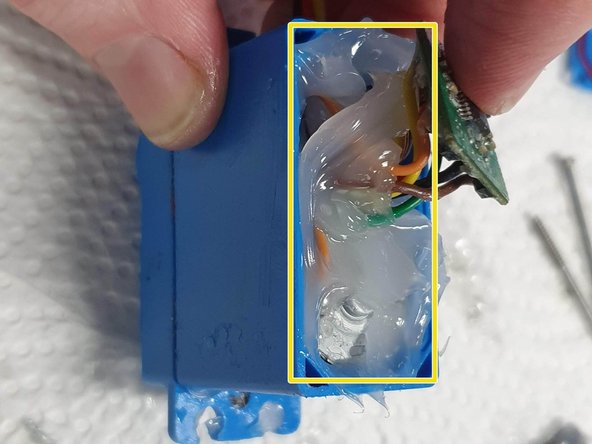
Fill the area underneath the circuit board with silicone grease.
-
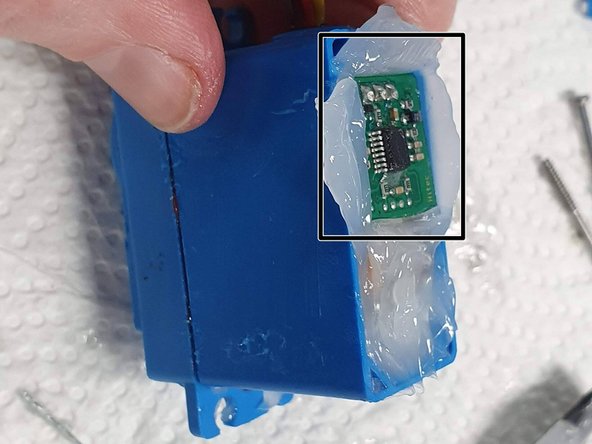
Carefully place the circuit board back into its original position.
-
Cover the top of the circuit board and motor with silicone grease
-
-
-
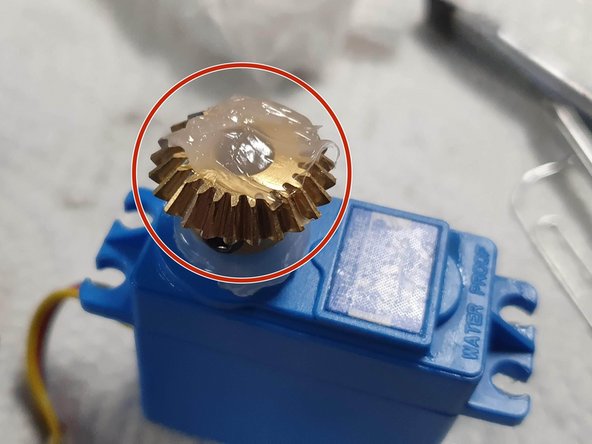
Fill under and around the gears with Silicone Grease
-
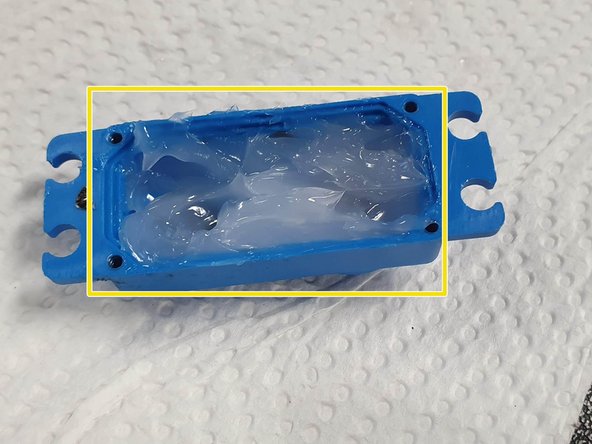
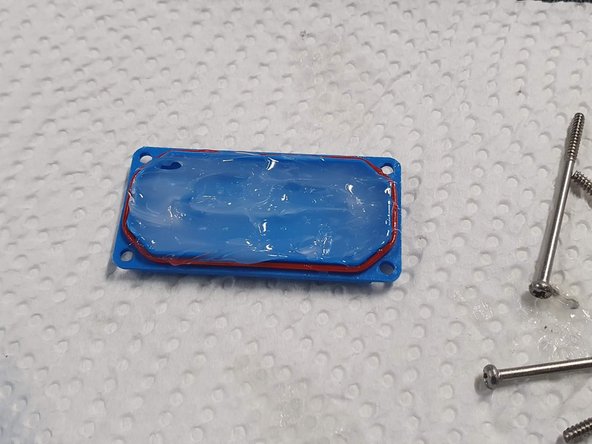
Fill the lid with Silicone Grease
-
-
-
Now that the Lid and gears have been filled/covered with silicone grease we can reinstall the lid
-
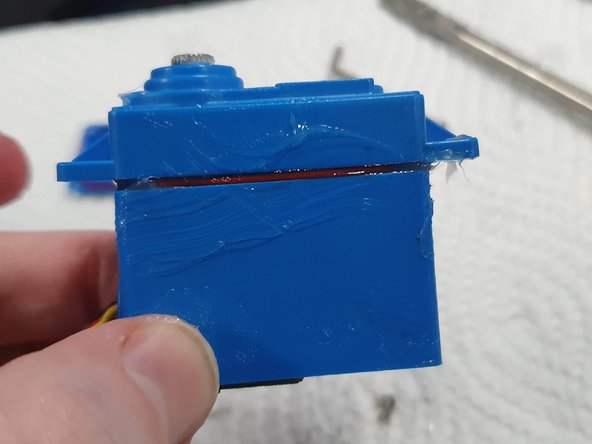
Ensure that the red O-ring is seated correctly on the body of the servo before proceeding
-
Carefully place the lid back on ensuring to keep the gears in there original position. Wipe of excess silicone grease that is pushed out as the lid is pushed on
-
As you push the lid back on keep an eye on the o-ring that it doesn't try to squeeze out the sides. If it does use something to push it back in.
-
This part can be a bit fiddly but is important to be patient as we don't want to damage the o-ring as it will affect the sealing of the servo
-
-
-
For some added safety to water ingress you can add some silicone grease around the spline of the servo before inserting the gear or servo horn back on
-
I also fill the center of the spline and gear with silicone grease
-
-
-
Fill the bottom plate with silicone grease
-
Ensure the o-ring is in place on the bottom of the servo body before continuing.
-
Place the bottom plate back onto the servo again watching the o-ring to ensure it stays in place if not push it back into place
-
Wipe of any excess silicone grease that squeezes out
-
-
-
Insert 2 screws in opposite corners and screw them in 90% of the way.
-
Insert the last 2 screws and you can screw them in 100% and go back to the first 2 screws and screw them in 100%
-
The servo is now back together and ready to be tested.
-
Ensure that you test the servo before installing it into the Sub. If it isn't working you can open it back up and check all the wires are still intact.
-


The Servo will now have a better water ingress protection to allow you submarine to handle greater water depths
The Servo will now have a better water ingress protection to allow you submarine to handle greater water depths