Tools
Parts
-
-
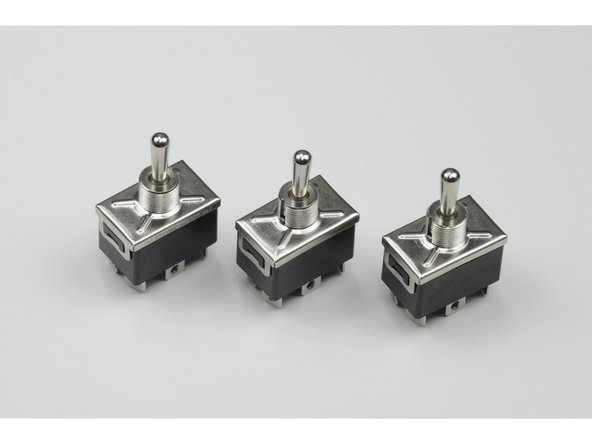
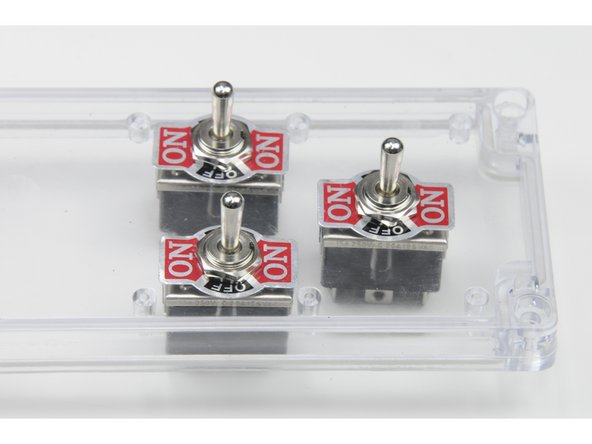
Gather the three switches included in your ROV kit.
-
-
-
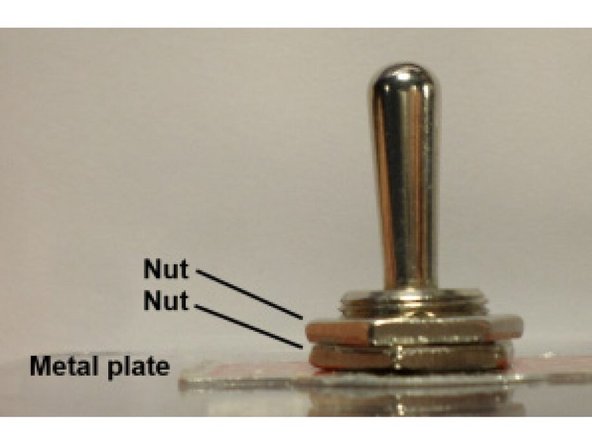
Loosen and remove the two metal nuts and ON/OFF plate from the switch.
-
A spanner or set of pliers may be carefully used to loosen the nuts if necessary.
-
-
-
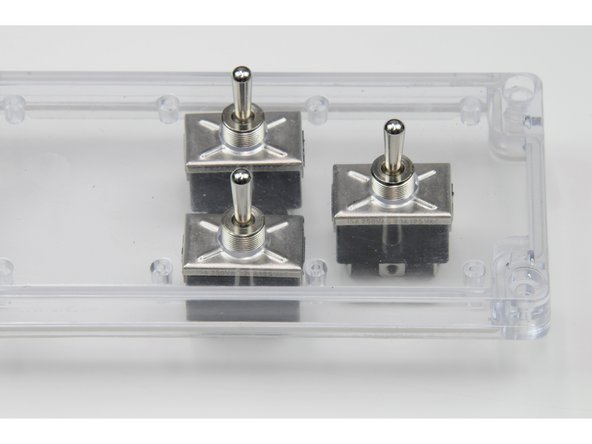
Insert the three switches through the clear plastic faceplate.
-
The black box of the switch should be inside the control box, the toggle switch should stick up through the holes in the clear plastic faceplate.
-
-
-
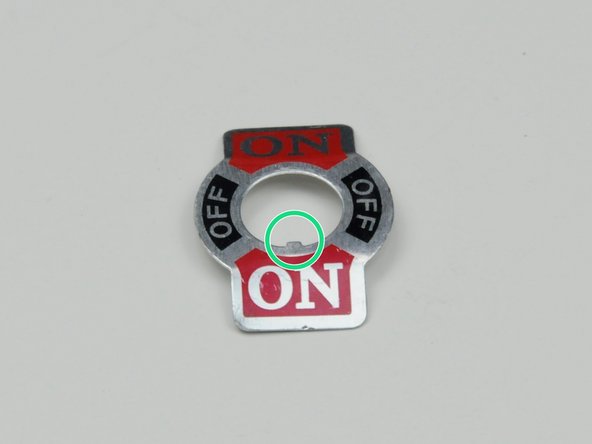
Install the metal plate over the switch.
-
Note the small groove on one side of the switch and notice the small tooth on the inner circle of the metal face plate.
-
Match up the tooth so it fits into the groove.
-
-
-
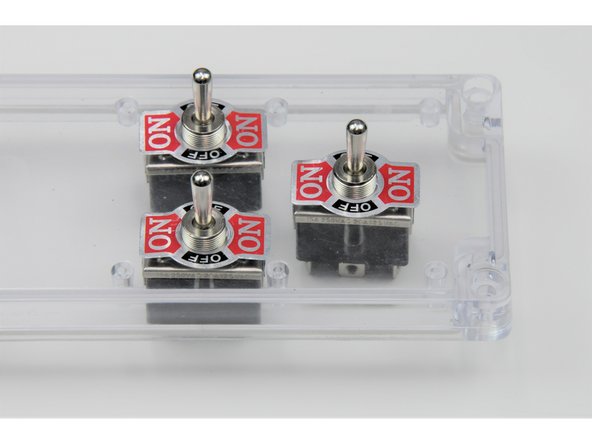
Consider how the controller is going to be held when twisting the switch to the proper orientation.
-
Before tightening the first nut, twist the switch within hole so the metal plate reads ON/ OFF/ON, not NO/OFF/NO.
-
Screw one nut on to loosely hold the switch in place.
-
-
-
Once the orientation of the switch is correct, use pliers to tighten the nut and hold the switch securely in place.
-
BE CAREFUL not to screw the nut on too tightly, as it can crack the clear plastic. The nut should be just tight enough so the switch does not twist on its own.
-
Once the switch is secure, tighten the second nut down on top of the first.
-
Design note: The two bolts, and the ON/OFF/ON metal plate, are re-attached in a different order from what they are taken off the switch.
-
-
-
Install the second nut for all three switches.
-