Tools
Parts
No parts specified.
-
-
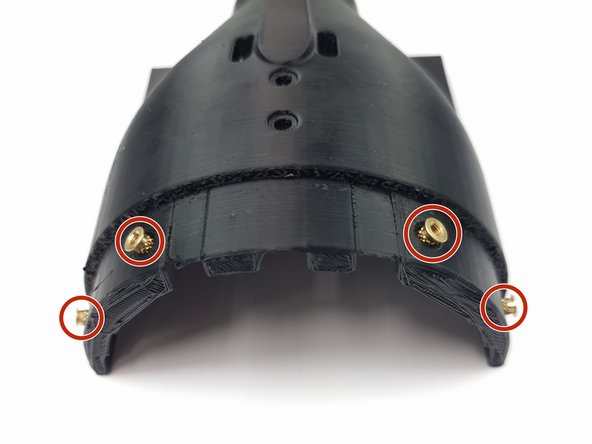
Find this bag of M3 Threaded Inserts.
-
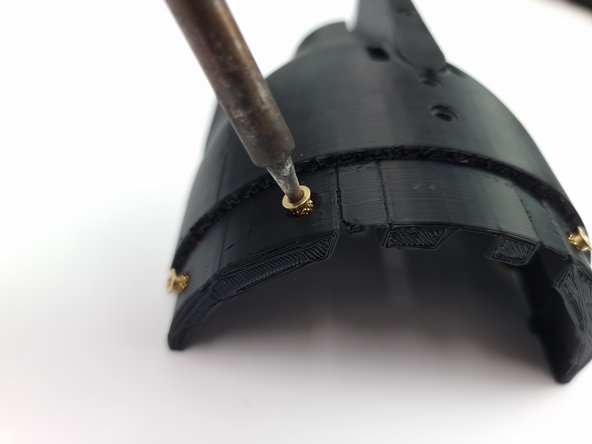
We heat set these inserts into or 3D Printed components using a soldering iron.
-
-
-
Place an insert into the hole. Don't try to insert it all the way.
-
Put the tip of the soldering iron into the insert and as the insert heats up you will be able to gently push it into the hole
-
Push it in until the insert is flush with the surface.
-
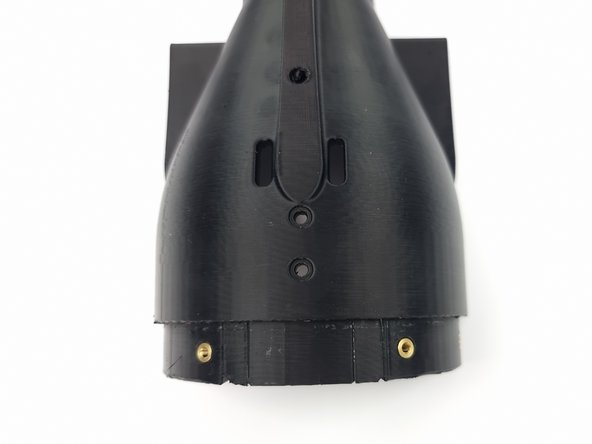
Install the other 3 inserts on this side of the cap using the same procedure,
-
-
-
Following the same procedure place the inserts on the bottom of the cap.
-
There are 4 inserts to be inserted on the bottom. These are to screw the cap to the bottom hull.
-
-
-
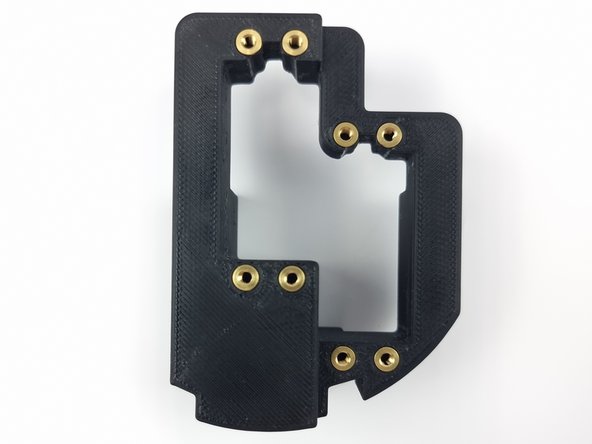
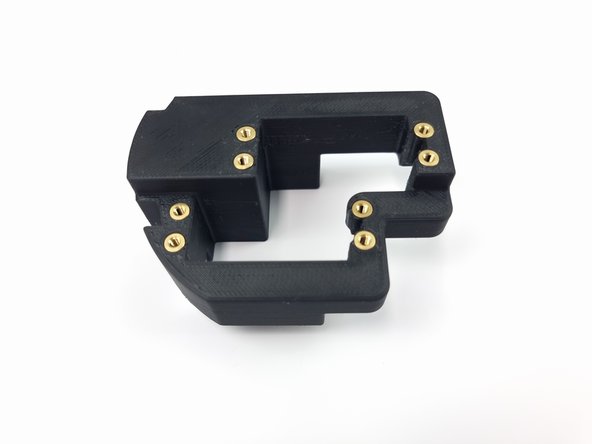
Locate the Aft Servo Mount and install the threaded inserts
-
There are 8 inserts on the Front and 2 on the bottom
-
-
-
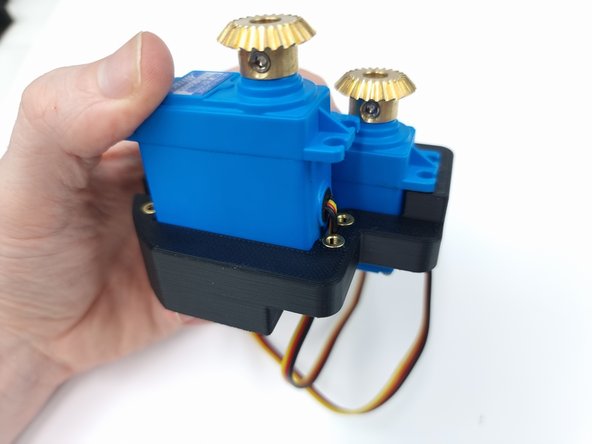
Before Installing the servo's ensure you have waterproofed them using this guide - Waterproof your Servo
-
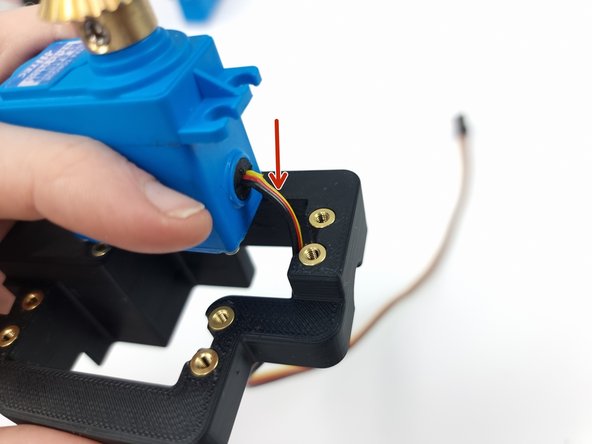
Insert the first servo into the Aft Servo mount, make sure you feed the wire through first.
-
As you push the servo into the mount pull the wire downwards to ensure there is no slack and help it slide the servo into place
-
Once inserted ensure it is sitting flush all the way around
-
-
-
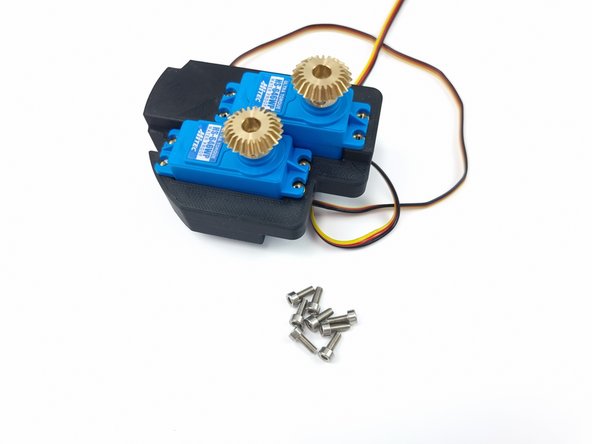
Before Installing the servo's ensure you have waterproofed them using this guide - Waterproof your Servo
-
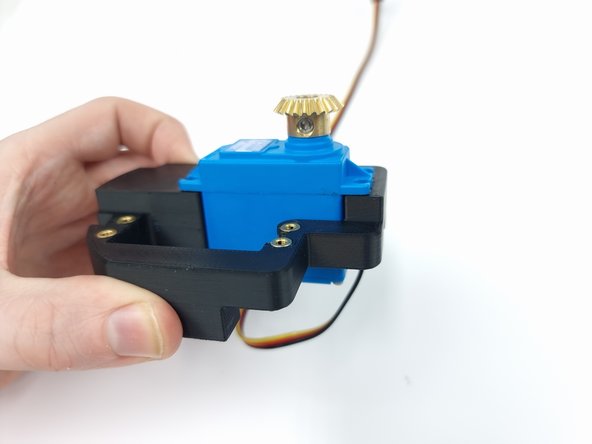
Insert the second servo into the mount again ensuring to feed the wore through first.
-
Pull the wire as you push the servo down to remove any slack.
-
Once fully inserted ensure it is sitting flush with the mount
-
-
-
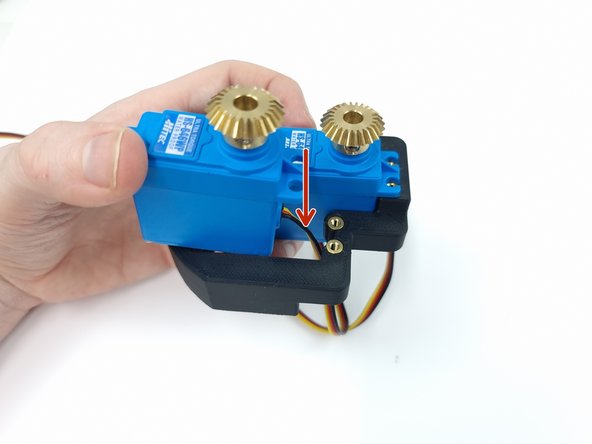
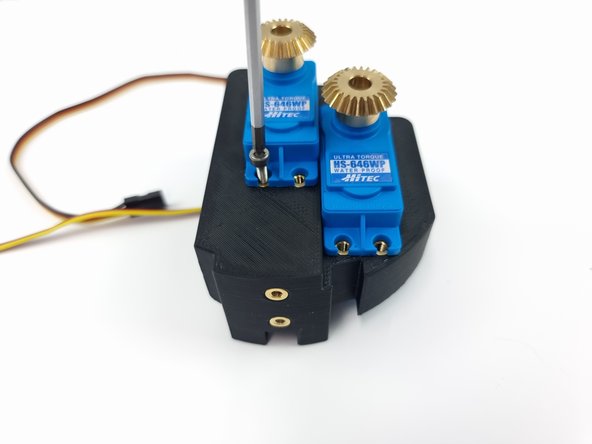
You need 8 x M3 x 8mm Socket Head Cap Screws to secure the servos to the mount
-
Install the 4 screws for each servo
-
-
-
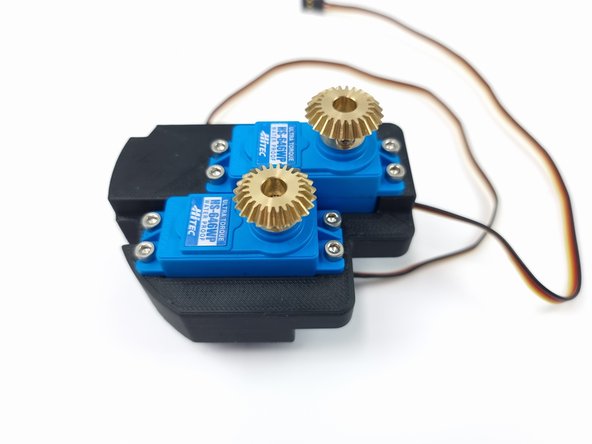
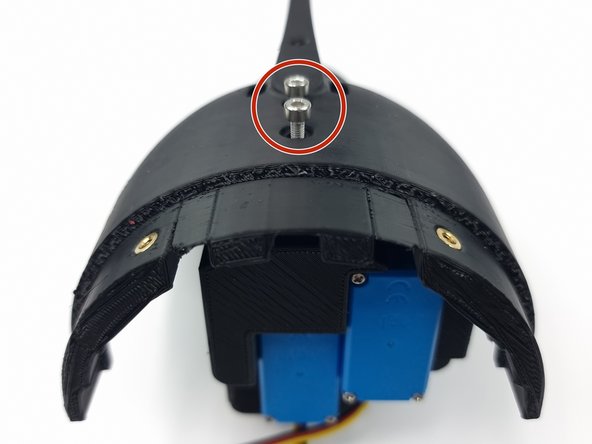
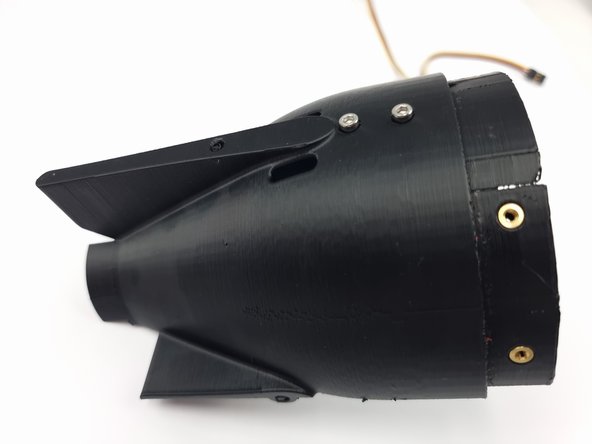
Place the servo mount into the bottom cap as shown.
-
Once in place turn the cap upside down while holding it in place and insert the 2 screws to fix it into place
-