-
-
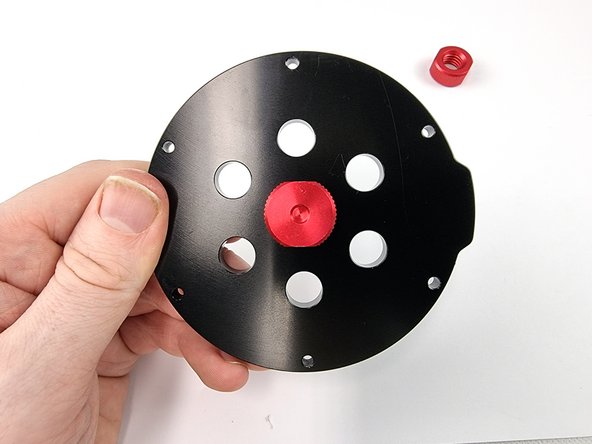
Grab the 7 hole end cap from the kit and unwrap it from the bubble wrap pouch
-
-
-
Grab one of the Penetrator blanks
-
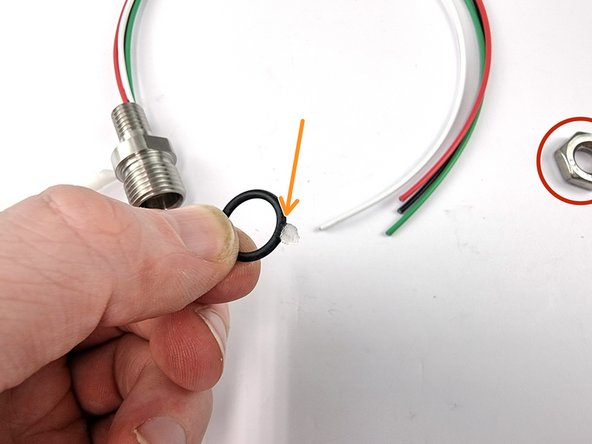
Lubricate the O-ring with silicone grease
-
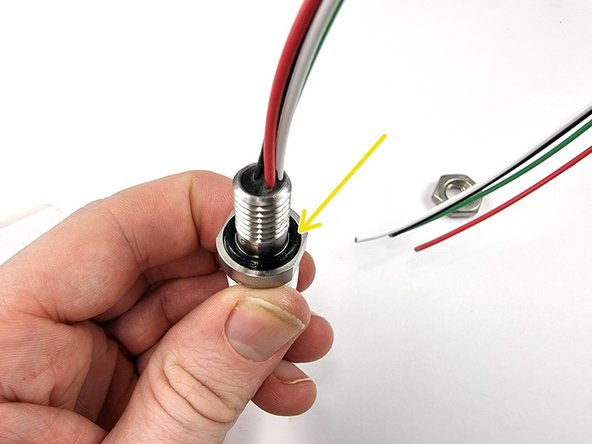
Install the O-ring onto the Penetrator
-
-
-
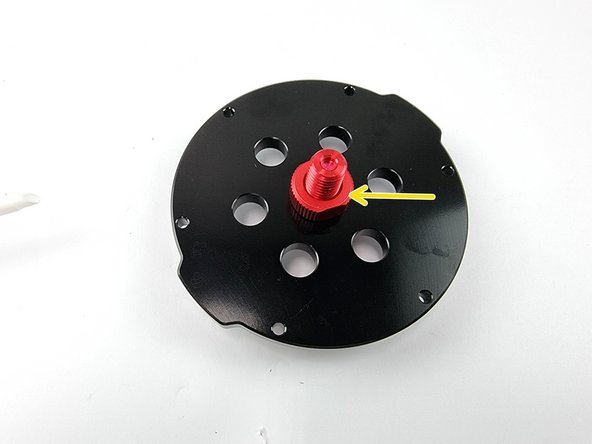
Insert the Penetrator Blank in the centre hole of the end cap
-
Screw on the nut on the backside of the penetrator blank
-
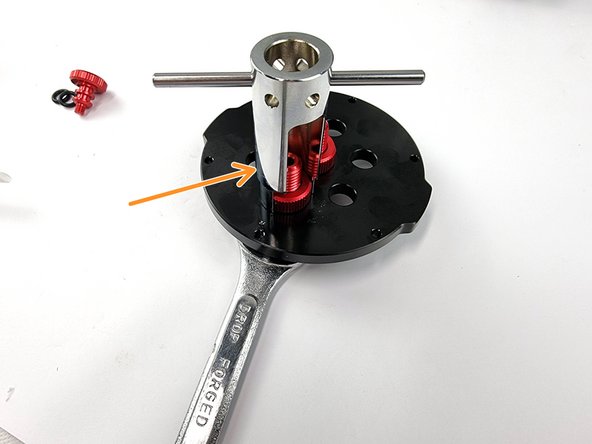
Using a spanner and penetrator wrench tighten the nut onto the penetrator blank
-
-
-
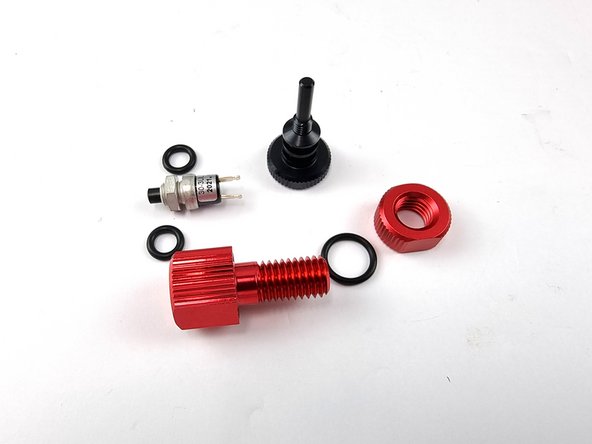
Locate a vent and plug and remove it from its plastic bag
-
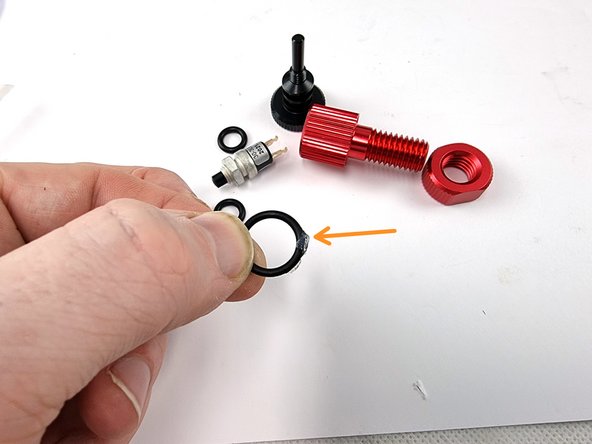
Lubricate the large O-ring with silicone grease
-
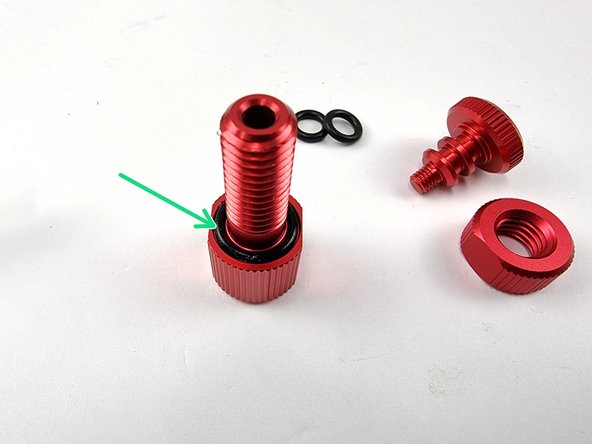
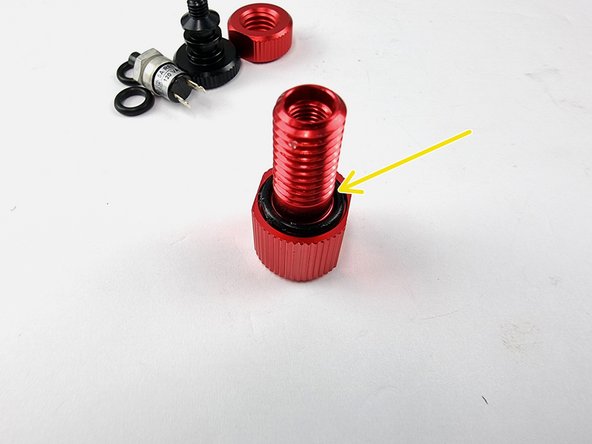
Install the O-ring onto the penetrator
-
-
-
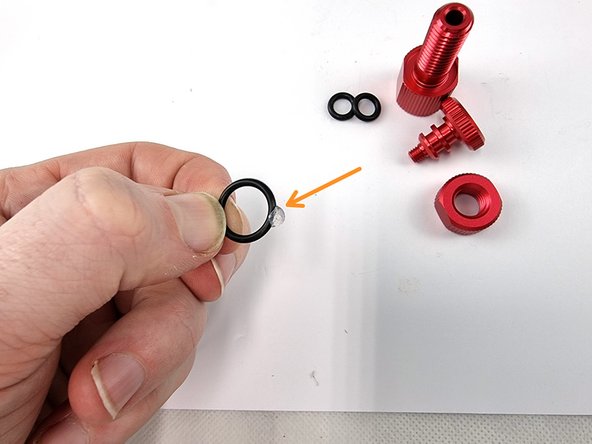
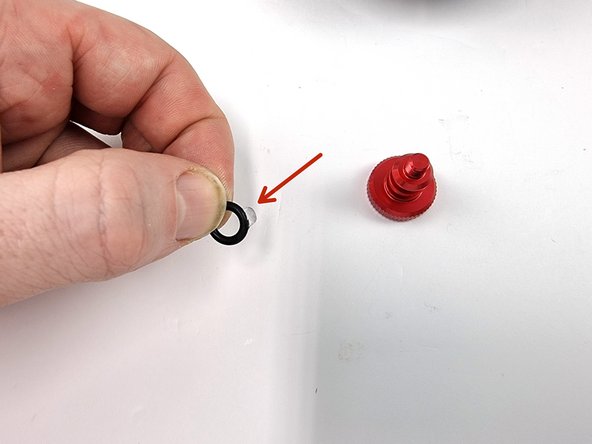
Lubricate the 2 small O-rings with silicone grease
-
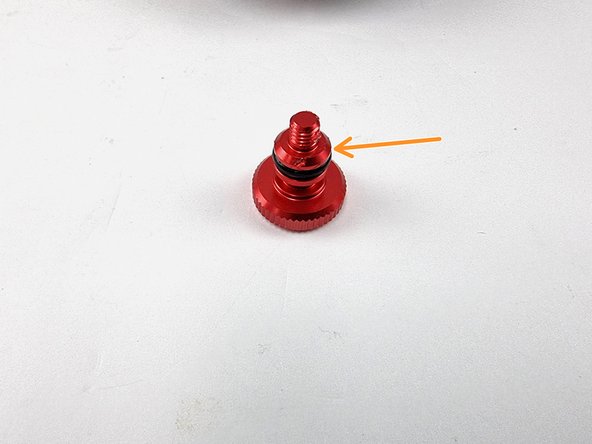
Install the first O-ring onto the plug
-
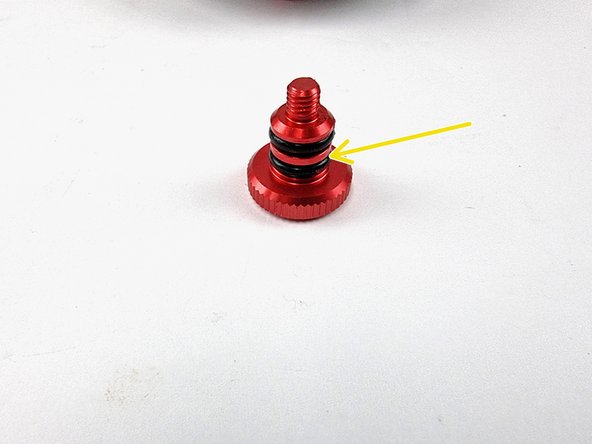
Install the second O-ring onto the plug
-
-
-
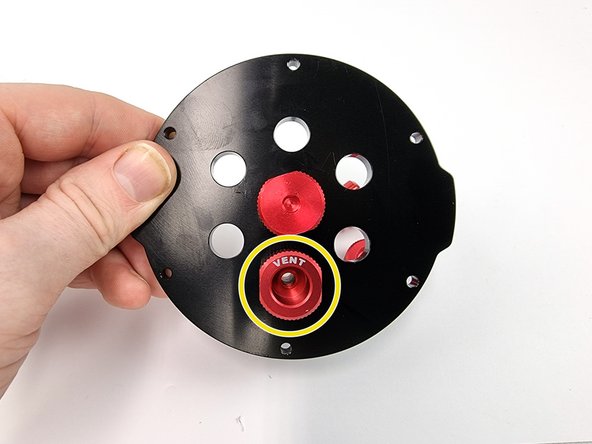
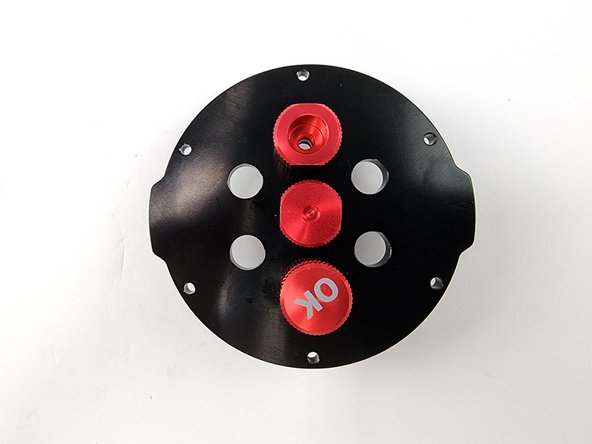
Insert the vent penetrator into the bottom hole of the end cap
-
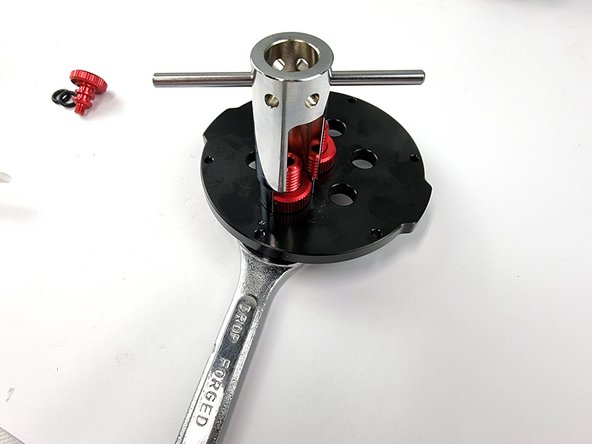
Install the nut on the back side and tighten with a spanner and penetrator wrench
-
-
-
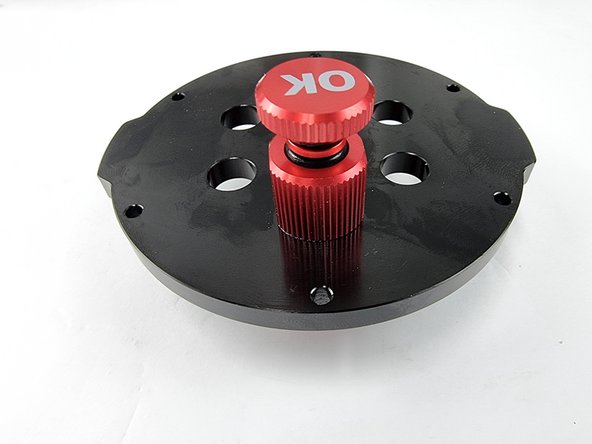
Insert the plug into the penetrator.
-
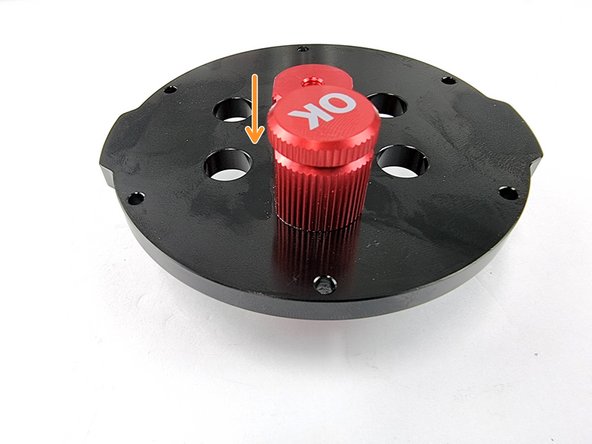
Push the plug down and then screw it in all the way down to make sure of a good seal
-
-
-
Find and unpack the power switch
-
Lubricate the large O-ring with silicone grease
-
Install the O-ring onto the power switch penetrator.
-
-
-
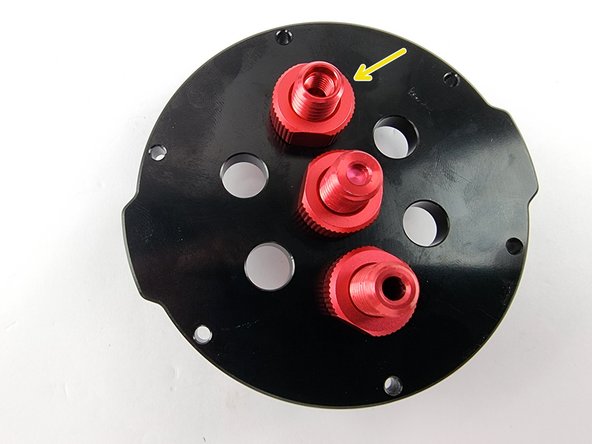
Install the power switch penetrator into the top hole of the end cap
-
Screw the nut onto the back of the penetrator
-
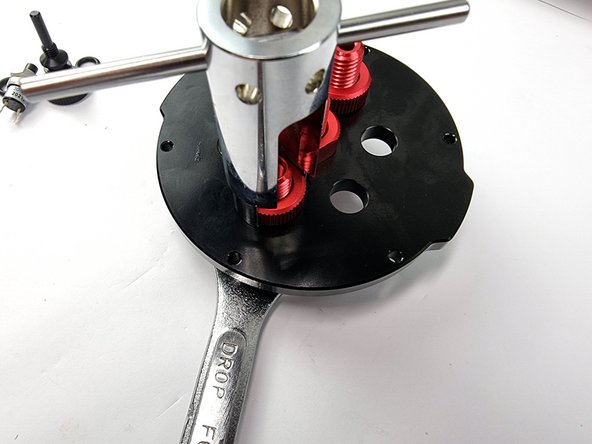
Using a spanner and penetrator wrench tighten the nut onto the penetrator
-
-
-
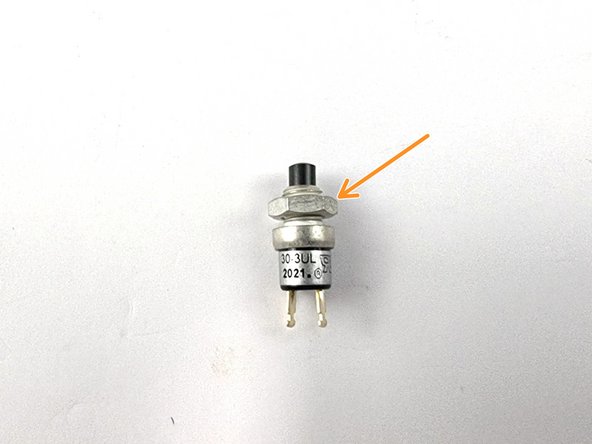
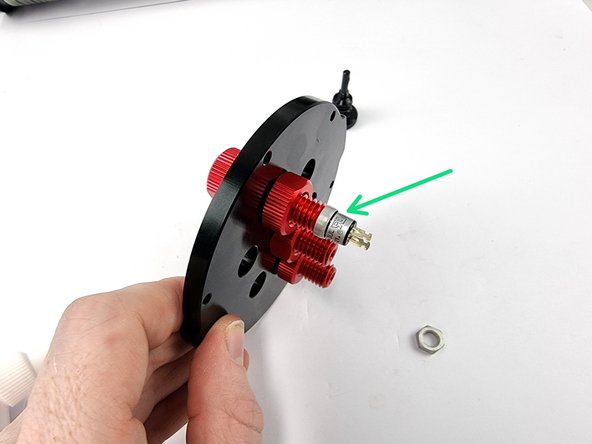
Grab the push button switch included with the power switch
-
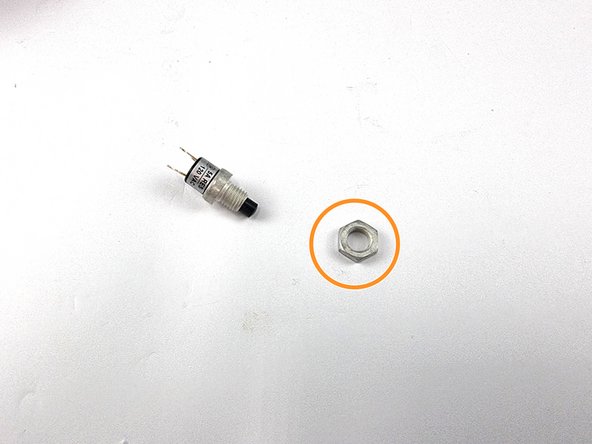
Unscrew the nut from the switch as this isn't required for our installation
-
Screw the push button switch into the back of the power switch penetrator
-
-
-
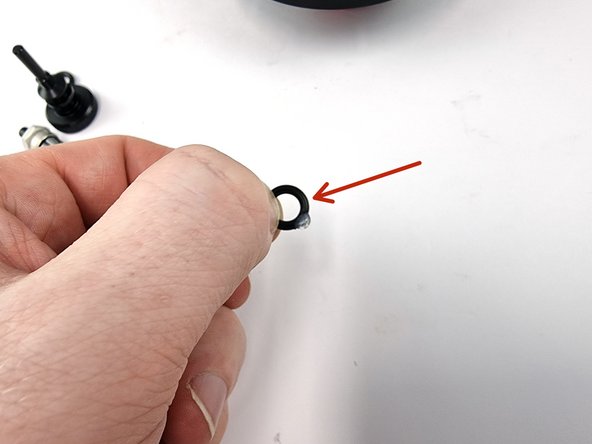
Lubricate the 2 small o-rings with silicone grease
-
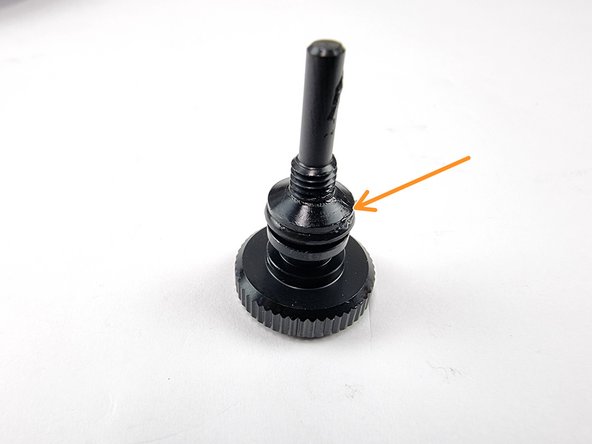
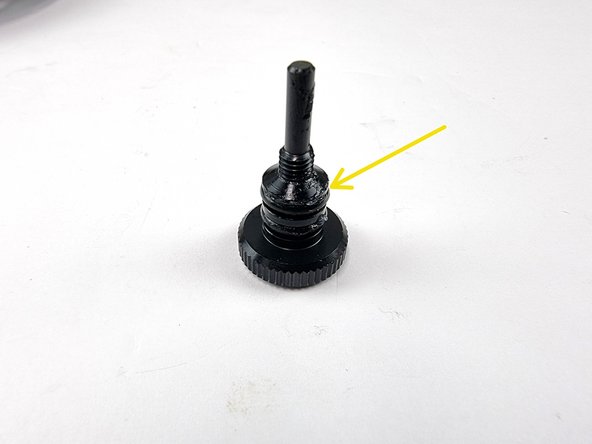
Fit the first o-ring into the first groove on the power switch plunge bolt
-
Fit the second o-ring into the second groove on the power switch plunge bolt
-
-
-
Insert the plunge bolt into the penetrator
-
Push it in past the 2 o-rings and screw it in. don't screw it all the way in as that will activate the power button.
-
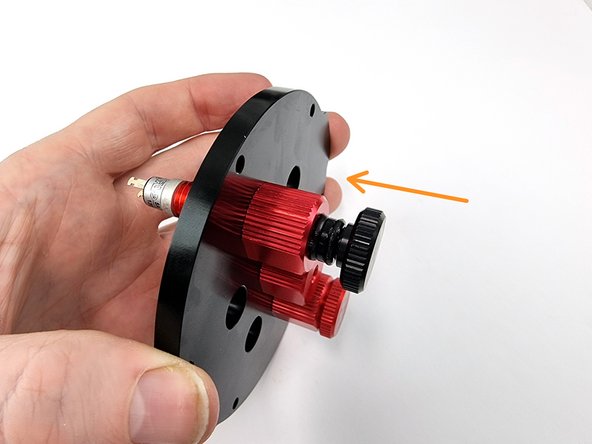
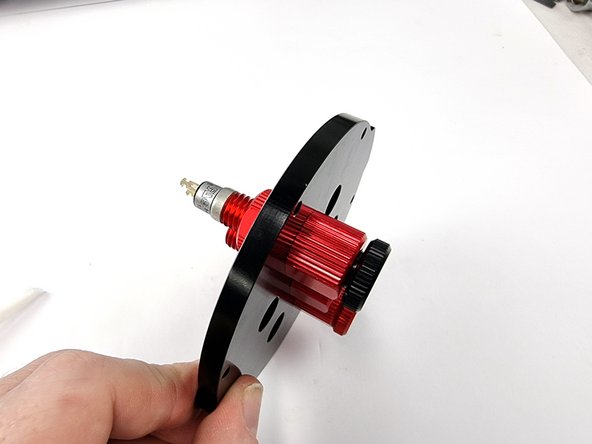
This is the on/off power switch for the whole Submarine. Screwing it in will push the button in turning the Submarine on and unscrewing it will turn the Submarine off.
-
-
-
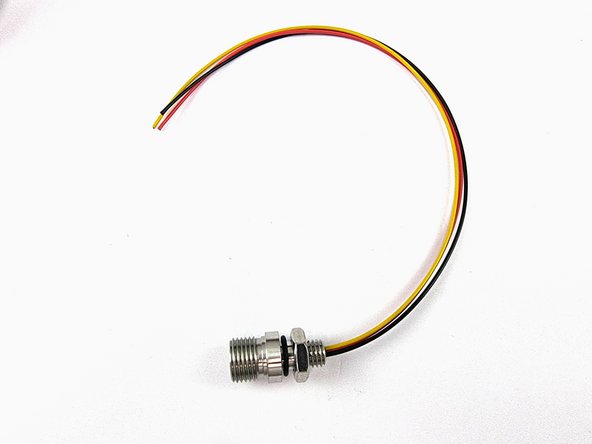
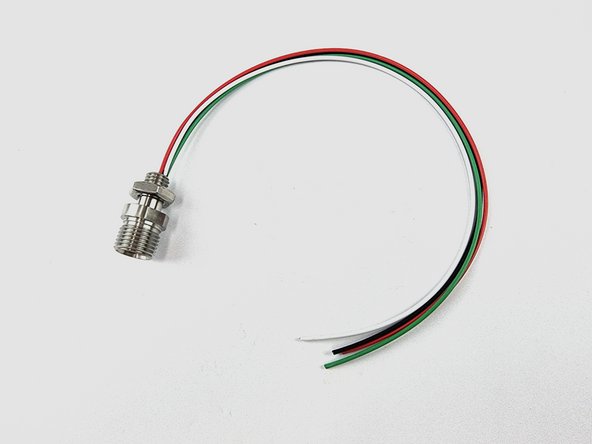
Locate and unpack the 3 pin bulkhead connector
-
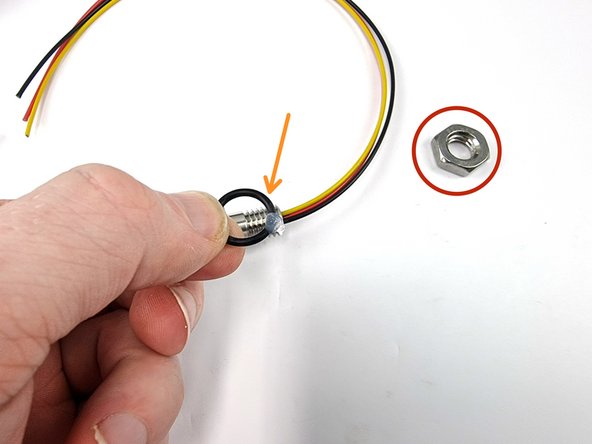
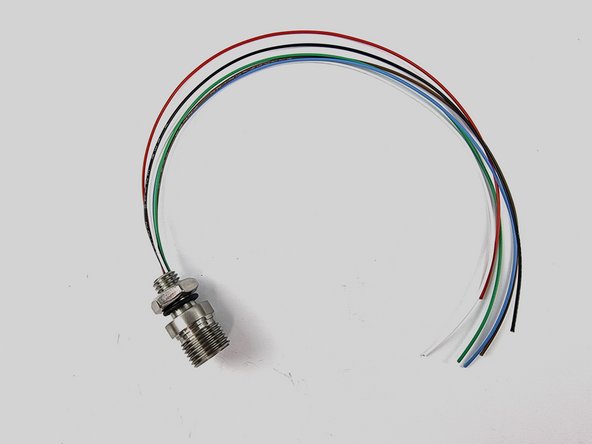
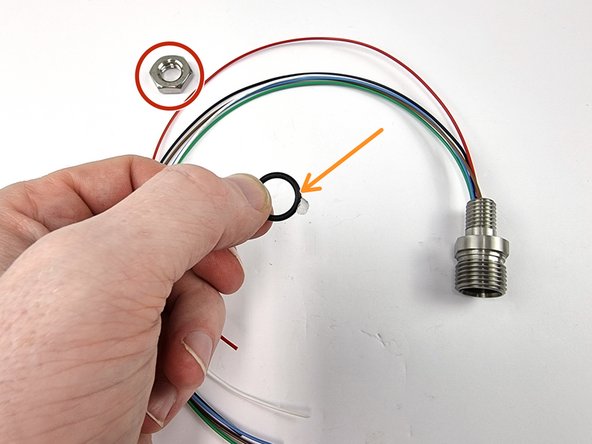
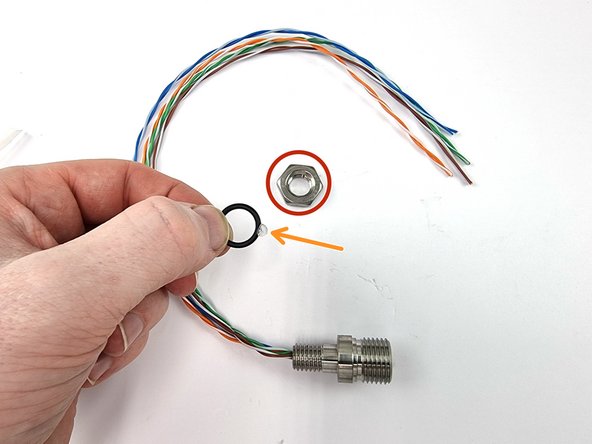
Remove the nut and the o-ring from the bulkhead connector
-
Lubricate the o-ring with silicone grease
-
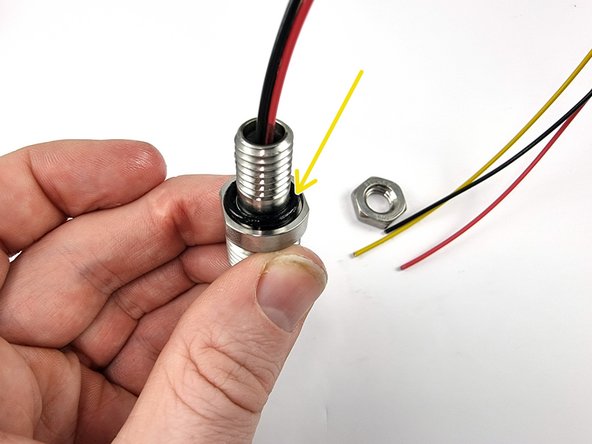
Install the o-ring back onto the bulkhead connector
-
-
-
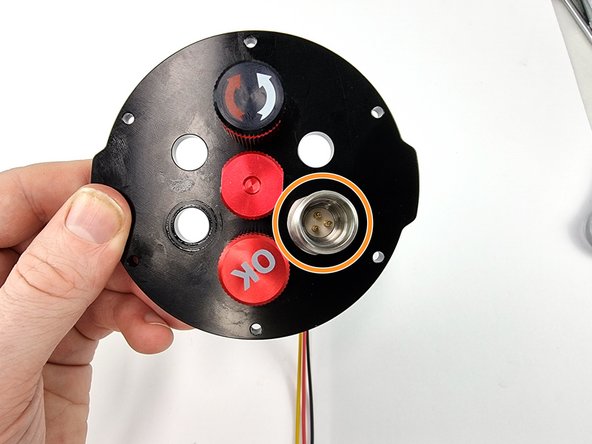
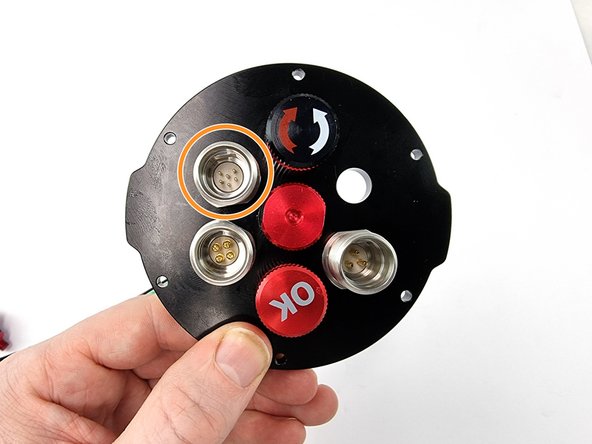
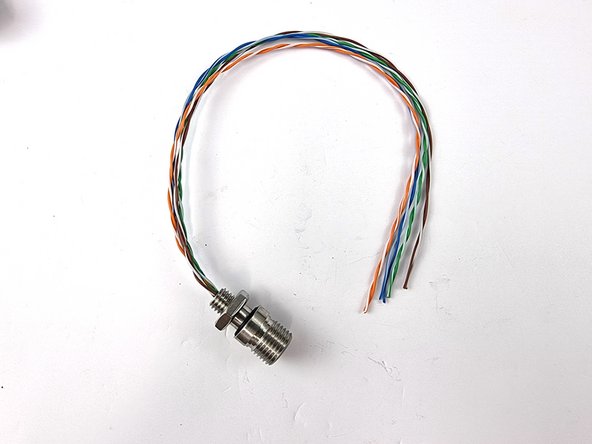
Install the 3 pin bulkhead connector in the bottom right hole of the end cap
-
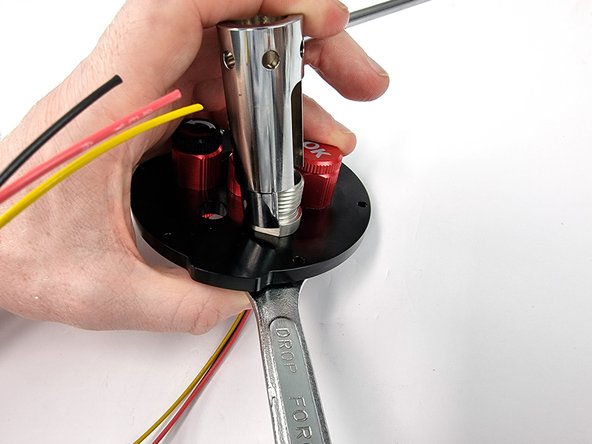
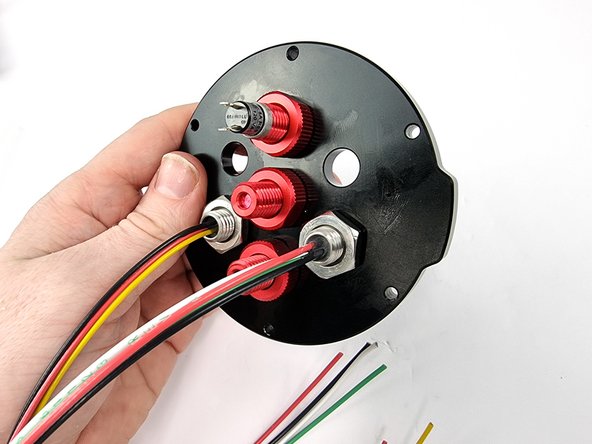
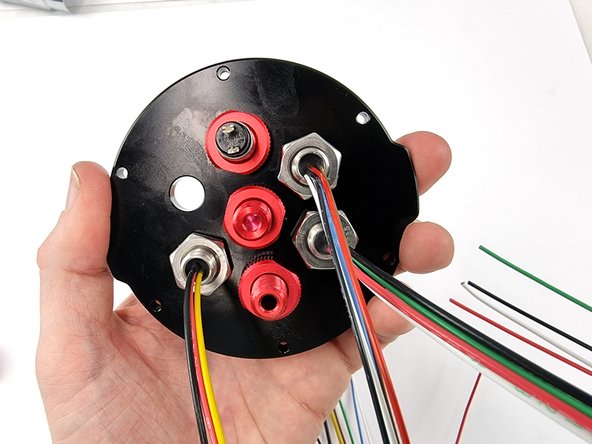
Install the nut on the back side of the bulkhead connector and tighten with the penetrator wrench and a 17mm spanner
-
-
-
Locate and unpack the 4 pin bulkhead connector
-
Remove the nut and the o-ring from the bulkhead connector
-
Lubricate the o-ring with silicone grease
-
Install the o-ring back onto the bulkhead connector
-
-
-
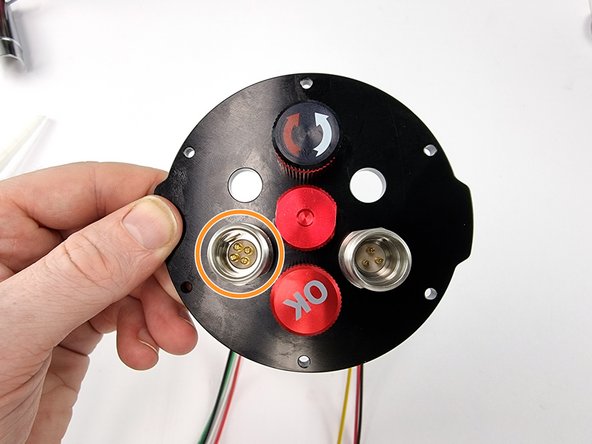
Install the 4 pin bulkhead connector in the bottom left hole of the end cap
-
Install the nut on the back side of the bulkhead connector and tighten with the penetrator wrench and a 17mm spanner
-
-
-
Locate and unpack the 6 pin bulkhead connector
-
Remove the nut and the o-ring from the bulkhead connector
-
Lubricate the o-ring with silicone grease
-
Install the o-ring back onto the bulkhead connector
-
-
-
Install the 6 pin bulkhead connector in the top left hole of the end cap
-
Install the nut on the back side of the bulkhead connector and tighten with the penetrator wrench and a 17mm spanner
-
-
-
Locate and unpack the 8 pin bulkhead connector
-
Remove the nut and the o-ring from the bulkhead connector
-
Lubricate the o-ring with silicone grease
-
Install the o-ring back onto the bulkhead connector
-
-
-
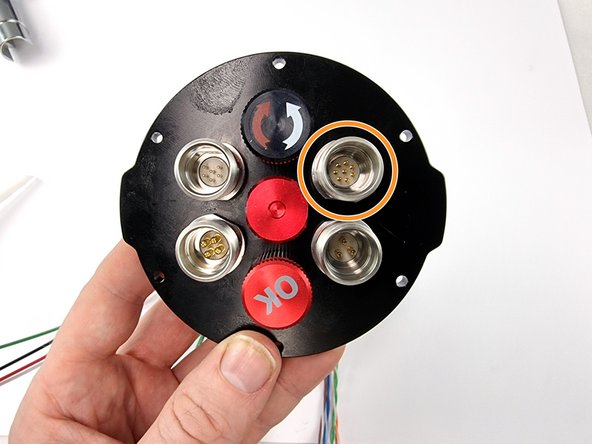
Install the 8 pin bulkhead connector in the top right hole of the end cap
-
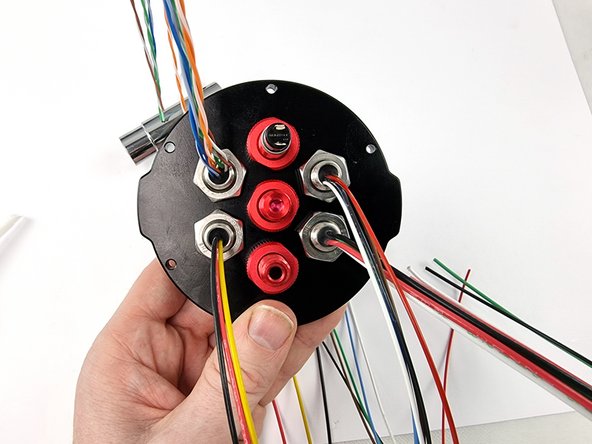
Install the nut on the back side of the bulkhead connector and tighten with the penetrator wrench and a 17mm spanner
-
-
-
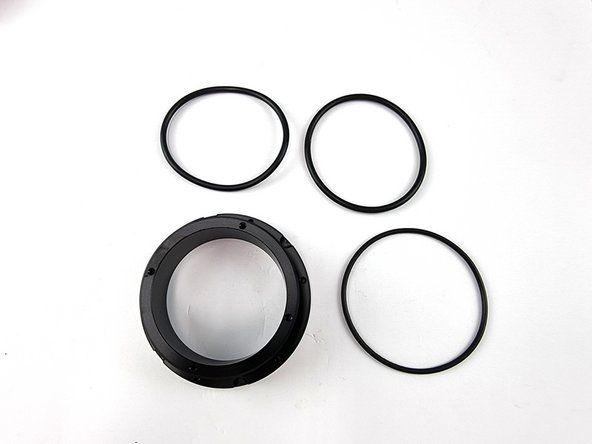
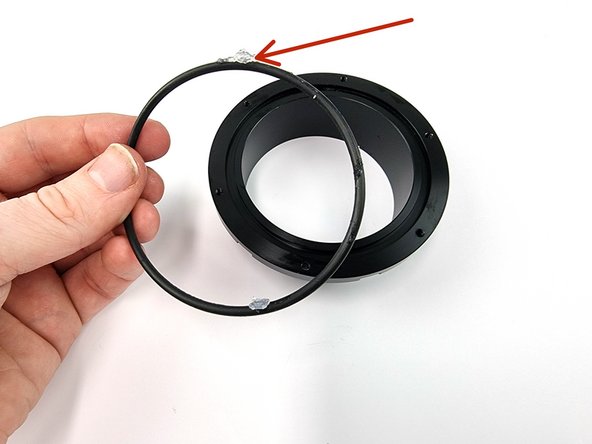
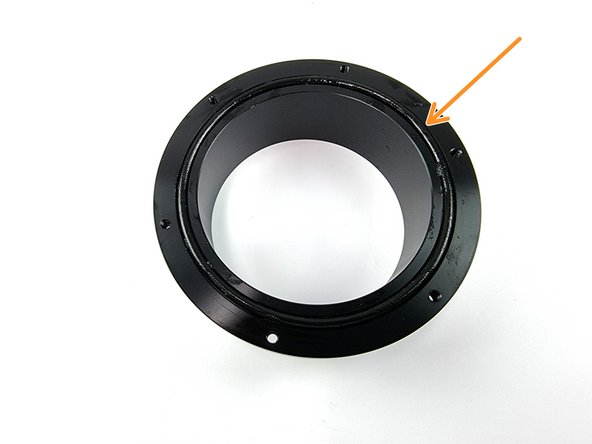
Unpack the O-ring Flange
-
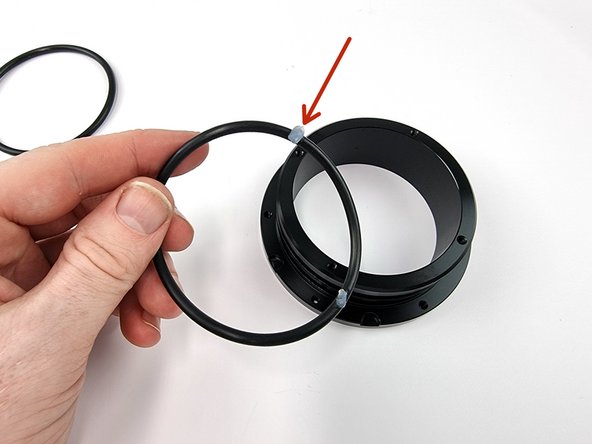
There will be 2 thick o-rings and 1 thin o-ring.
-
-
-
Apply a thin coat of silicone grease to the 2 thick o-rings.
-
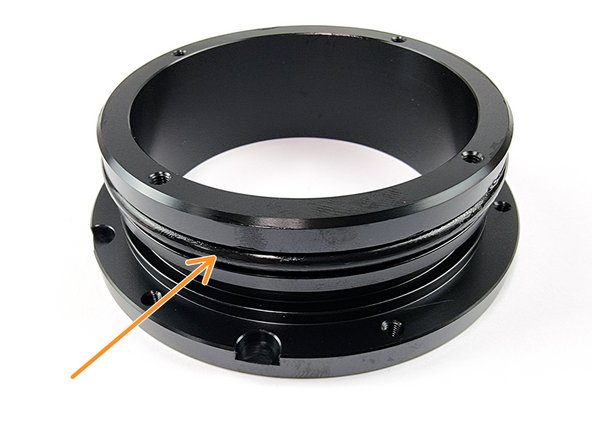
Install one of the o-rings into the first groove of the flange.
-
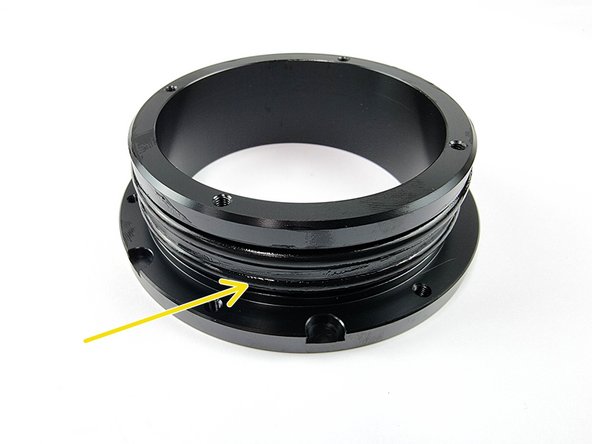
Install the second o-ring into the last groove of the flange.
-
-
-
Apply a thin coating of silicone grease to the thin o-ring.
-
Install the thin o-ring to the face of the flange.
-
-
-
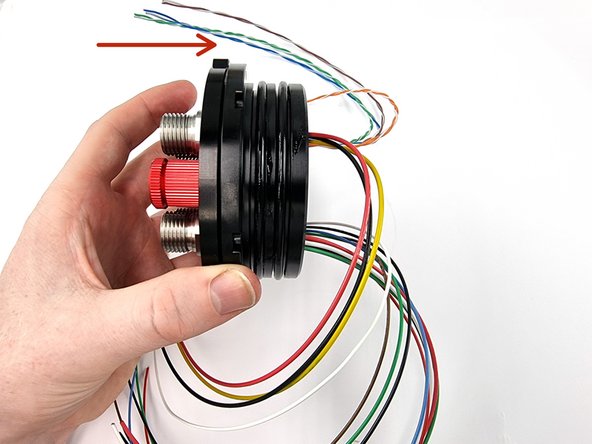
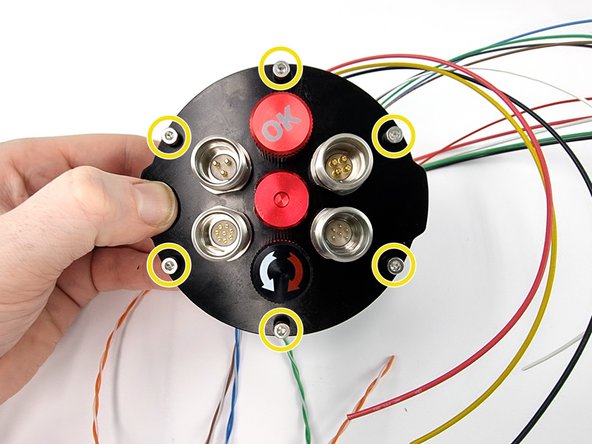
Place the end cap onto the o-ring flange. Carefully feed the wires from the bulkhead connectors through the centre of the flange
-
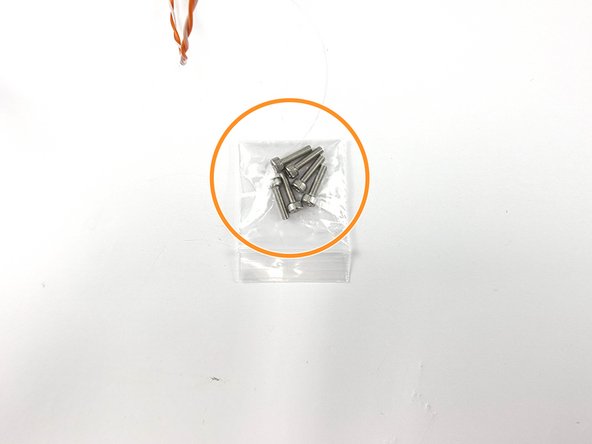
Grab the bag of screws that comes with the end cap.
-
Install the 6 screws into the end cap and tighten them down using a 2.5mm hex key to ensure a good seal on the o-ring.
-
Almost done!
Finish Line


