Tools
Parts
No parts specified.
-
-
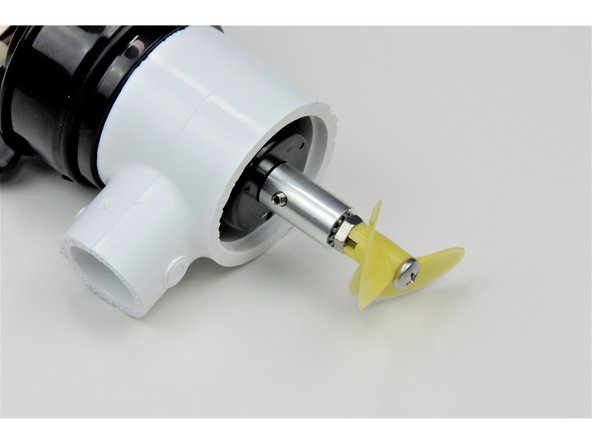
The motor come with an impeller (tan disk) attached. The impeller needs to be removed and a propeller attached.
-
Use a small flat-head screw driver to remove the impeller
-
Use a small flat-head screw driver to remove the impeller.
-
-
-
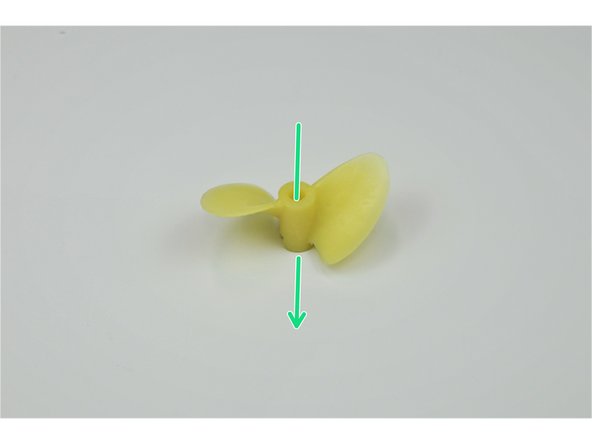
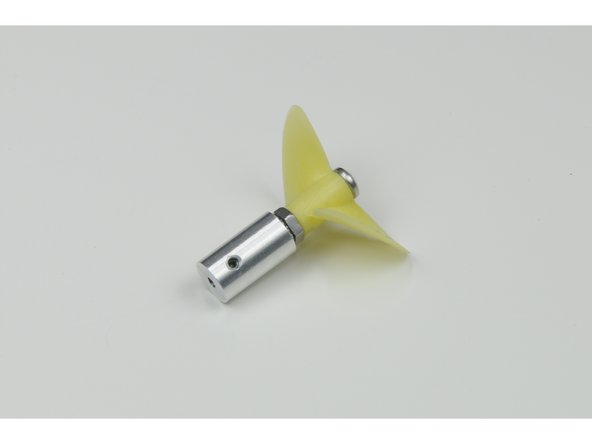
Collect the components of the propeller assembly as pictured.
-
-
-
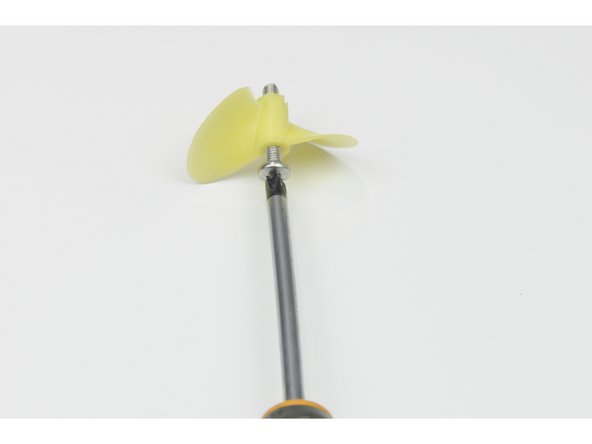
Insert the bolt through the propeller so the head of the bolt is away from the notch on the propeller.
-
This may require the use of a screwdriver.
-
-
-
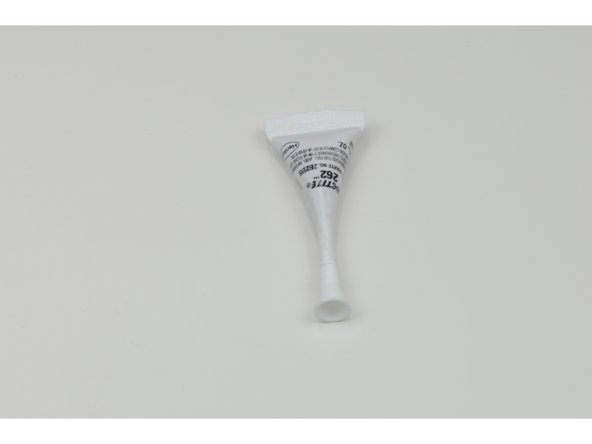
Put a drop or two of Purple Loctite on the tip of the bolt and screw the not onto the bolt so it spreads the Loctite down the threads.
-
NOTE: Loctite is not a glue, but a thread lock. Without using Loctite, the bolt (with propeller attached will spin out of the propeller adapter (it will unscrew itself instead of pushing the ROV through the water).
-
You will lose your propeller to the bottom of the pool. Loctite is a thread lock, which will lock the bolt and screw in place. With the appropriate force Loctite connections can be removed.
-
Normal ROV operations will not do this, but you can remove the propeller from the motor if needed.
-
To remove the propeller, use pliers, needle nose pliers, and/or a screw driver. That will provide the force needed to remove the propeller.
-
Do not forgo using Loctite for fear that you will be able to remove the propeller. Loctite is designed to be removable.
-
-
-
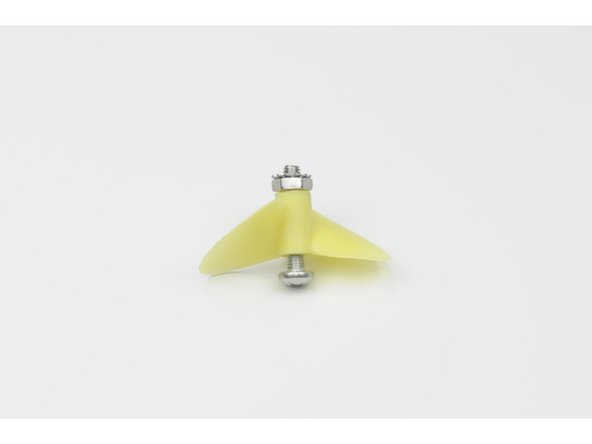
Tighten the nut against the propeller using pliers and screwdriver.
-
-
-
Insert the bolt into the threaded hole at the back of the propeller adapter.
-
Use pliers and a screwdriver to tighten the bolt into the adapter.
-
-
-
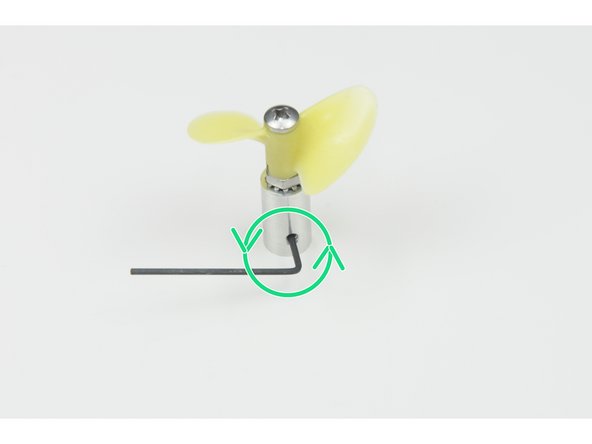
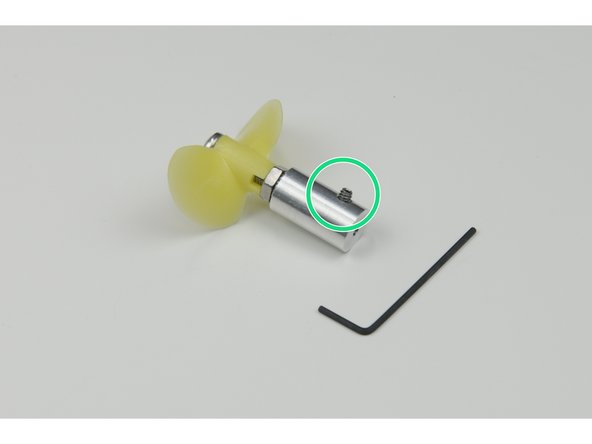
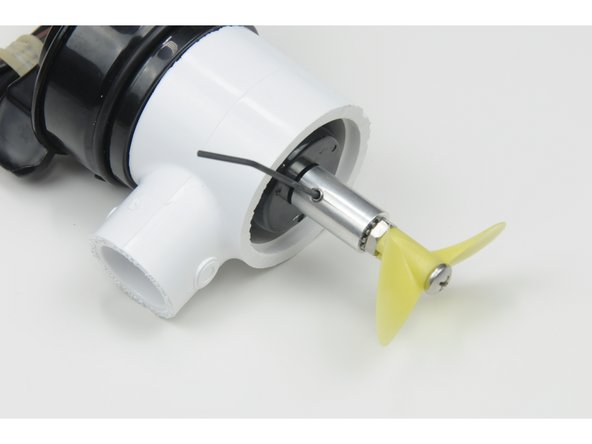
Unscrew the small set screw but do not remove it completely.
-
-
-
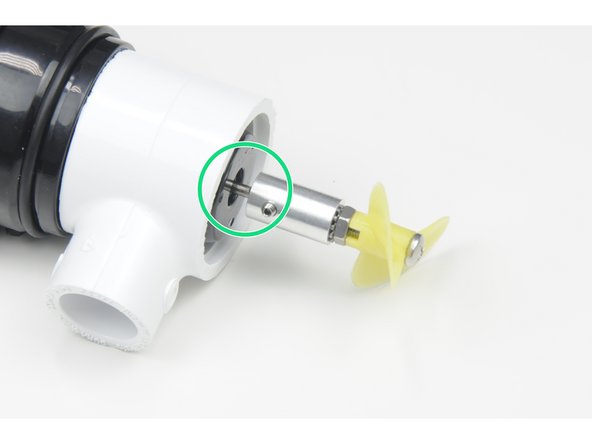
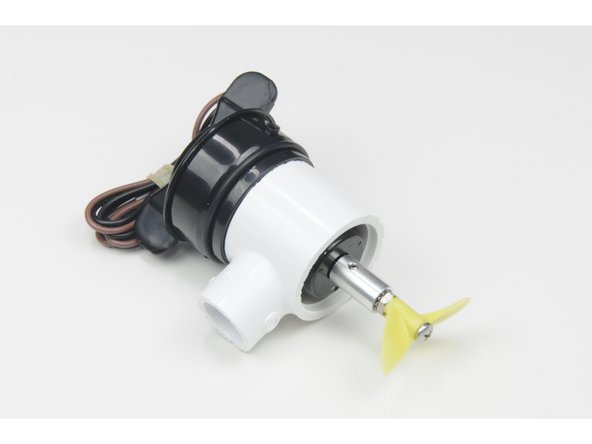
Install the propeller adapter over the shaft of the motor, lining up the set screw with the flat part of the motor shaft.
-
-
-
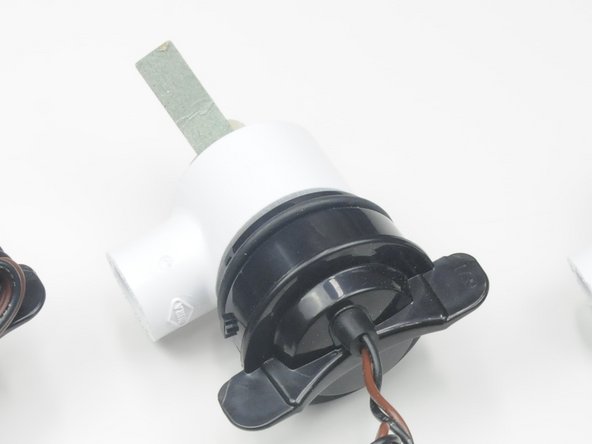
Use the green cardboard (or fold a piece of paper) as a spacer to keep the metal of the adaptor from rubbing on the plastic housing of the motor.
-
-
-
Apply one drop of Purple Loctite to the set screw and screw it all the way in, tighten the set screw securely against the flat part of the propeller shaft.
-


