-
-
Grab the 2 halves of the bouy you have 3D Printed.
-
Install the threaded inserts into the bottom half of the bouy.
-
-
-
Unpack the supplied cable gland.
-
Unscrew the nut and remove the seal.
-
Insert the cable gland into the hole of the bottom bouy. Screw the nut on to secure it.
-
To ensure a water tight seal it is best to use silicone to seal around cable gland.
-
-
-
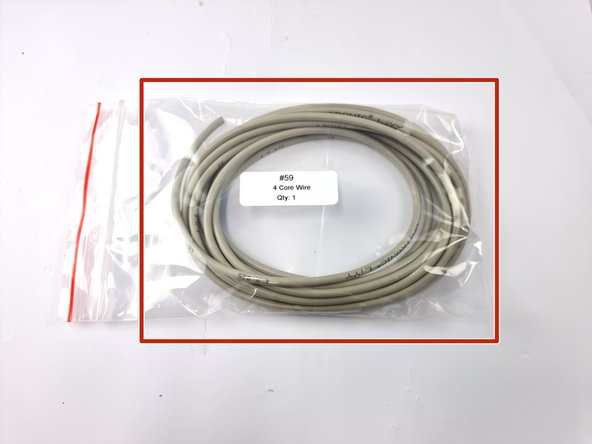
Find the 4 core wire supplied in the kit.
-
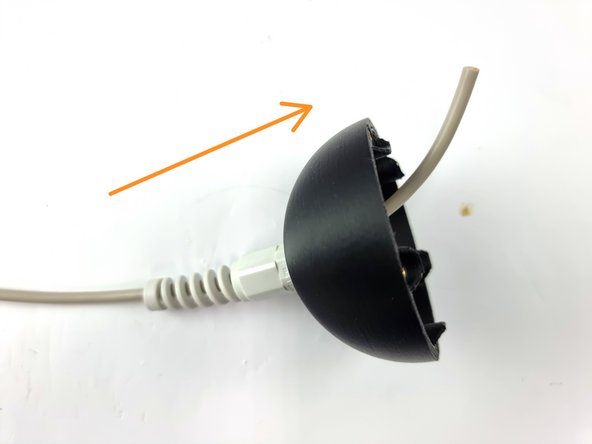
Feed the 4 core wire through the cable gland and tighten the nut on the cable gland to seal around the wire.
-
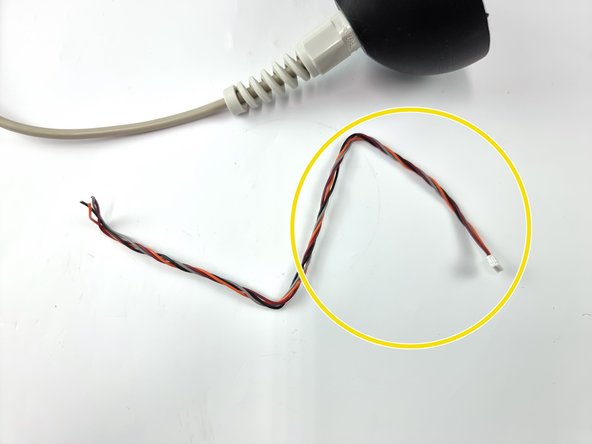
Find the left over wire from the Satellite receiver.
-
-
-
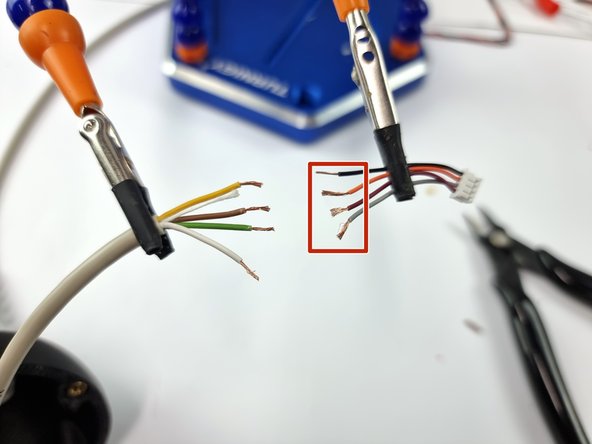
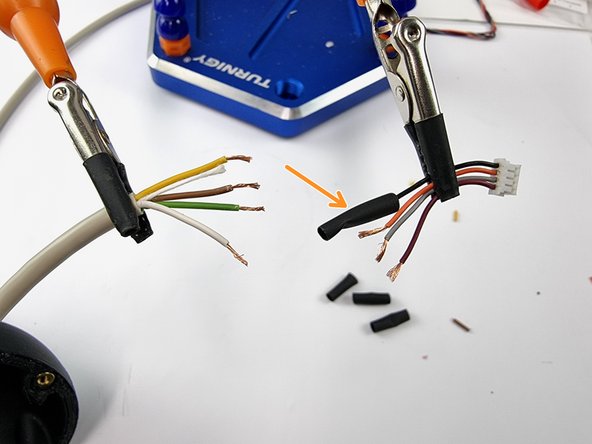
On the end of the 4 core wire that is in the buoy, strip the outer insulation as well as the insulation from the end of each wire.
-
Trim the cable that connects to the satellite receiver and strip the insulation from the end of the wires.
-
Before soldering the wires together slide a strip of heat shrink onto each of the wires.
-
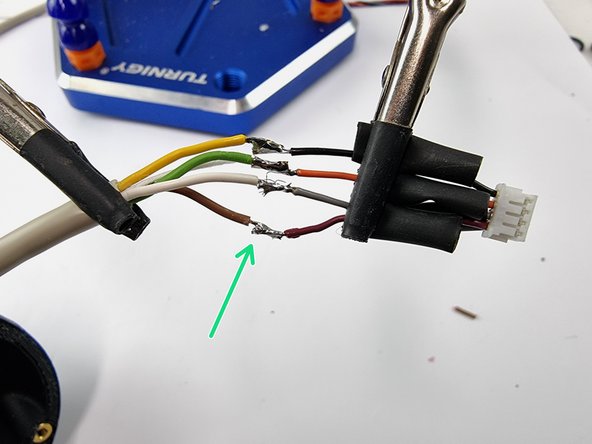
Solder the black wire to the yellow wire, Orange wire to the green wire, grey wire to the white wire and the maroon wire to brown wire.
-
-
-
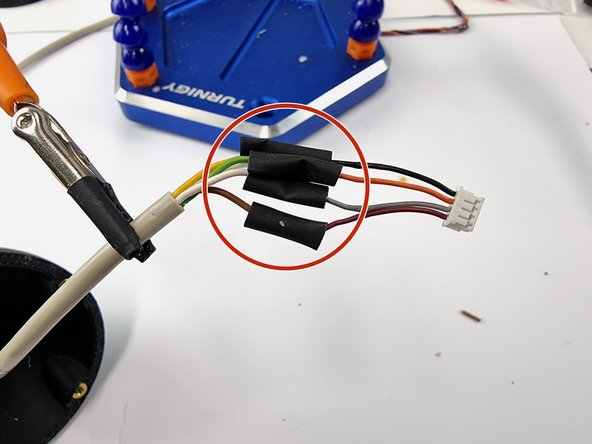
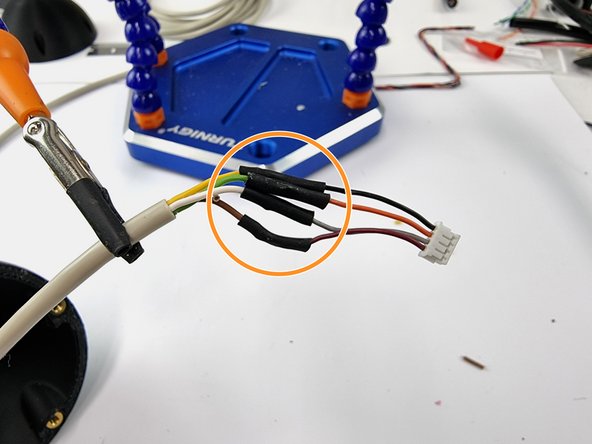
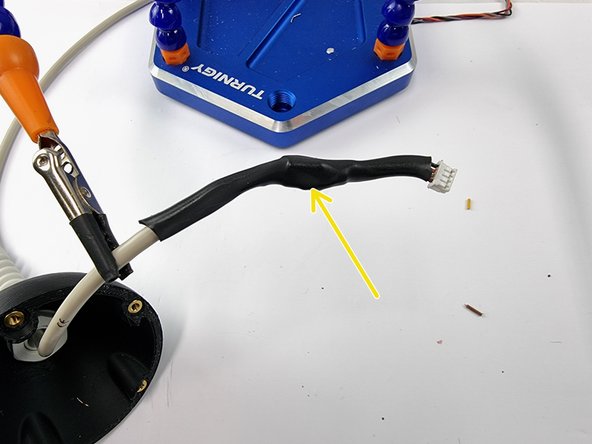
Slide the heat shrink over the soldered joints.
-
Apply heat to shrink it into place protecting the joints to ensure they don't short out with each other.
-
If you like you can apply a piece of heat shrink over all of the wires.
-
-
-
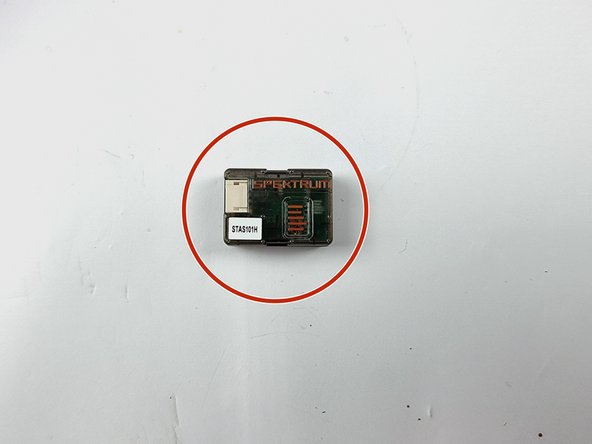
Grab the satellite receiver to install into the buoy.
-
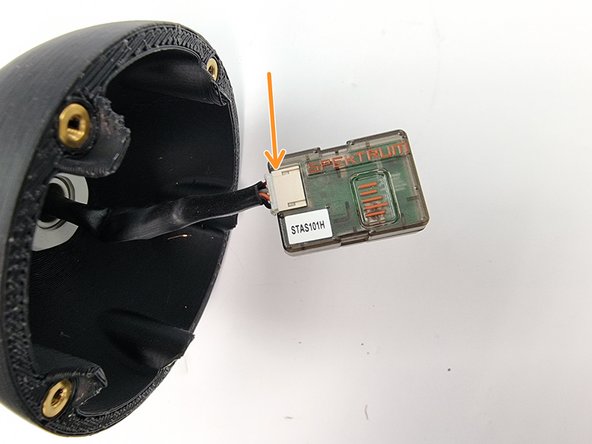
Plug the connector into the satellite receiver.
-
-
-
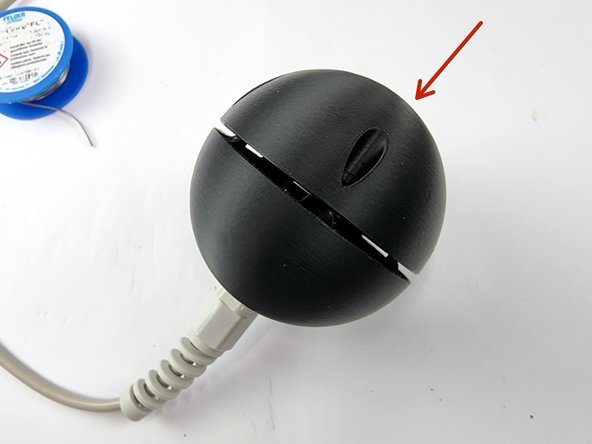
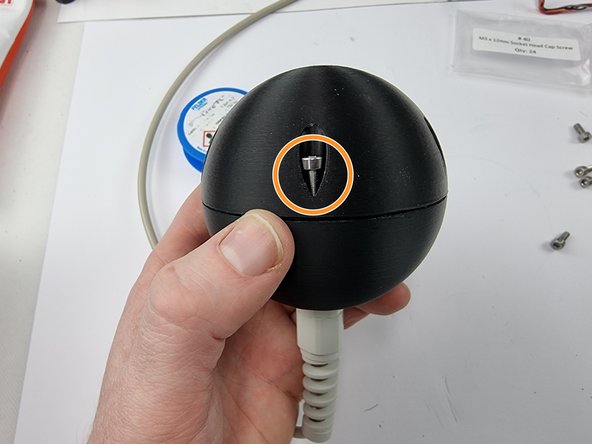
Place the top of the buoy on aligning the holes with the threaded inserts in the bottom of the buoy.
-
To seal the buoy to make it waterproof you could manufacture a gasket or use silicone to seal the 2 halves together. This allows you to separate the halves if needed.
-
Using the M3x12mm Socket Head Cap screws screw the 2 halves together.
-
-
-
Now to wire the 4 core wire from the satellite receiver to the remaining 4 wires from the 8 pin connector.
-
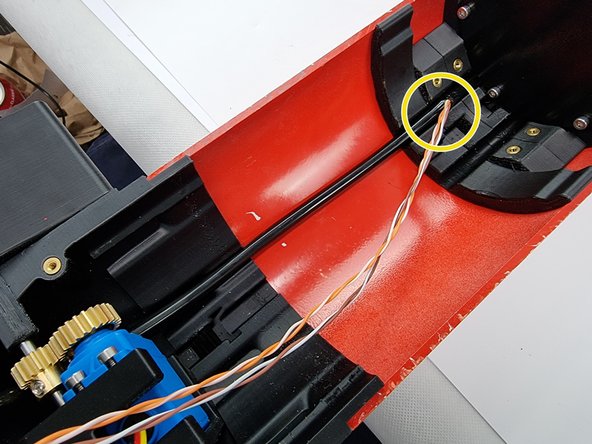
Before soldering the wires together make sure you feed the 4 core wire through the hole in the sail on the top hull of the Submarine.
-
Trim the wires to length and prepare them to be soldered together.
-
Before soldering them together slide heat shrink over the wires as well as a section of heat shrink over all the wires.
-
Solder the wires together in the following pairs. Orange to Green wire, Orange/White to White wire, Brown to Brown Wire, Brown/White to Yellow.
-
Slide the heat shrink over the soldered joints and apply heat to shrink them into place.
-
Almost done!
Finish Line


