-
-
We need to install the threaded inserts into the 2 short control surfaces and 2 long control surfaces for the Aft Cap
-
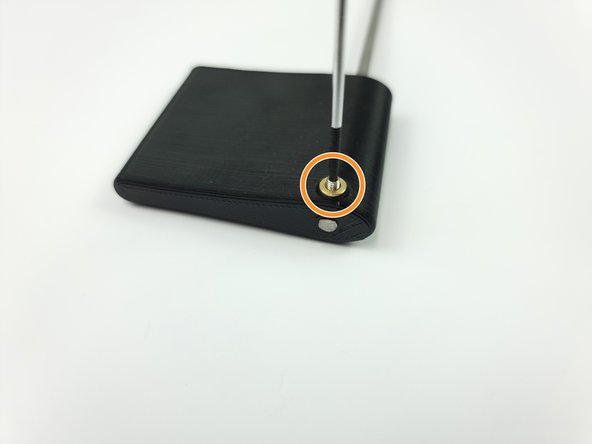
Heat set the threaded insert into each of the control surfaces using a soldering iron.
-
-
-
Cut the 4mm Stainless Rod to length. The length for the short control surfaces is 208mm
-
Cut another 4mm Stainless Rod for the long control surfaces at a length of 212mm
-
Optional: You can grind/file a flat onto the control rods to give a better surface for the set screw to screw into holding the control surface in the correct position.
-
-
-
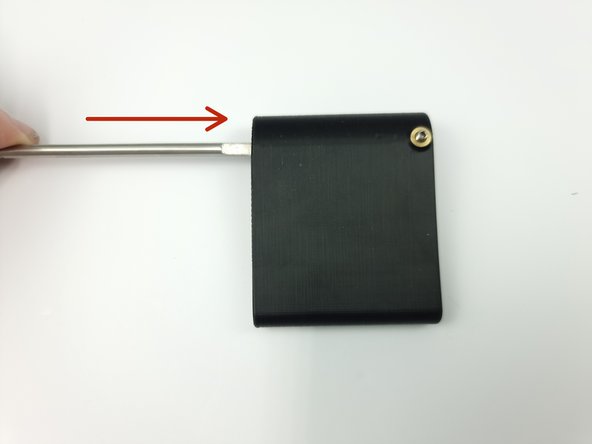
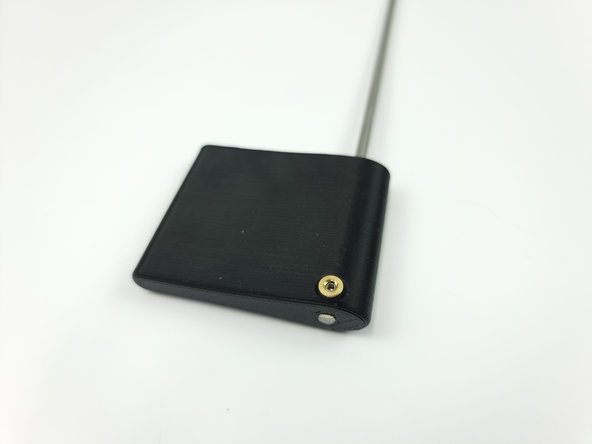
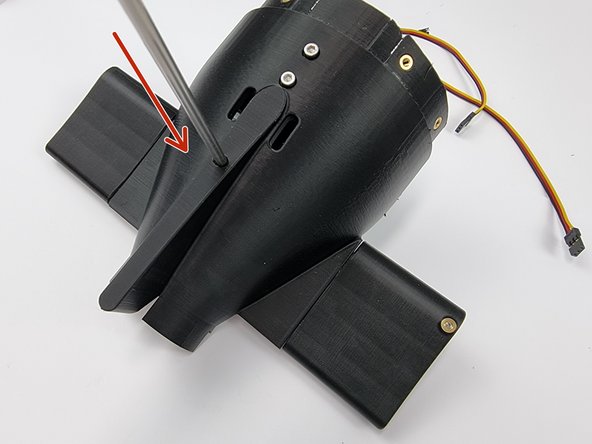
Install 1 of the short control surfaces onto one end of the 208mm control rod.
-
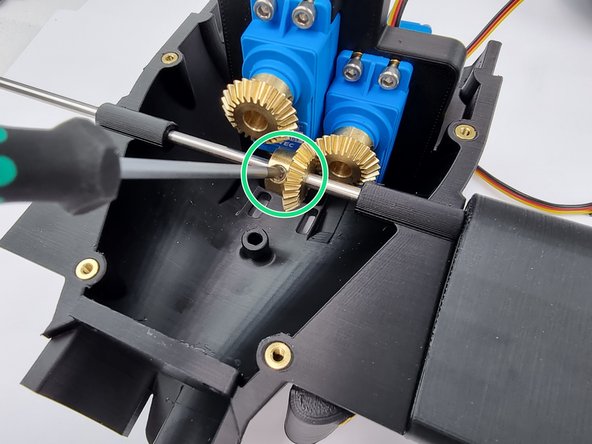
Insert an M3 set screw into the threaded insert and screw it down onto the control rod to fix it in place.
-
Ensure the control rod is flush with the end of the control surface.
-
-
-
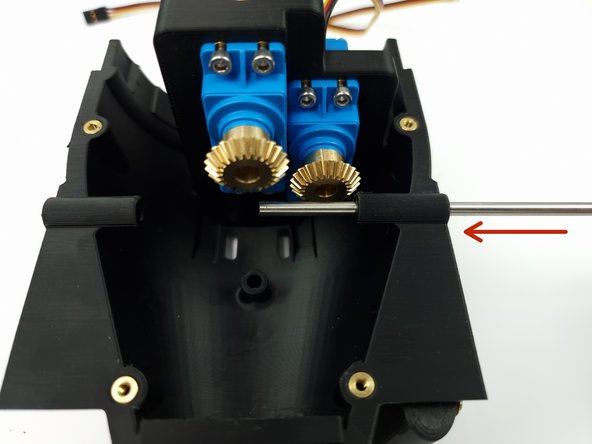
Slide the Control rod through the first hold of the Bottom Aft Cap.
-
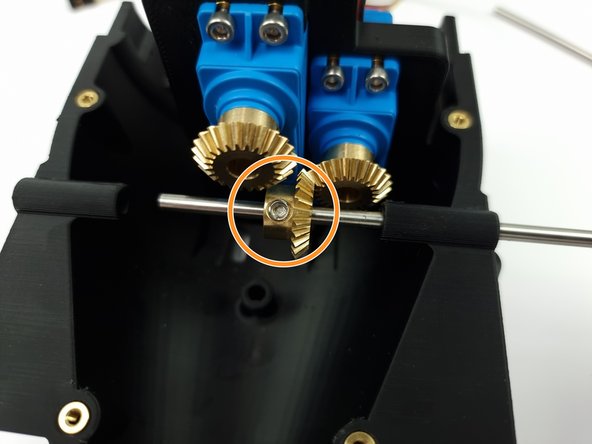
Slide the 4mm Bevel gear onto the control rod.
-
Now align the 4mm bevel gear with the bevel gear on the servo and fix into place with the set screw on the 4mm bevel gear.
-
Once the control has been inserted fully into the Bottom Aft Cap. Install the second control surface and fix into place with an M3 Set Screw
-
-
-
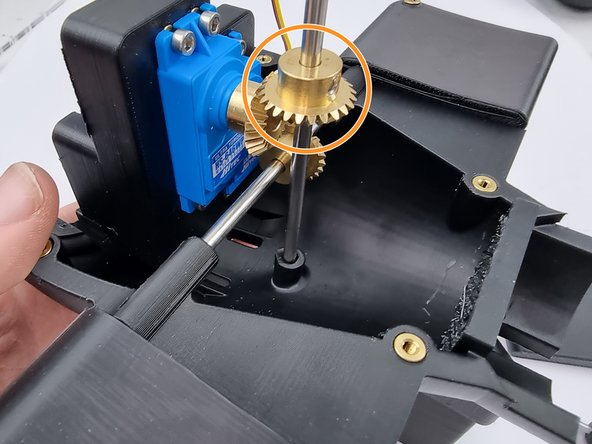
Slide the 212m Control rod through the vertical hole of the Bottom Aft Cap.
-
Slide the 4mm Bevel gear onto the control rod.
-
Now align the 4mm bevel gear with the bevel gear on the servo and fix into place with the set screw on the 4mm bevel gear.
-
Don't install the second long control surface until you have fitted the top aft cap.
-
Almost done!
Finish Line


