Tools
Parts
-
-
For the pump to fit correctly we need to remove the plastic section circled in red.
-
Use a pair of pliers or side cutters to cut the plastic tab off.
-
-
-
Place the pump mount onto the flange and line up the holes.
-
Insert 4 x M3 x 8mm Screws
-
Tighten using 2.5mm allen key
-
-
-
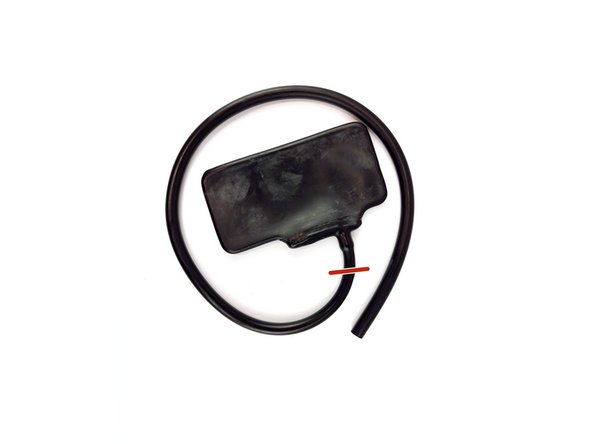
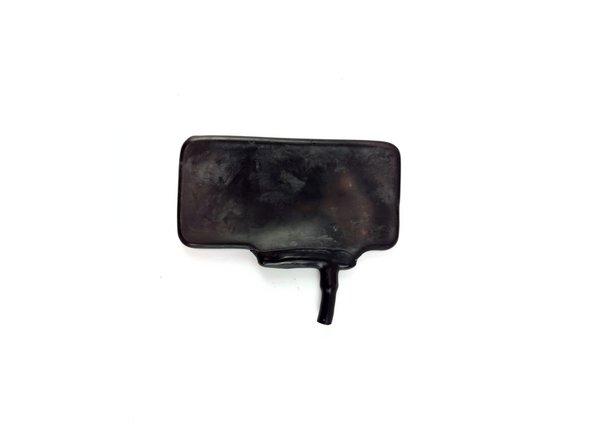
Trim the tube of the bladder to size.
-
We don't need the tube to be very long as the bladder sits right above the peristaltic pump
-
-
-
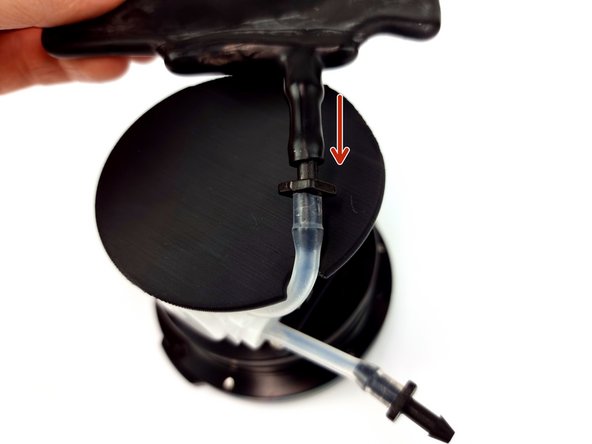
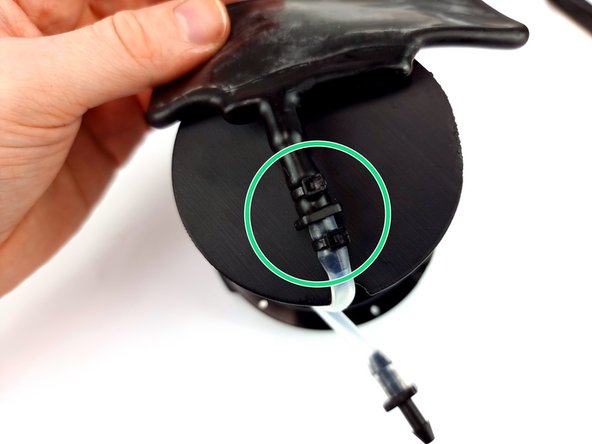
Connect the bladder to the 4mm off take on the outlet side (righthand side of the pump)
-
Ensure the tube is pushed all the way on to make a good seal
-
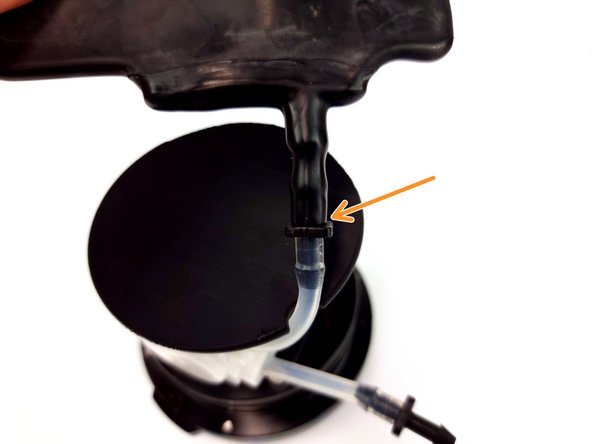
Install a cable tie on both sides of the off take
-
Ensure you trim the excess from the cable ties and there are no sharp bits of plastic exposed as these could puncture the bladder
-
-
-
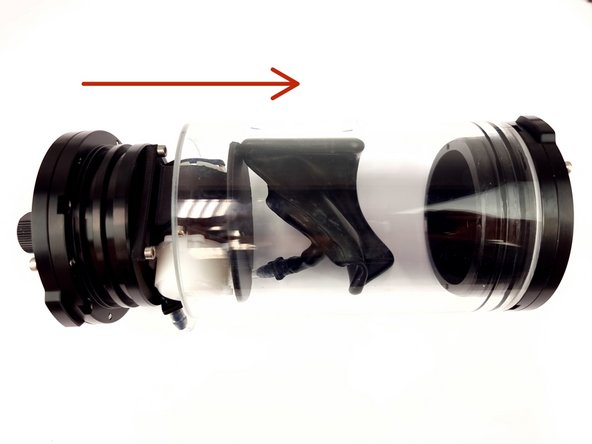
Place the bladder into the acrylic tube and slowly insert the end cap into the tube.
-
Watch that you don't pinch the bladder on the way in
-
Push the cap completely into the tube
-
-
-
We need to add braces to the ballast tank to stop the caps wanting to push out of the acrylic tube when we pump the bladder up.
-
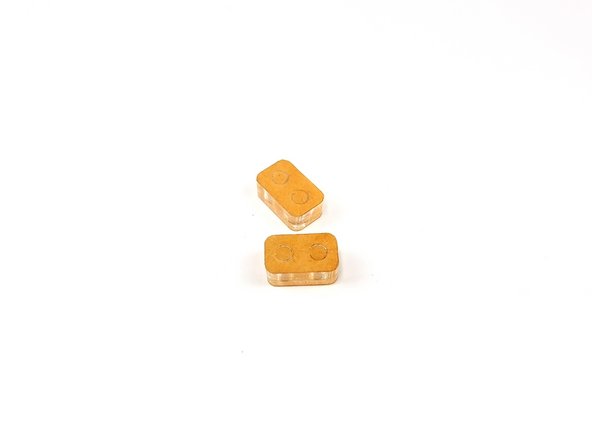
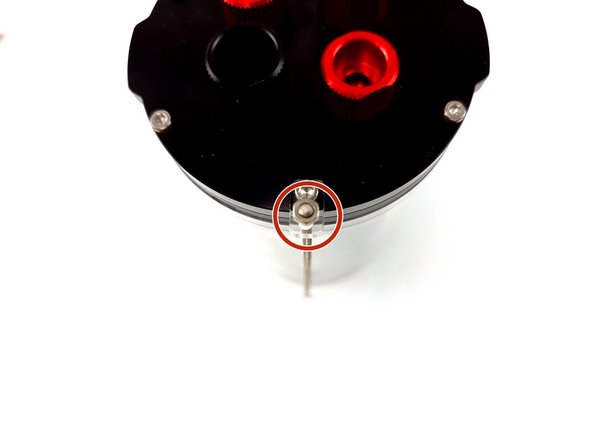
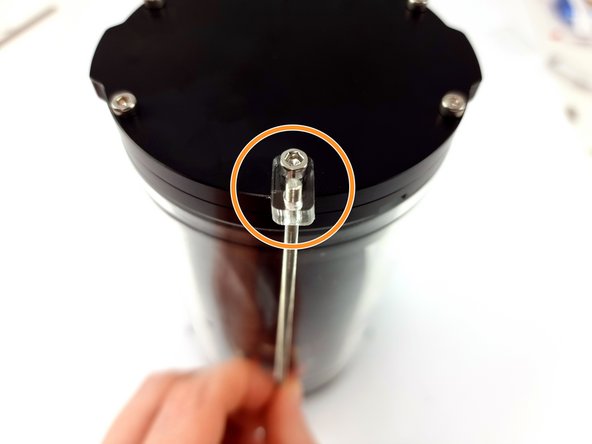
Find the Brace Supports that came with the kit. Remove the brown protective film from them and they are ready to be installed
-
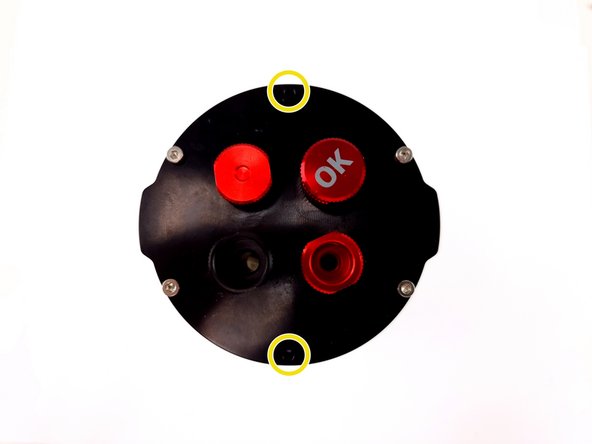
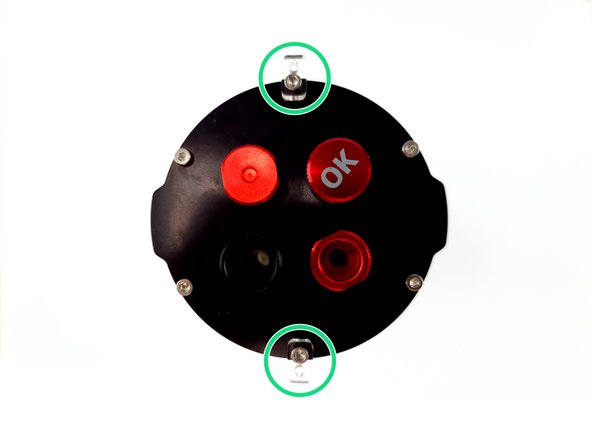
The 2 empty holes in the end cap that we haven't put bolts into yet are where we add the brace supports.
-
Using 2 x M3 x 16mm socket head cap screws install the supports onto the end cap
-
-
-
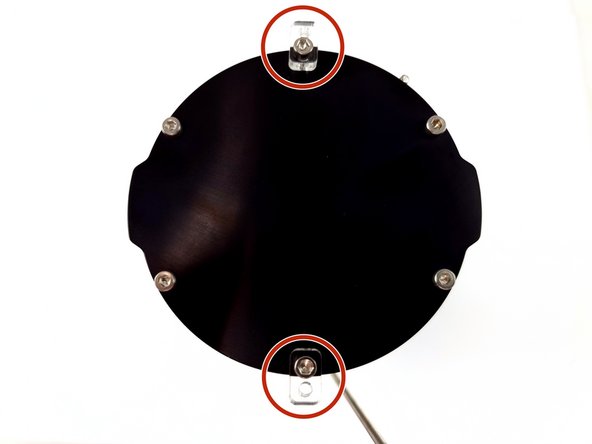
Install the brace supports on the other cap as shown
-
-
-
We use M3 threaded rod as the braces
-
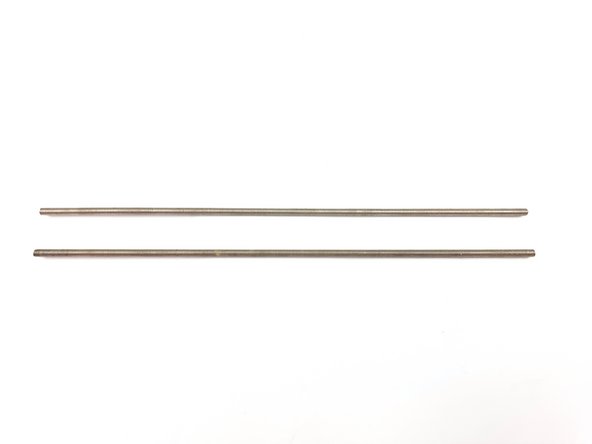
Cut 2 lengths of the M3 threaded rod to 180mm long.
-
It is recommended that you measure the length required for the M3 threaded rod as each ballast tank can vary slightly in length.
-
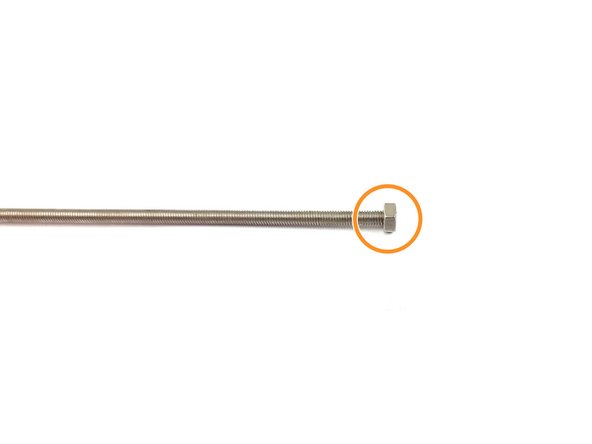
Once cut you can screw on an M3 nut to each of the threaded rods
-
-
-
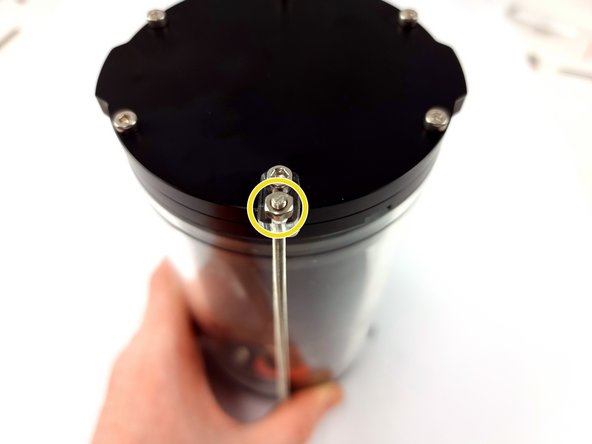
Slide the M3 threaded rod into the hole of the brace support.
-
Turn the unit around and feed the threaded rod through the brace support.
-
Screw on a M3 nut to secure the brace.
-
Repeat the same steps for the second brace.
-
-
-
The Ballast Tank assembly is now complete, except for the power wires and the water intake tube
-
We haven't put them in yet as we need to have the Sub almost fully assembled to measure the length on the wires to cut them and then install them into the penetrators
-


