
-
-
The final part of the assembly for the Aft Cap is to install the top aft cap and the last control surface.
-
You may notice the foam inserted in the bottom of the aft cap. This is used to adjust the bouyancy of the submarine. We 3D Printed a mould and poured foam to create the insert but you can cut section of foam instead.
-
-
-
Insert the 2 threaded inserts into the top aft cap.
-
Ensure to clean the hole of any support material.
-
-
-
Place the top aft cap on feeding the control surface rod through the hole of the top aft cap.
-
Once in place insert 4 x M3x12mm Screws and tigthen to fix the cap in place
-
-
-
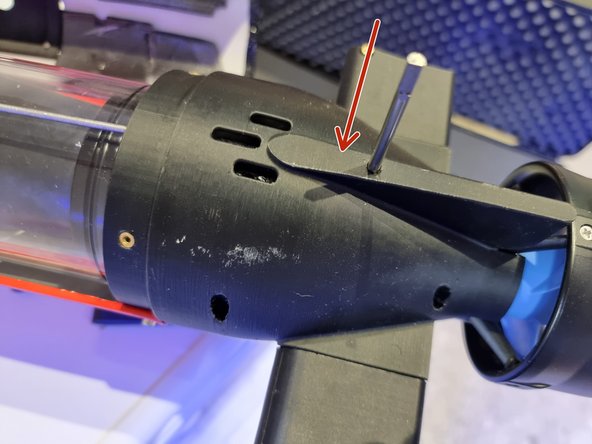
Slide the Large control surface onto the control rod.
-
Once in place tighten the set screw to fix the control surface in place.
-


Almost done!
Finish Line