-
-
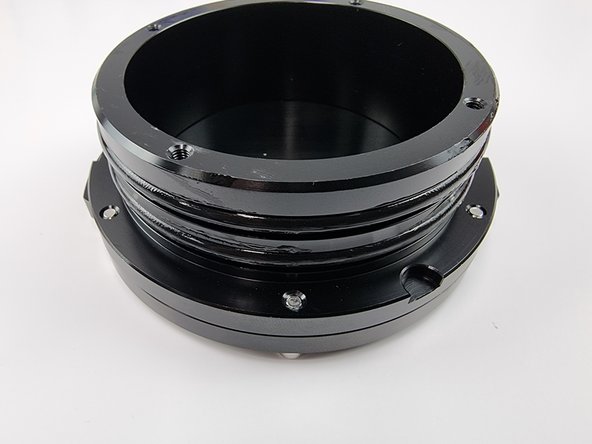
Unpack an O-ring flange.
-
Grab the thinner o-ring and lubricate it with silicone grease.
-
Place the o-ring into the groove on the face of the flange.
-
-
-
Grab a no hole end cap.
-
Place the end cap onto the O-ring Flange
-
Insert the 6 socket head cap screws through the cap and tighten
-
-
-
Lubricate the 2 thicker o-rings with a small amount of silicone grease.
-
Install them into the grooves on the o-ring flange
-
-
-
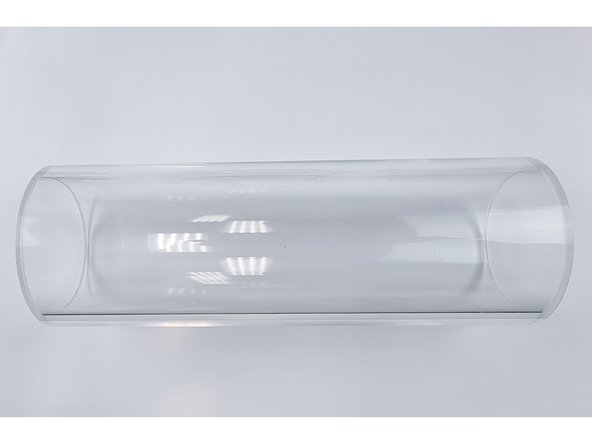
Unpack the 250mm Acrylic tube and prepare it for installation
-
-
-
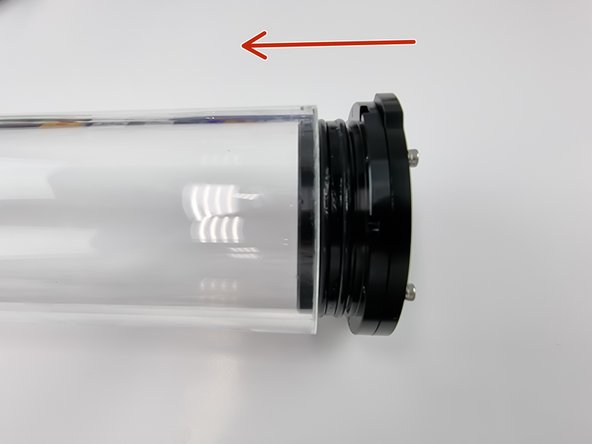
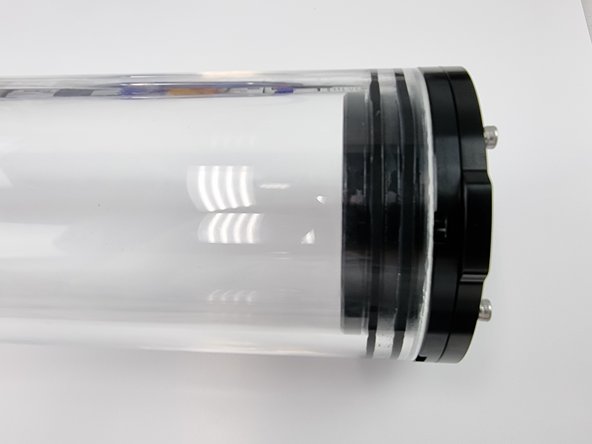
Ensure the inside of the acrylic tube is clean and insert the assembled end cap into the tube.
-
Carefully push it all the way in ensuring that the o-rings don't get caught as you insert it.
-
-
-
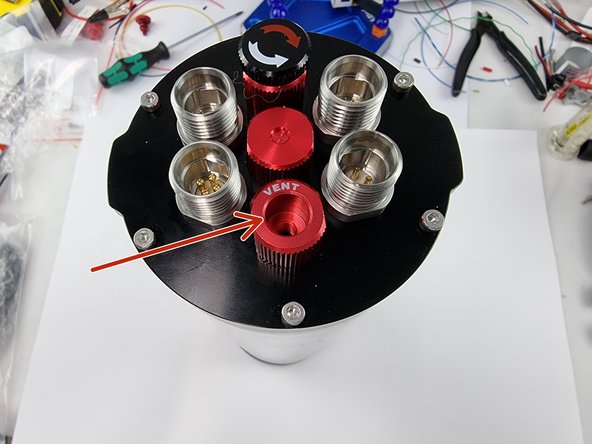
Before we insert the assembled end cap with support plate into the acrylic tube we need to remove the vent plug
-
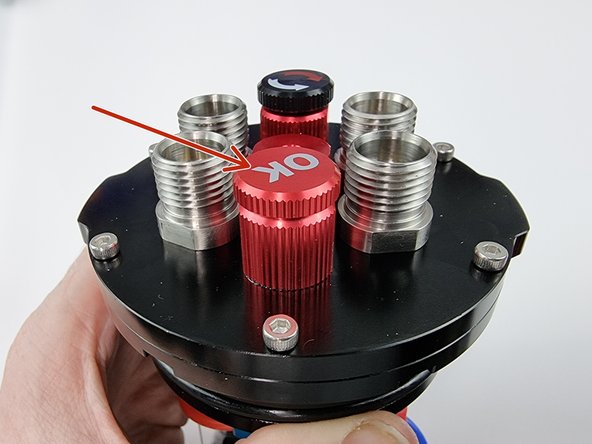
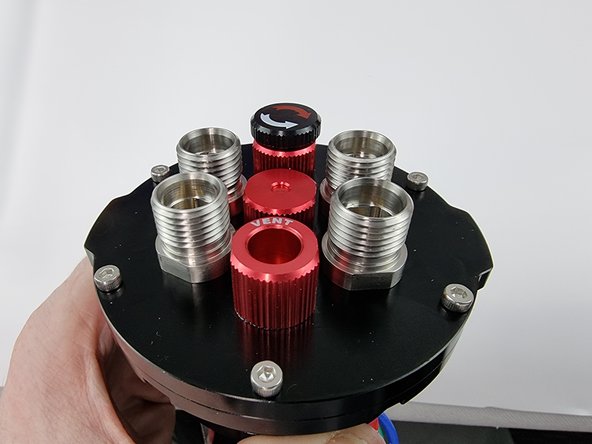
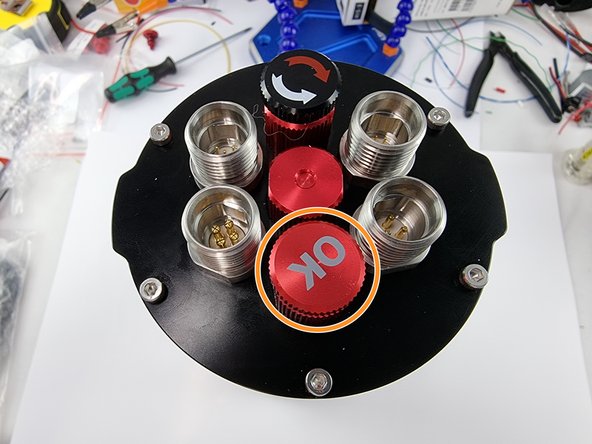
Unscrew the plug with the OK written on it. Once it unscrews pull the plug out.
-
-
-
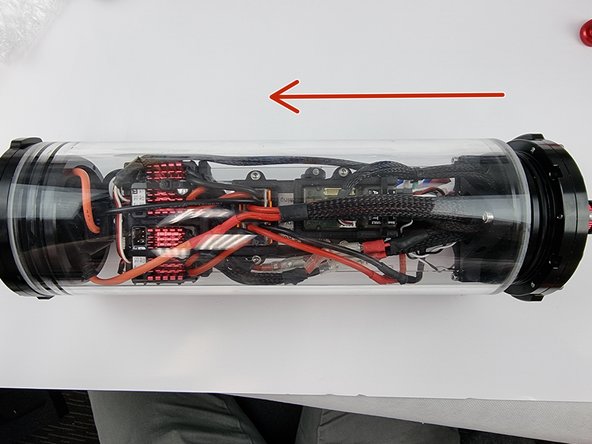
Carefully slide the support plate with the components into the acrylic tube. Watch that you don't catch any wires as you insert it.
-
Once inserted carefully push the end cap in ensuring the o-rings don't catch and get damaged.
-
Match the orientation of the 2 end caps. Twist one of the end caps until the tabs on the side of the end cap line up with the other end cap.
-
-
-
Now that the PPM is assembled we can insert the vent plug back in
-
Push the vent plug in and then screw it all the way down to ensure a good seal
-
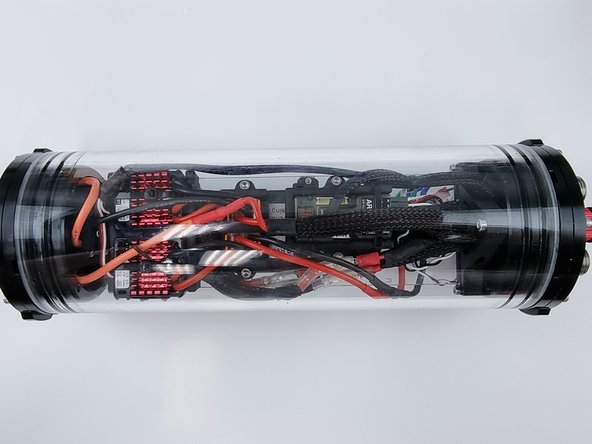
Congratulations the Power and Processing Module (PPM) is now fully assembled and ready to be installed into the submarine
Congratulations the Power and Processing Module (PPM) is now fully assembled and ready to be installed into the submarine


