Introduction
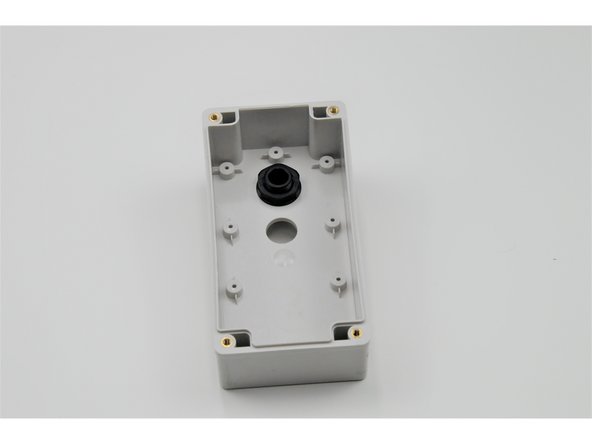
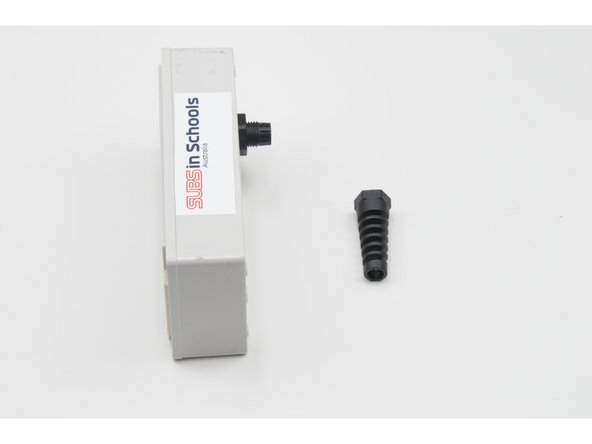
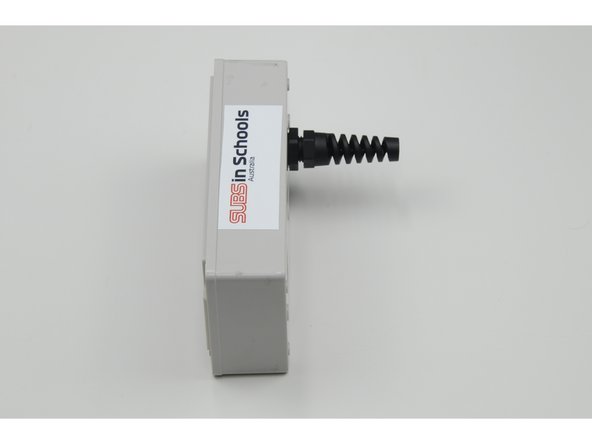
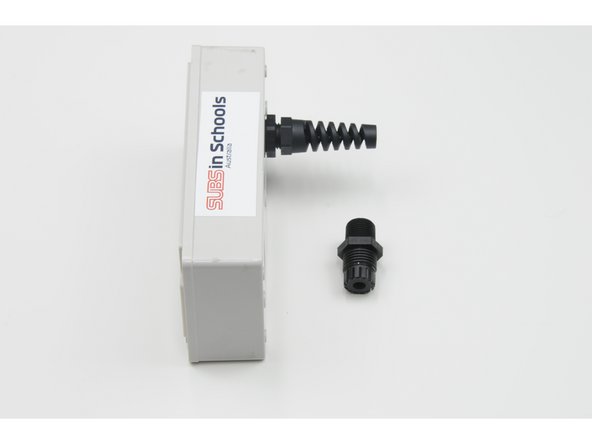
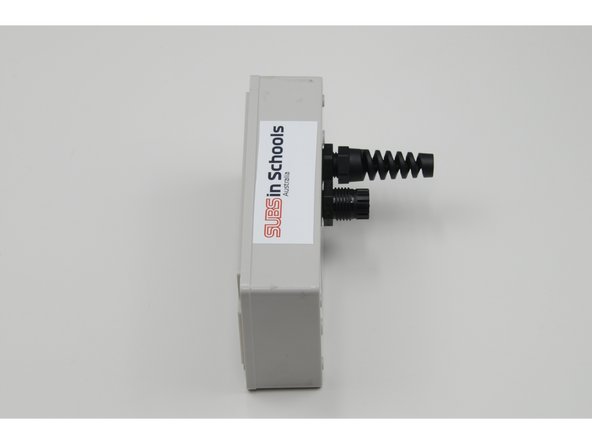
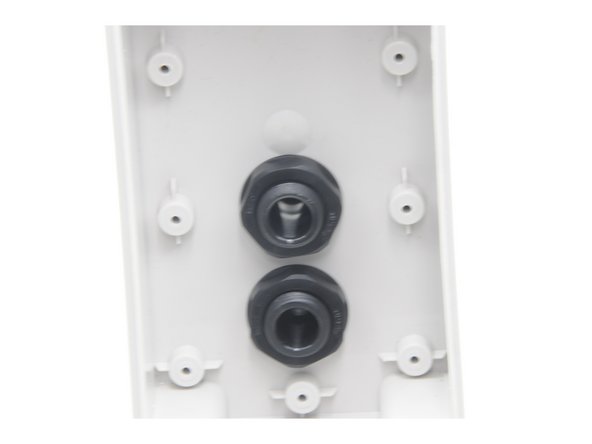
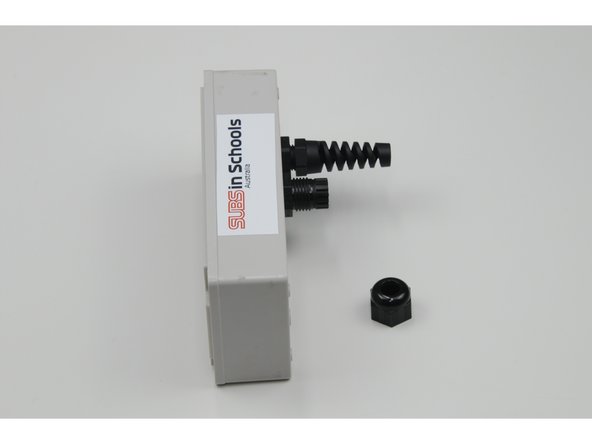
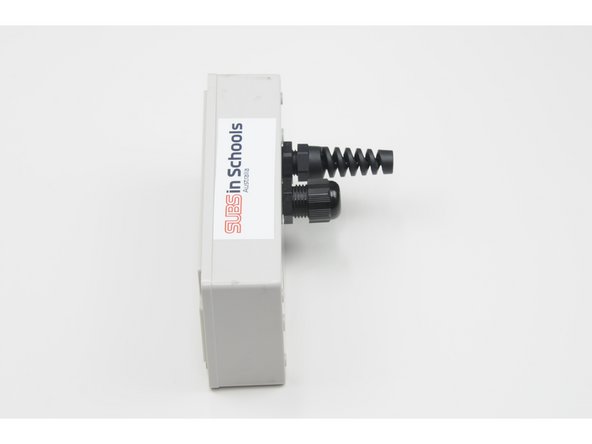
Two holes are drilled in the plastic box. The ROV tether will pass through one hole; the power wires will pass through the other hole. Both wires will pass through stress relievers. The tether wire will pass through the 14mm long stress relief. The power wire will pass through the 3/8-inch long short stress relief.
To install the stress reliefs:
-
-
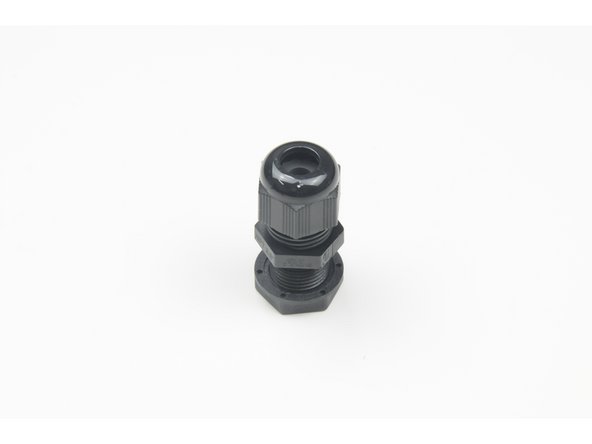
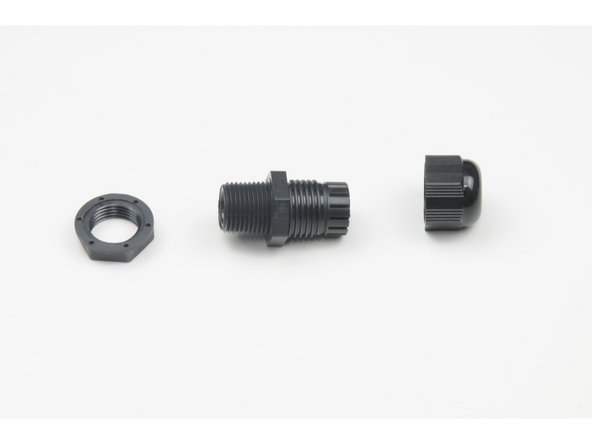
Unscrew the long stress relief into the three components.
-
-
-
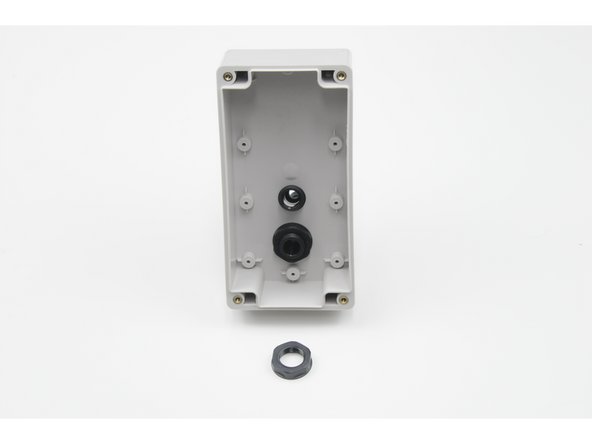
Push the plastic bolt through the hole closest to the edge of the controller.
-
The hexagonal part of the bolt should be flush against the outside of the control box, with the small threads protruding through the hole in the control box.
-
-
-
Screw the small nut onto the small threads until the bolt is tightly secured to the control box.
-
-
-
Loosely screw the stress relief (long) onto the larger threads.
-
-
-
Unscrew the short stress relief into the three components.
-
-
-
Push the plastic bolt through the hole closest from the centre of the controller.
-
The hexagonal part of the bolt should be flush against the outside of the control box, with the small threads protruding through the hole in the control box.
-
-
-
Screw the small nut onto the small threads until the bolt is tightly secured to the control box.
-
-
-
Loosely screw the stress relief (short) onto the larger threads.
-