-
-
Before we can add the potting compound into the penetrators we need to seal the backside of the to stop the potting compound from running out the bottom of the penetrator.
-
A simple way to do this is to use a piece of heatshrink to slide over the end of the penetrator and the wires.
-
If you don't have the correct size heatshrink you can use tape or blue-tak to seal of the bottom of the penetrator.
-
-
-
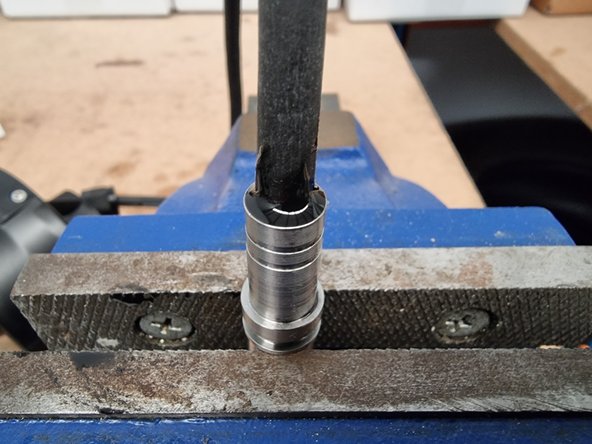
We need to prepare the rigid tubing that goes through the 8mm penetrators.
-
Before we pot them with the potting compound we need to roughen the surface of the tube to get better adhesion of the potting compound onto the tube.
-
Use a piece of sand paper to roughen the surface of the tube.
-
-
-
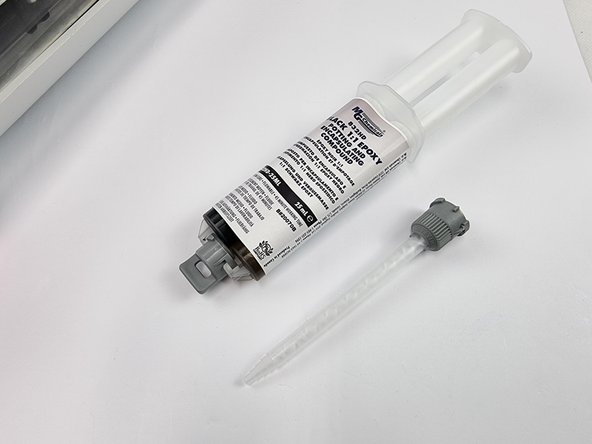
Unbox the potting compound
-
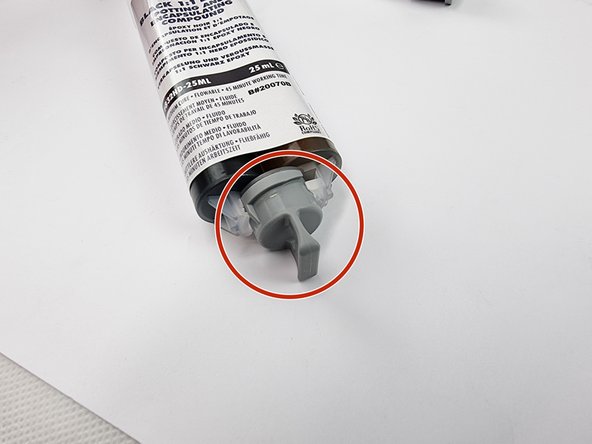
Twist the cap of the potting compound to remove it
-
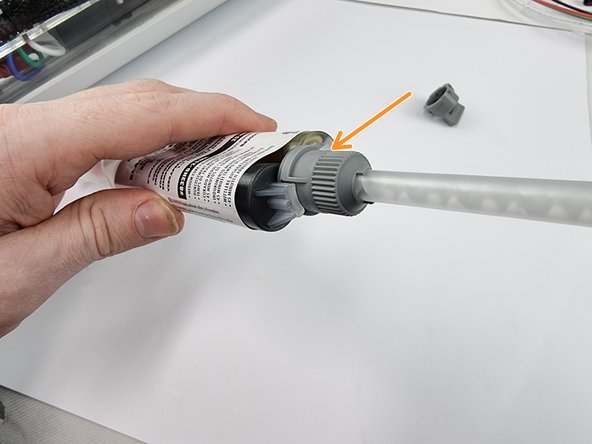
Install the nozzle onto the tube and twist on to lock it into place.
-
-
-
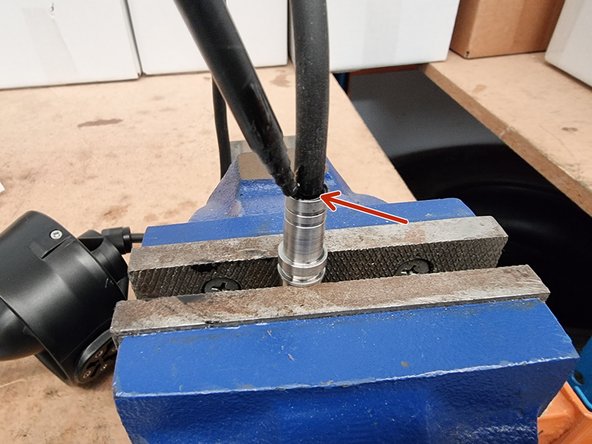
First start with the 3 pin connector on the thruster cable.
-
Fill the void between the cable sheath and the connector shell with the potting compound.
-
Wiggle the cable around to help the potting compound settle into the connector shell and ensure it has filled all the voids inside.
-
If you get any of the potting compound on the outside of the connector shell wipe it off if it doesn't wipe off easily you can use acetone to help remove it.
-
-
-
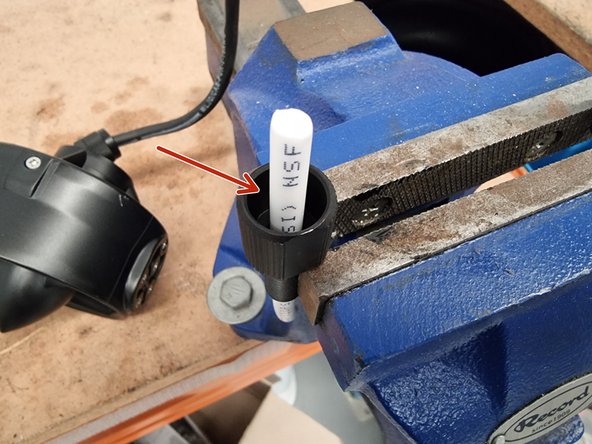
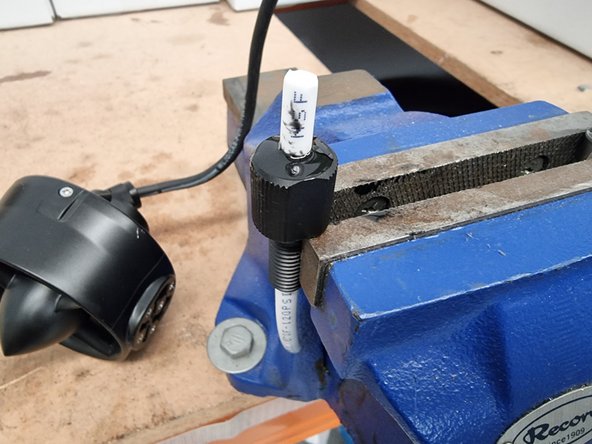
Next is the 8mm Penetrators. Secure them somewhere that they are standing upright.
-
Fill the cavity in the penetrator between the rigid tubing with the potting compound.
-
Wiggle the tubing around to ensure that all the voids are filled with the potting compound
-
-
-
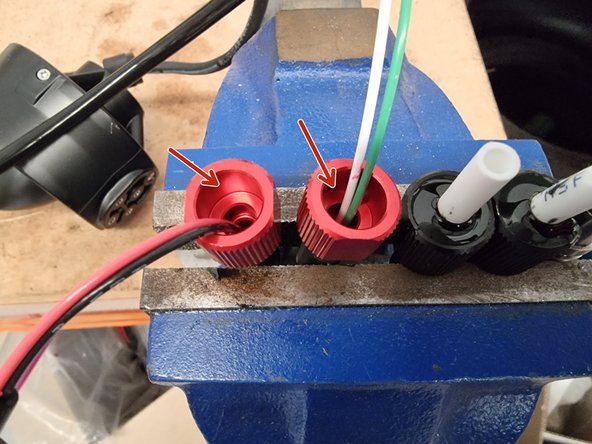
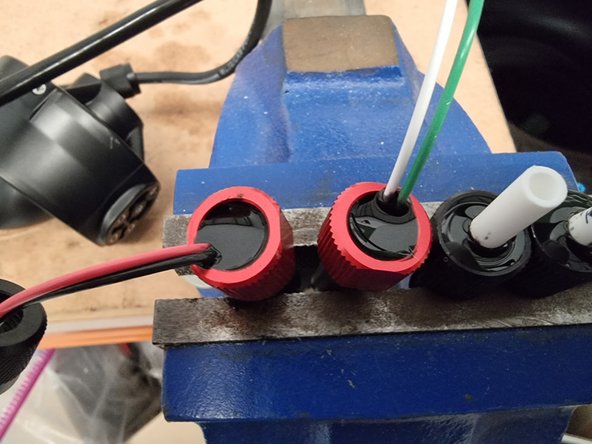
Place the 2 x 6mm penetrators somewhere that they are standing upright.
-
Fill the cavity in the penetrator between the wires with the potting compound.
-
Wiggle the wires around to ensure that all the voids are filled with the potting compound
-
Leave the penetrators overnight before touching them to ensure the potting compound has cured fully.
-
-
-
Once the potting compound has cured you can proceed to follow the assembly guides showing how to install them.
-
Almost done!
Finish Line


