Introduction
This guide will outline the components that aren’t included as part of the kit and need to be manufactured by you or outsourced.
Internally at REA we 3D Printed all of the components listed on our Makerbot Method X using a mix of ABS, PLA and PETG filaments.
Hints:
- Where possible use dissolvable support material to improve the quality of the part and aid in the removal of the support material.
- It is worth looking into the infill percentage that you use to print the parts to adjust the buoyancy of the parts to help trim the Submarine.
- We would recommend sealing the parts before using them on the Submarine as most 3D Printed parts will absorb water which will affect the trim of the Submarine. Filaments like PETG can help with this as it has very good layer adhesion helping the part self seal.
Tools
Parts
No parts specified.
-
-
Being a large part it will take quite some time to print.
-
The rear of the Sub can be quite heavy due to the thruster and the 2 servos. So it is best to make the other parts as light as we can to help with the trim of the Sub.
-
Once printed clean off any support material whether that be breakaway support or dissolvable support.
-
The part is now ready for the assembly guides.
-
-
-
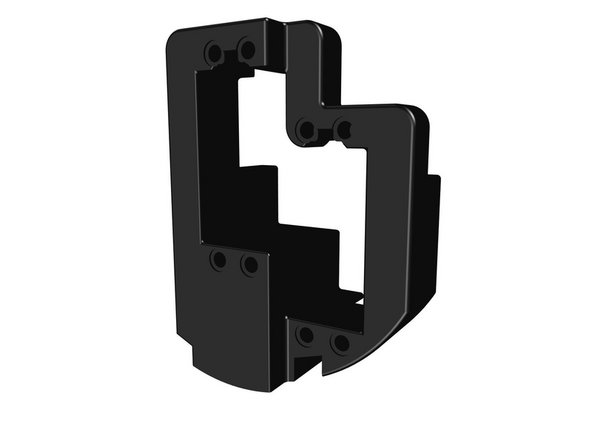
This part made separate to the Aft Cap - Bottom to make it easier to install the servos into.
-
Once printed clean off any support material whether that be breakaway support or dissolvable support.
-
Check the diameter of the holes to ensure they are close to 4.0mm as this is required to install the threaded inserts into.
-
The part is now ready for the assembly guides.
-
-
-
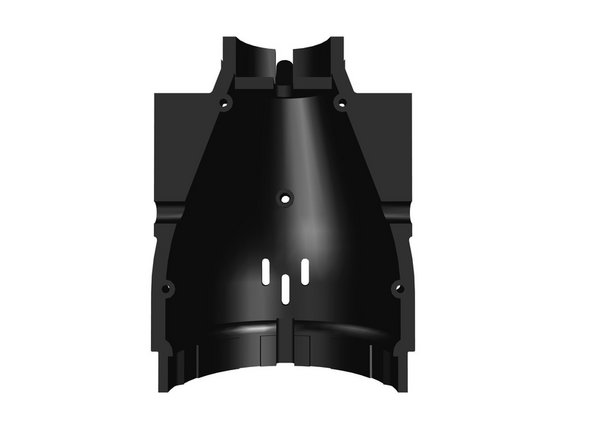
Being a large part it will take quite some time to print.
-
The rear of the Sub can be quite heavy due to the thruster and the 2 servos. So it is best to make the other parts as light as we can to help with the trim of the Sub.
-
Once printed clean off any support material whether that be breakaway support or dissolvable support.
-
The part is now ready for the assembly guides.
-
-
-
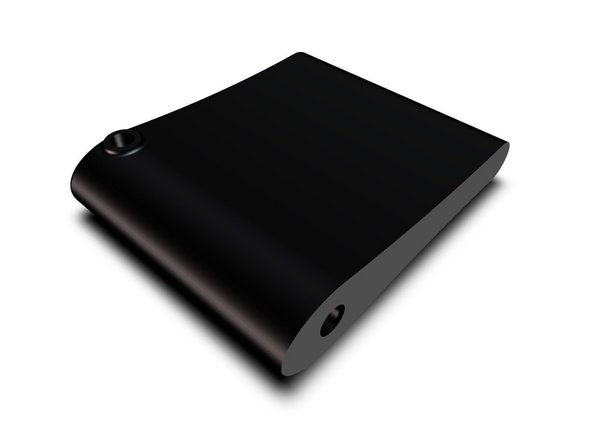
The are 2 different length control surfaces used on the Submarine. The short ones are to control the pitch of the Submarine.
-
2 of these are required for the Aft Cap Assembly.
-
Once printed clean off any support material whether that be breakaway support or dissolvable support.
-
The part is now ready for the assembly guides.
-
-
-
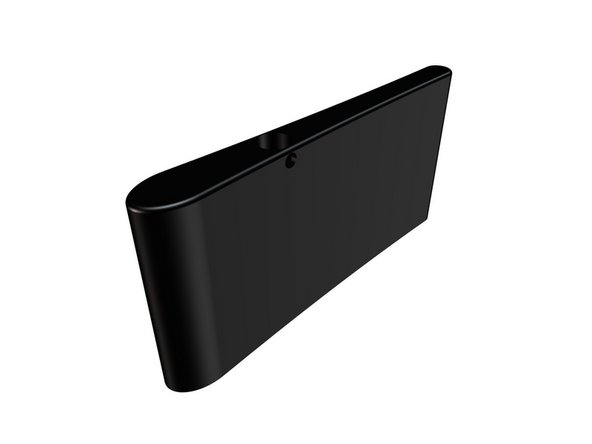
The are 2 different length control surfaces used on the Submarine. The long ones are to control the yaw of the Submarine.
-
2 of these are required for the Aft Cap Assembly.
-
Once printed clean off any support material whether that be breakaway support or dissolvable support.
-
The part is now ready for the assembly guides.
-
All the parts for the Aft Cap assembly are now ready to be assembled. Click here to see the guides for assembly
All the parts for the Aft Cap assembly are now ready to be assembled. Click here to see the guides for assembly


