Tools
Parts
No parts specified.
-
-
Using the information found in the 'Buoyancy Theory' guide, select the ideal ballast material for your application.
-
For ease of explanation, this guide will will refer to pool noodle foam as the ballast of choice.
-
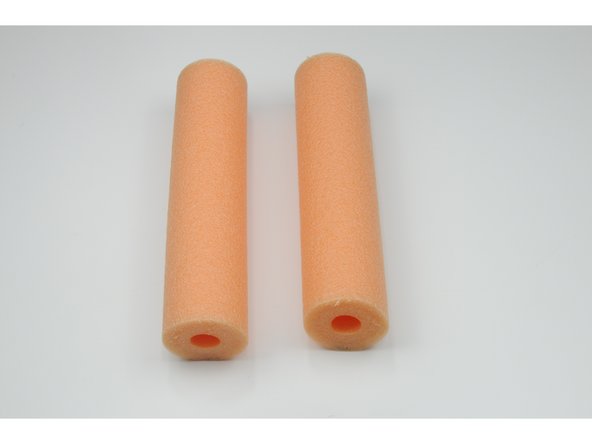
Your Development Class ROV Kit includes two lengths of pool noodle foam for use.
-
-
-
Using the previous calculations, determine the quantity of ballast required to meet your buoyancy needs.
-
-
-
Using a ruler, or similar measuring device, mark the desired length of pool noodle .
-
A whiteboard marker or similar will suffice for this application.
-
-
-
Using a vice, hold the pool noodle in place ready for cutting.
-
-
-
Using a hacksaw, carefully cut the desired length of foam, taking the time to ensure a clean cut at a 90* angle to the end of the foam.
-
Slight variation may occur depending on the type of blade used, however we recommend long, slow cuts.
-
It is also recommended that the foam be supported on both sides of the blade to create a clean cut.
-
-
-
You may wish to cut your length of foam to wrap the PVC frame.
-
To do this, we recommend using a 20-25mm spade bit with a drill.
-
-
-
Take time to measure and mark the desired location(s) for the hole before drilling.
-
Using the vice to hold the foam in place, carefully drill out the hole(s).
-
A slow cutting speed is recommended to avoid tearing the foam.
-
Drill until the bit enters the hollow centre of the noodle.
-
-
-
Finally, mark a centreline down the full length of the noodle, ensuring it is lined up with the hole(s).
-
-
-
Using a hacksaw, carefully cut down the marked line into the centre of the noodle.
-
-
-
Mount the ballast to the ROV.
-
You may now submerge the ROV in a body of water to test for buoyancy.
-
For instructions on how to test your ROV's buoyancy, refer to the 'Testing for Buoyancy' guide.
-


