Tools
Parts
No parts specified.
-
-
With the ROV Control Box disassembled, or detached from the ROV tether, you may begin breaking the ROV down.
-
-
-
Start by removing any ballast from the frame. This will allow unobstructed access to the ROV and its wiring scheme.
-
-
-
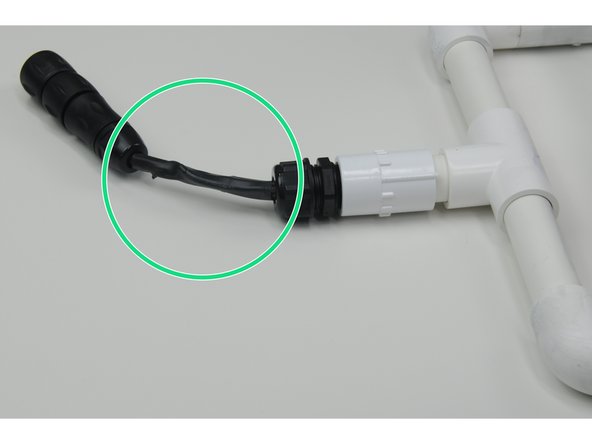
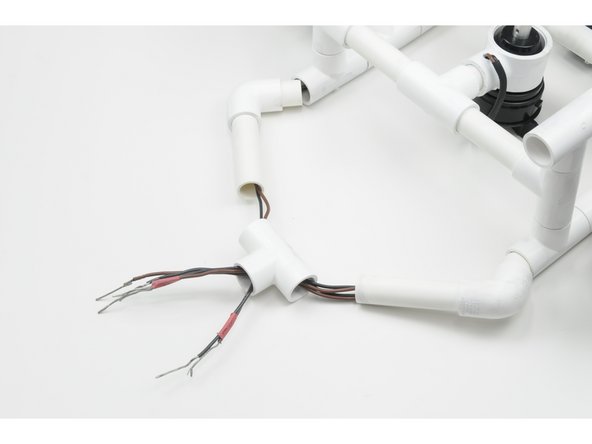
Now you can start the removal of the tether cable, as this will allow the motor units to be separated from the frame.
-
To do so, start by identifying where the motor wires have been soldered to the tether wires.
-
This may involve the removal of heat shrink. If so, be careful not to slice into the wrapped wires with your sharp implement of choice.
-
Small scissors when used carefully can prove effective in this situation.
-
-
-
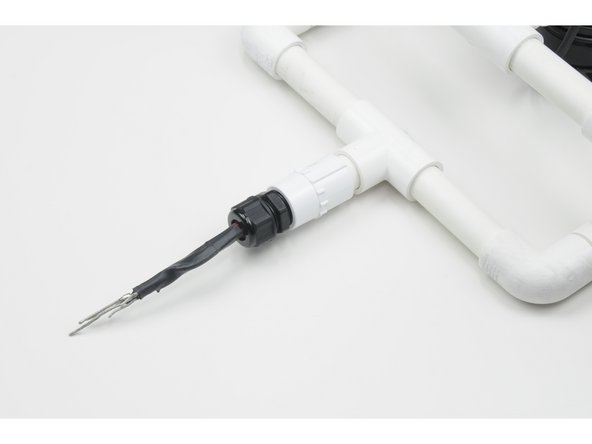
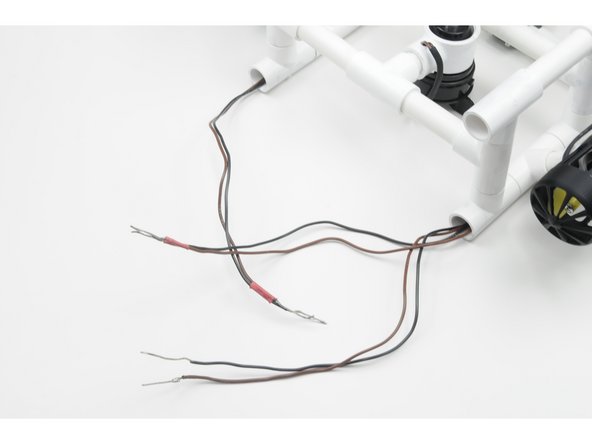
Now that the wires are exposed, you can identify how you will separate the wires.
-
You may opt to de-solder the wires, which, if practical, can be the best option as no wires must be cut shorter than they already have been.
-
This will leave the next user with the maximum amount of wire length available.
-
Note the pictured ROV used a 6-pin connector and thus did not require de-soldering. Your build may differ.
-
-
-
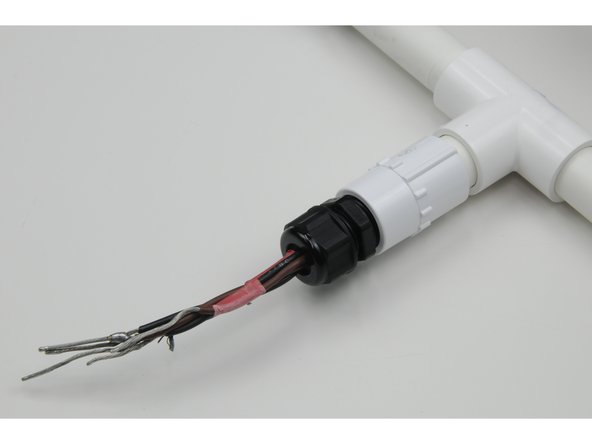
If de-soldering is not an option, the cut should be made on the grey cable side of the soldered connections, as to not reduce the already shortened length of the motor wires.
-
This is essential as if the motor wires become too short, it will become increasingly difficult to route the wires through the frame.
-
-
-
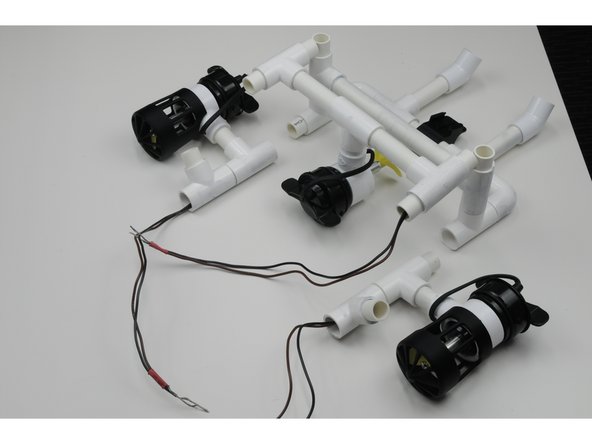
Now that the tether cable has been separated from the frame, and the individual motor wires are free, the internal wiring can be removed.
-
-
-
With the wires removed from the internals of the frame you may begin to repack them.
-
Using an elastic band, tie the motor wires up in a neat fashion, like when you first unboxed the ROV Kit.
-
-
-
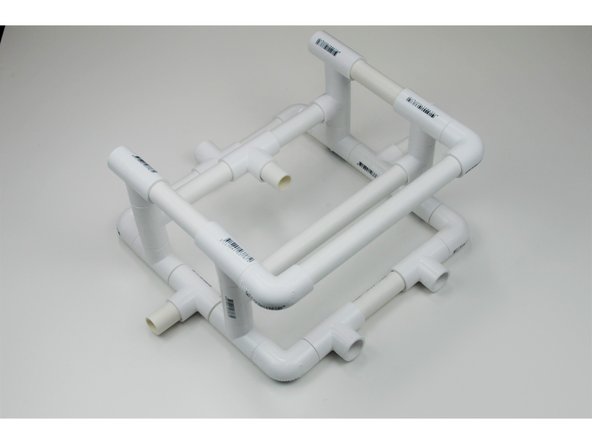
With the motors and tether removed, you may begin to disassemble the frame into its individual components.
-
-
-
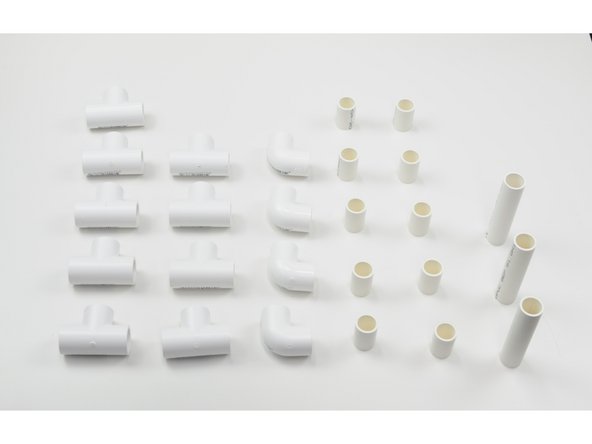
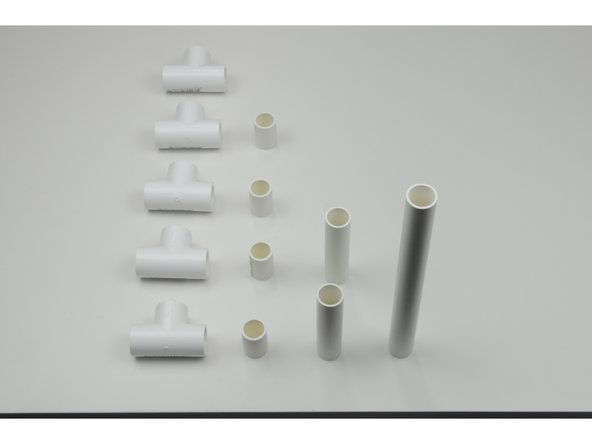
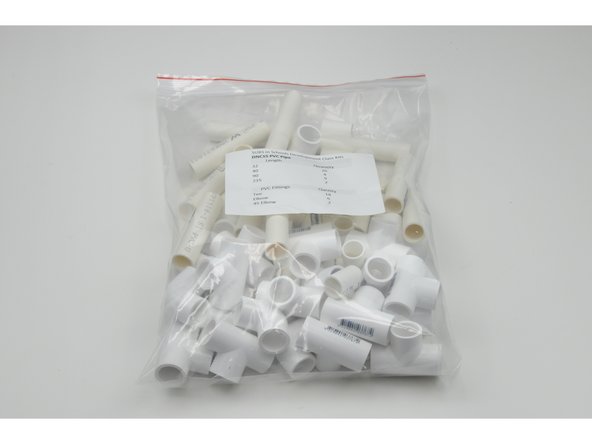
Place the PVC fittings back into the labelled bag they came in, and using the parts list on the bag, check you have all the listed components.
-
If you have heavily modified any components, let your teacher know as they may need to be replaced before the next team / class uses the kit.
-
-
-
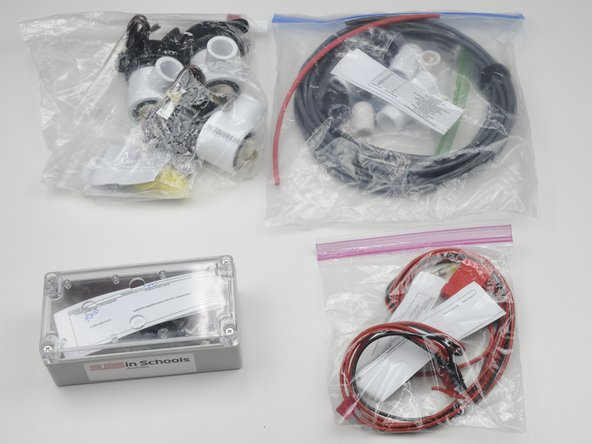
Place the four kit bags and the closed control box back into the ROV box, along with any sets of instructions or other documents that came with the kit, and re-seal the box for the next team / class.
-