Tools
Parts
No parts specified.
Video Overview
-
-
Find this bag of M3 Threaded Inserts.
-
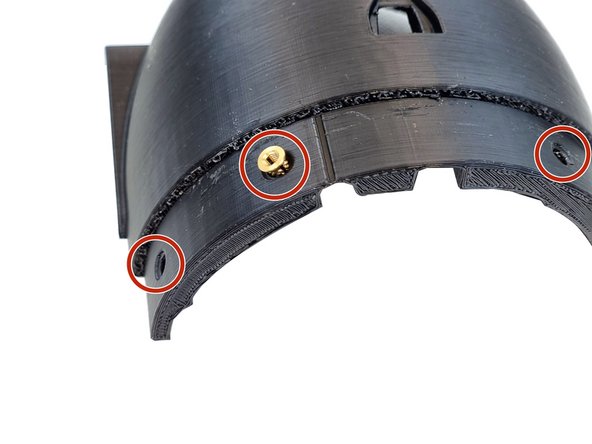
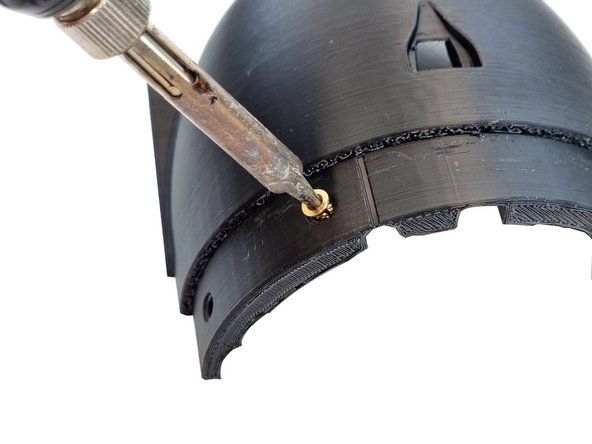
We heat set these inserts into or 3D Printed components using a soldering iron.
-
-
-
Place an insert into the hole. Don't try to insert it all the way.
-
Put the tip of the soldering iron into the insert and as the insert heats up you will be able to gently push it into the hole
-
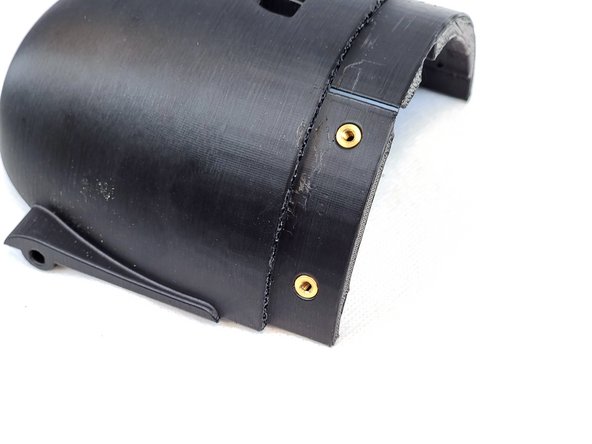
Push it in until the insert is flush with the surface.
-
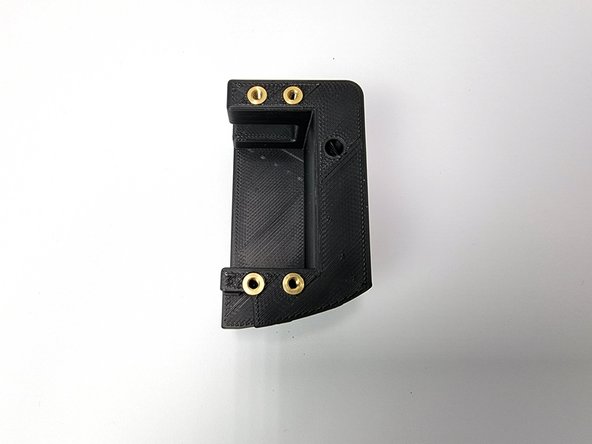
Install the other 2 inserts on this side of the cap using the same procedure,
-
-
-
Following the same procedure place the inserts on the bottom of the cap.
-
There are 4 inserts to be inserted on the bottom. These are to screw the cap to the bottom hull.
-
-
-
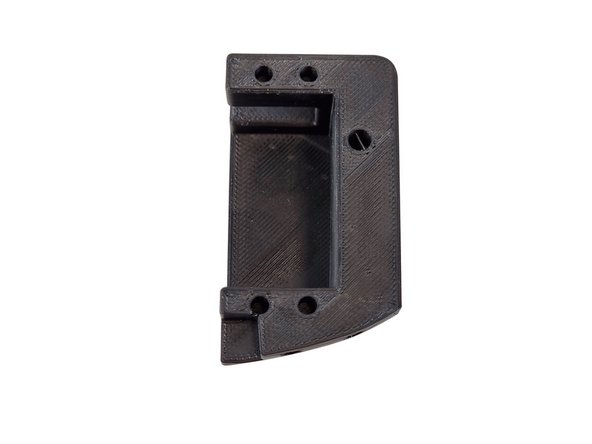
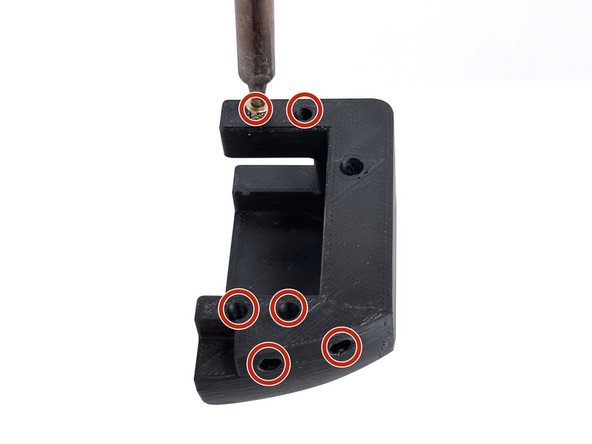
Locate the Fore Servo Mount and prepare to install the threaded inserts
-
Install the inserts 4 on the side and 2 on the bottom
-
-
-
Ensure you have waterproofed your servo following this guide before installing it.
-
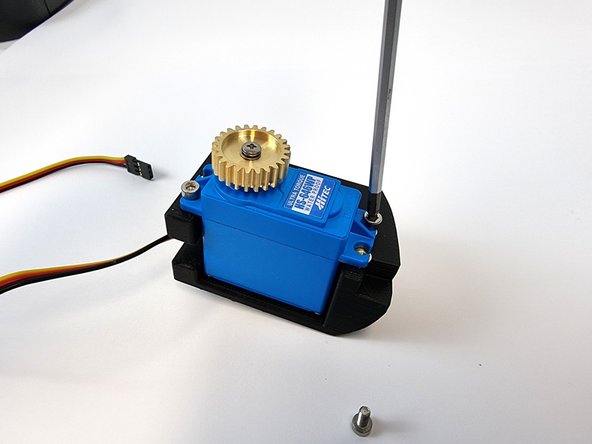
Push the wire through the mount first, followed by the servo.
-
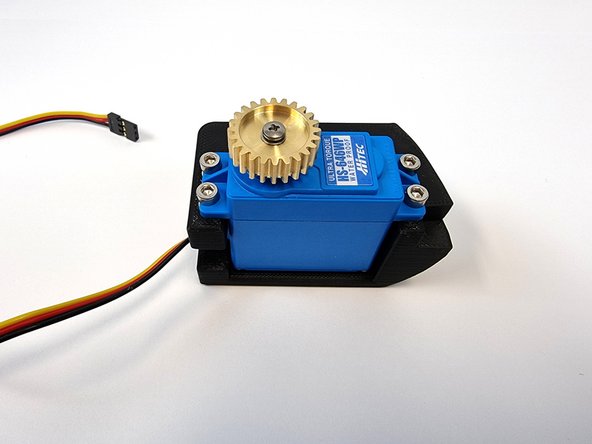
Insert the 4 x 8mm Socket Head Cap Screws
-
-
-
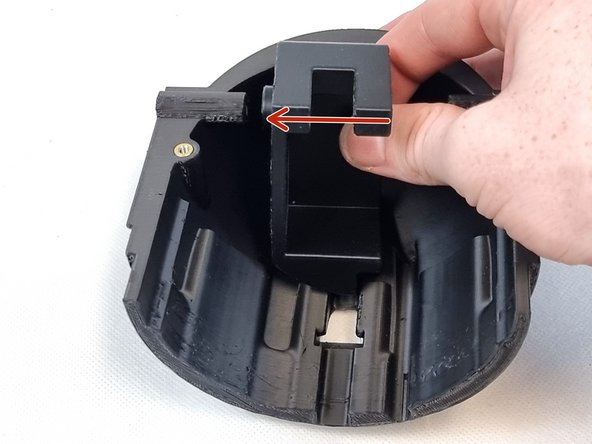
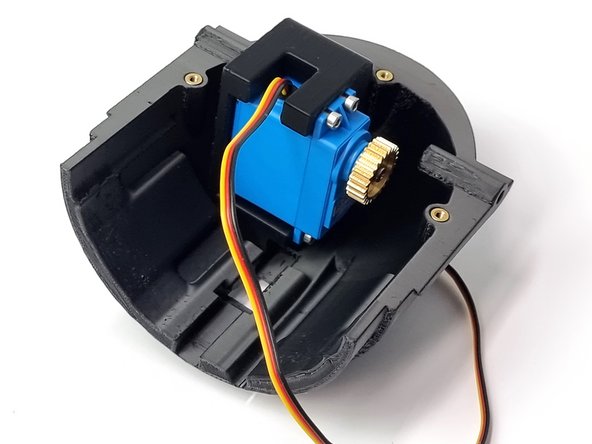
Place the servo mount into the bottom cap and slide it to the left as shown seating it onto the shaft for the control rod.
-
Ensure the servo is mounted into the servo mount before installing it.
-
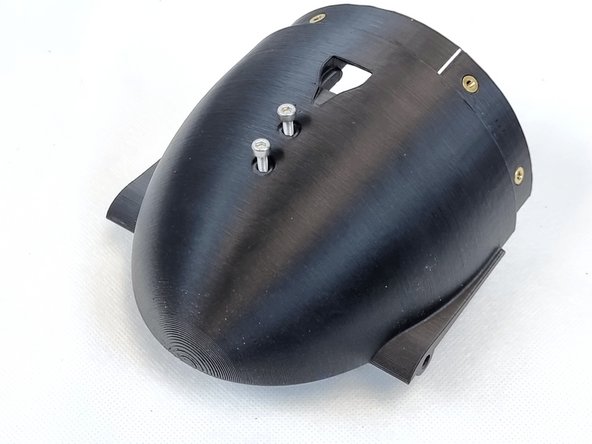
Flip the cap over and install 2 x M3 x 12mm socket head cap screws.
-
The assembly of the Bottom Fore Cap I now complete. You can move onto the next guide
The assembly of the Bottom Fore Cap I now complete. You can move onto the next guide


