-
-
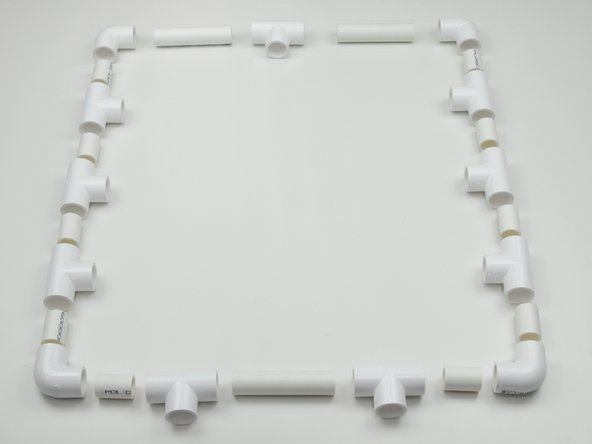
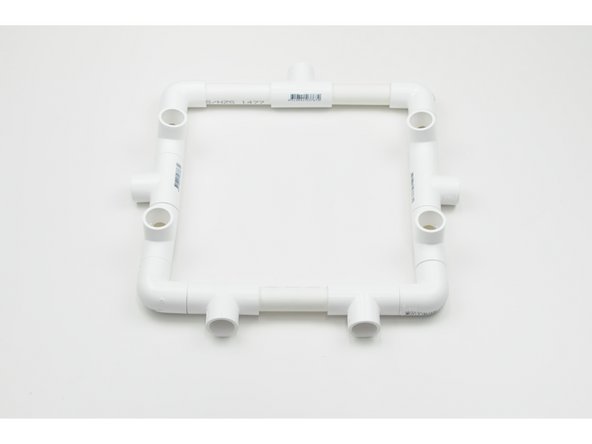
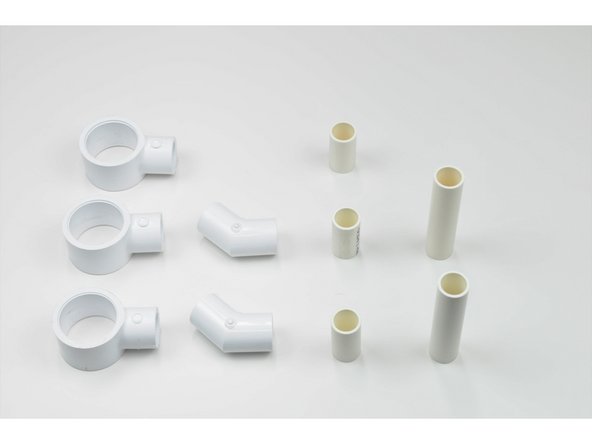
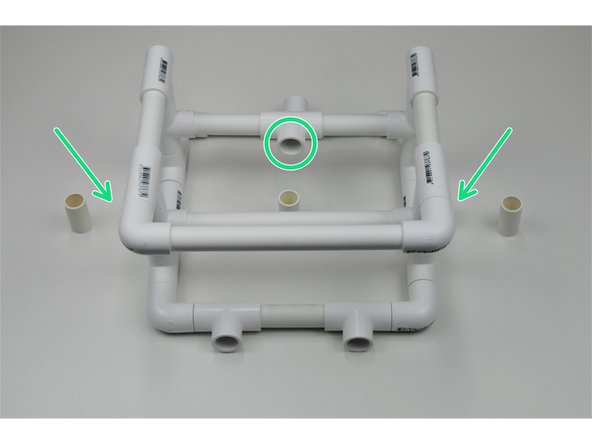
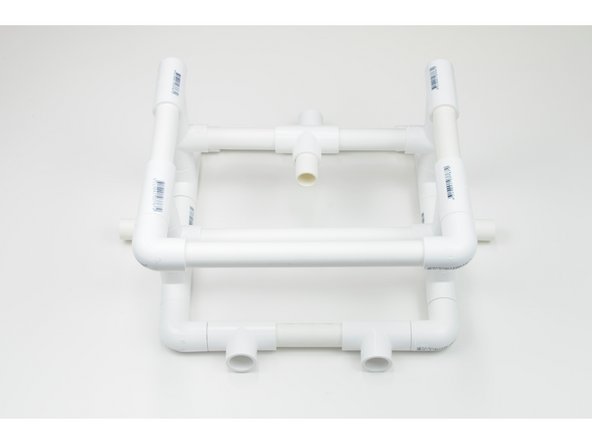
Take the time to study the ROV assembly, and how the assorted lengths of PVC interconnect to form the frame.
-
Note that all pieces fit flush to one another. This is the goal for a 'perfect' ROV build, however as long as the frame is symmetrical, minor differences in length should not pose a major issue.
-
Depending on if you choose to route your wiring internally (recommended) will determine if you use the cross (part #5) (external routing) or tee (internal routing) joint pictured at the rear of the ROV.
-
-
-
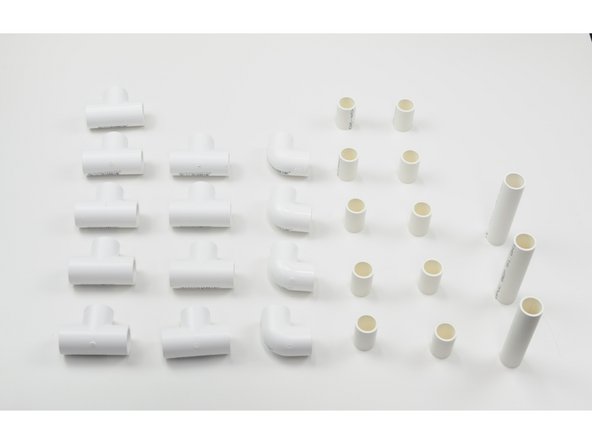
If you are using the ROV kit available through store.rea.org.au you should already have all the necessary PVC sections and connectors, however it is always good practice to double check against a parts list to ensure a smooth build process.
-
To ensure you have all the required components to complete your build, refer to 'Unboxing Your ROV'.
-
-
-
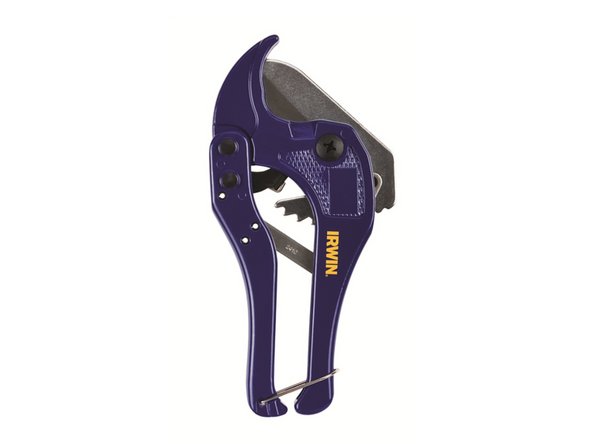
If necessary, use the PVC cutters to cut your lengths of pipe to size; ensuring all parts are symmetrical to the corresponding parts.
-
Not doing this can lead to a PVC frame that does not fit together well and breaks apart too easily.
-
For more detailed instructions on how to cut PVC, refer to the 'PVC Cutting Basics'.
-
-
-
Begin with the assembly of the base of the ROV
-
Collect the following:
-
9x Tee Joints
-
4x Elbow Joints
-
10x 32mm Pipe Section
-
3x 90mm Pipe Section
-
-
-
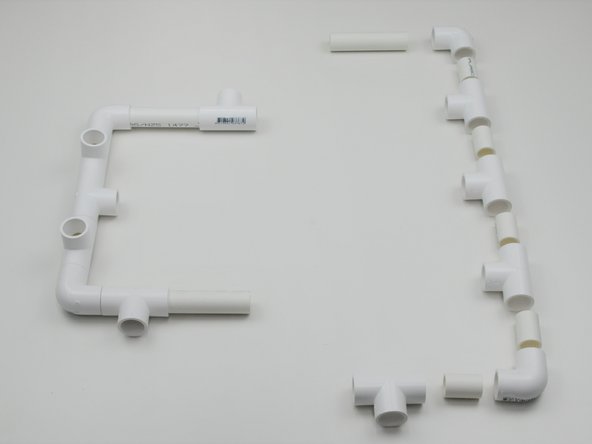
Assemble the left half of the base in accordance with the accompanying images.
-
At this stage the frame only needs to be 'hand tight' as certain components will need to be removed and or manipulated during the build.
-
-
-
Assemble the right side of the base, using the assembled left side as a reference model.
-
-
-
Connect the two frame segments together.
-
This is the base of your ROV.
-
-
-
Next we will assemble the central frame segments directly into the base.
-
Collect the following:
-
5x Tee Joint
-
4x 32mm Pipe Section
-
2x 90mm Pipe Section
-
1x 215mm Pipe Section
-
-
-
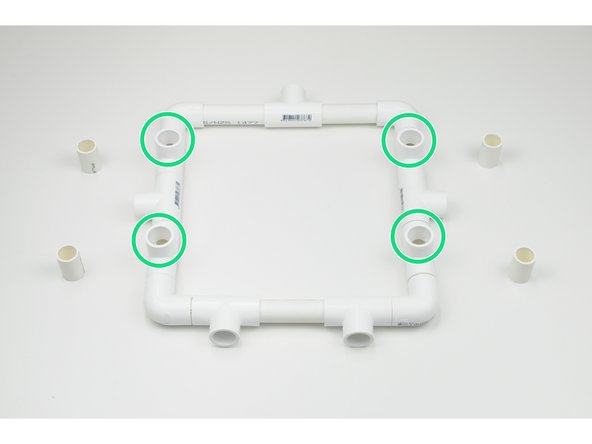
Place the 32mm Pipe Sections into the upright Tee Connectors of the base.
-
-
-
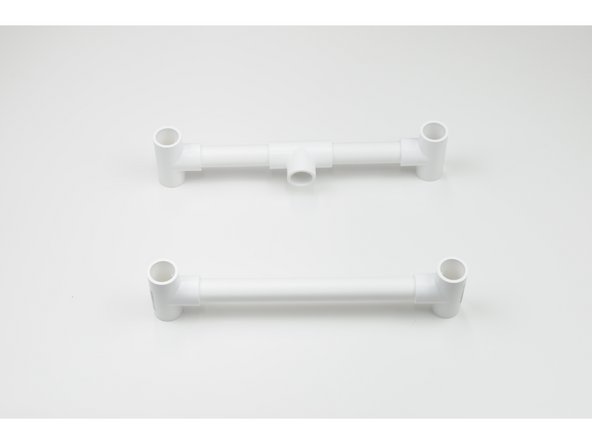
Next, use the remaining components to construct the pictured frame segments.
-
Ensure the Tee Joints are connected perpendicular to one another.
-
While you will most likely have to twist them later to insert the motor mounts, it is good practice to have them correctly positioned for the interim.
-
-
-
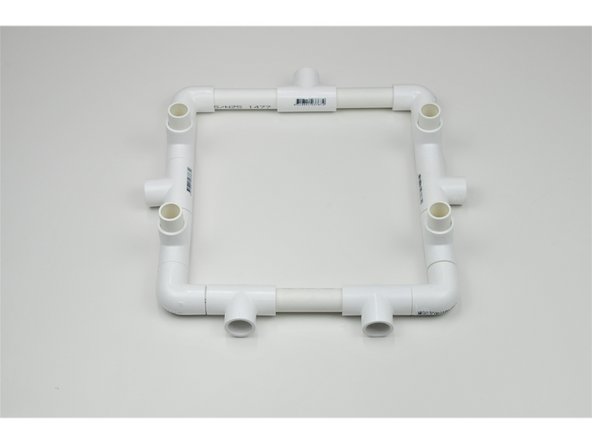
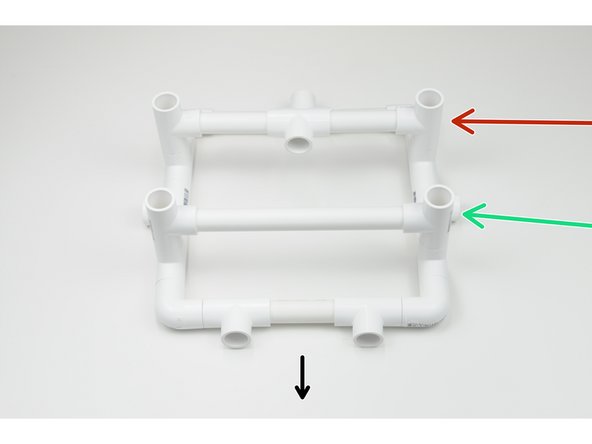
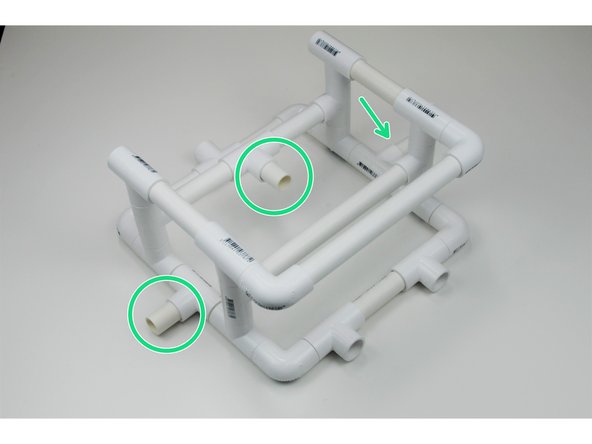
Connect the frame segments to the base.
-
The segment with 3 Tee Joints connects into the rear of the ROV, as pictured.
-
The segment with only 2 connects into the front of the ROV, as pictured.
-
-
-
Next, we will assemble the top rail.
-
Collect the following:
-
4x Tee Joint
-
2x Elbow Joint
-
6x 32mm Pipe Section
-
2x 90mm Pipe Section
-
1x 215mm Pipe Section
-
-
-
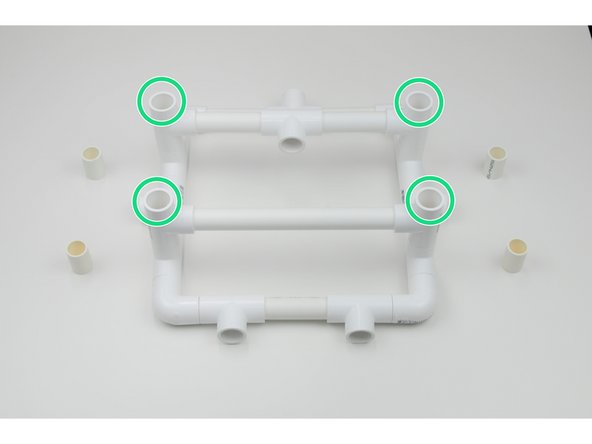
Insert 4 of the 32mm Connectors into the upright Tee Joints of the frame.
-
-
-
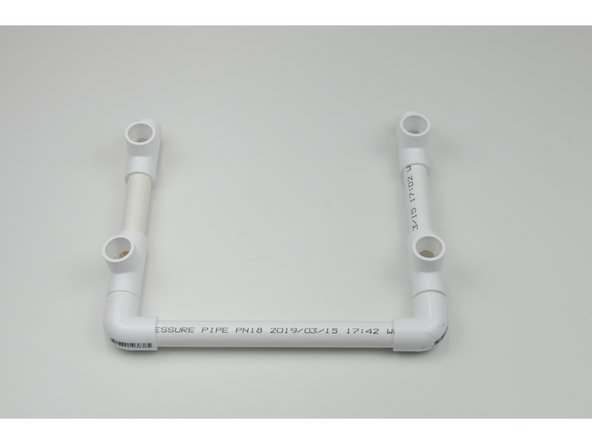
Assemble and connect the top rail in accordance with the provided pictures.
-
Ensure the segment is symmetrical, otherwise it may be difficult to connect to the frame.
-
-
-
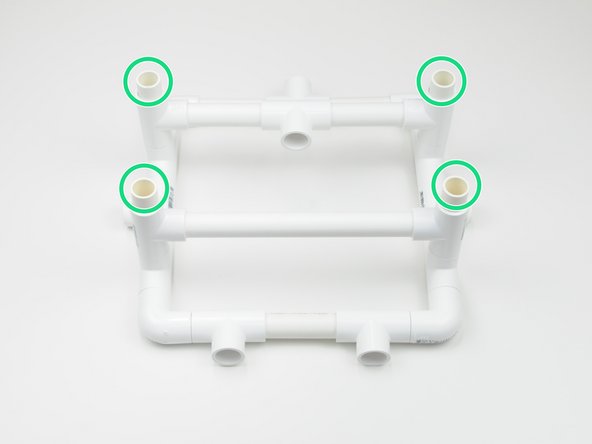
Attach the top rail to the 4 exposed 32mm Connectors at the top of the ROV.
-
Ensure the front bar is positioned towards the front of the ROV
-
Note the open Tee Joints at the rear of the ROV. This is to provide easy water passthrough when submerged.
-
-
-
Next we will connect the front arms and motor mounts.
-
To do this, first collect:
-
3x Motor Mounts
-
2x 45* Elbow
-
3x 40mm Pipe Section
-
2x 90mm Pipe Section
-
-
-
Your kit should have come with the motors inserted into the motor mounts, however if they did not, or have come loose in transit, follow these steps.
-
If your motors are mounted correctly you may skip forward to step 20.
-
-
-
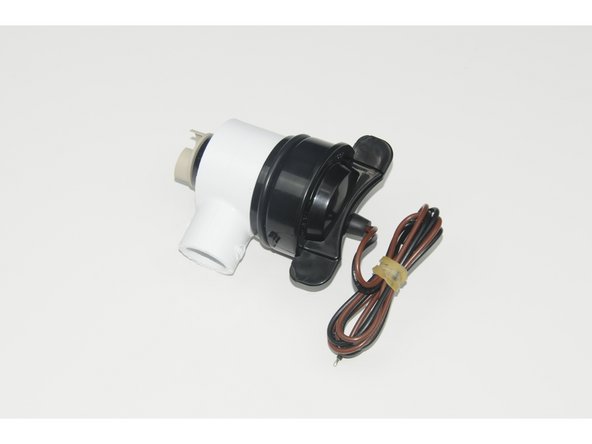
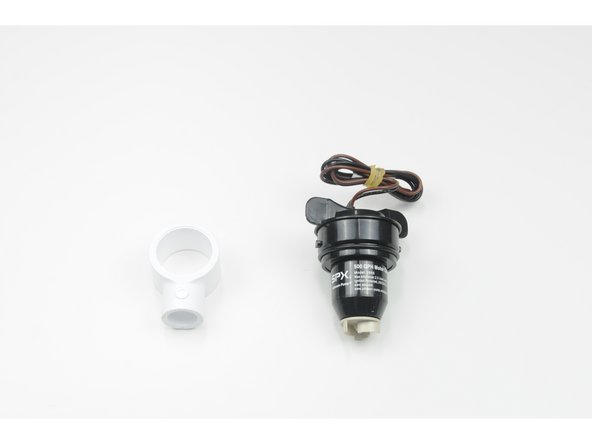
Collect the motor and mount.
-
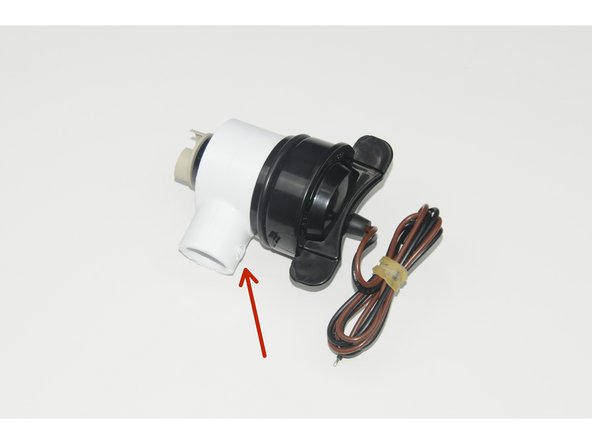
Using hand pressure, insert the motors into the motor mounts, aligning the motor as pictured.
-
Avoid using any adhesives if possible. A friction fit should suffice.
-
Ensure the logo on the mount faces the larger end of the motor, as identified in the image.
-
-
-
Repeat for the remaining two motors.
-
-
-
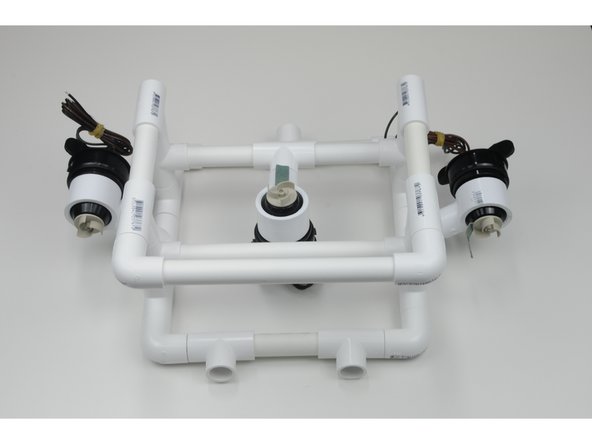
Now that your motors are mounted, it is time to connect them to the ROV frame.
-
Take the three 40mm Pipe Section and insert them into the three open Tee Joints on in the base of the ROV frame.
-
-
-
Now you can connect the motor mounts onto the frame of the ROV as pictured.
-
The three motors are identical and are not required to be mounted in any particular order or pattern.
-
-
-
Assemble the two ROV arms as pictured.
-
-
-
Mount the assembled arms into the two open Tee Joints at the front of the ROV.
-
You may wish to change the supplied 45* Elbows out for 90* Elbows, depending on the task at hand.
-
-
-
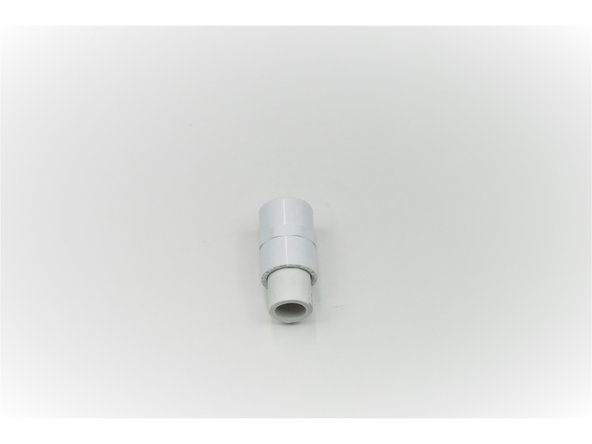
To assemble the Tether Input, collect:
-
1x Threaded Adapter
-
1x 40mm Pipe Section
-
-
-
Connect the two components as pictured.
-
-
-
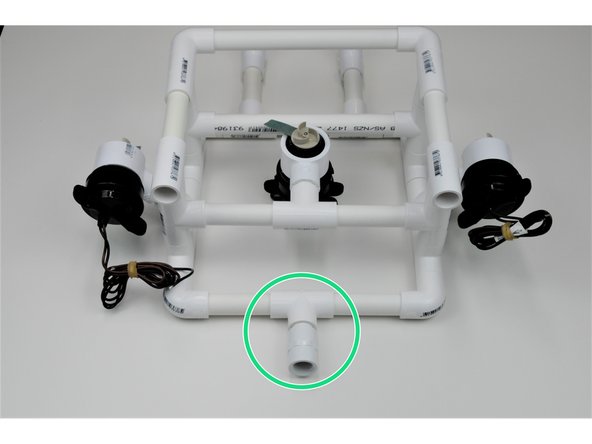
Mount the Tether Input into the rear Tee Joint of the ROV.
-