Introduction
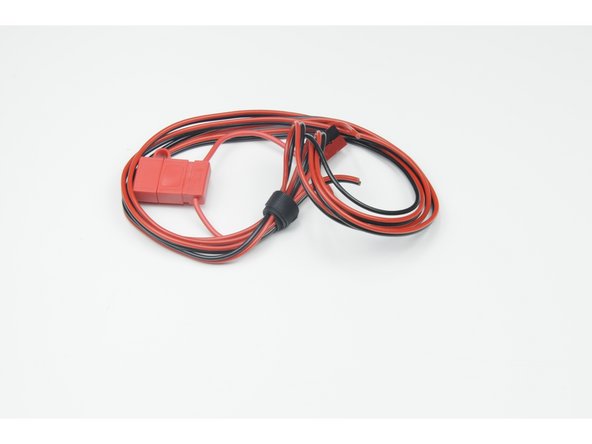
The power system delivers electricity to the control box, which is then delivered down the tether to the ROV. The 10 or 15 amp blade fuse protects the electronic systems.
The power connectors connect to a power source and help to prevent polarity mistakes (connecting red/positive wires to black/ground wires). The Power Kit comes mostly assembled. The Power wires are already connected to the ground wire and the fuse wire.
The fuse wire must be connected (soldered to) to the red power wire. Although this connection should never be underwater, it is a good idea to waterproof any solder joint you make on an ROV. The other end of the wire will be connected into the control box.
To create your power system wire follow the provided instructions:
-
-
Watch this informative video, taking note of the safety, cleaning and soldering techniques featured that you can apply to your ROV or Submarine build.
-
-
-
Watch the informative video, taking note of the techniques you can apply to your ROV or Submarine build.
-
-
-
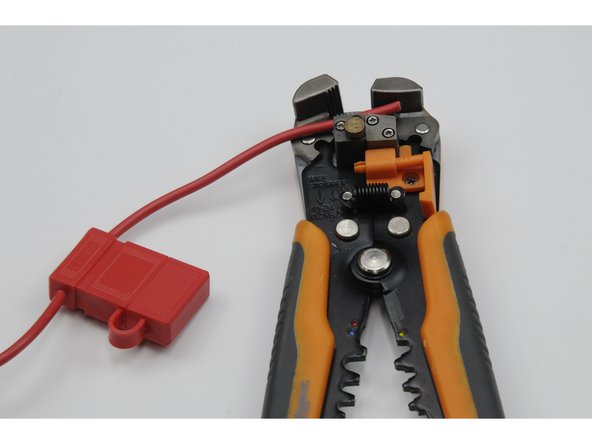
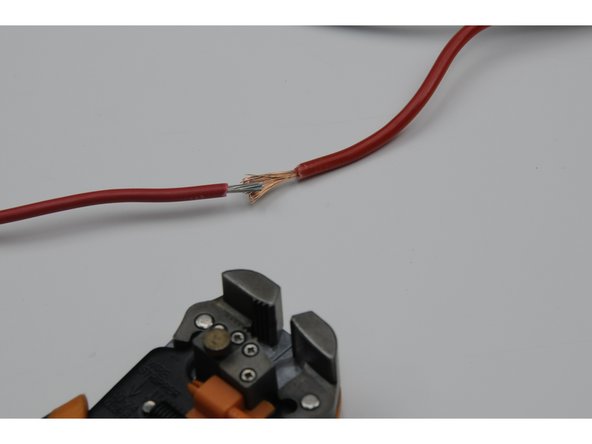
Using your wire strippers, strip 15mm from the ends of the red fuse wire and the red power wire.
-
-
-
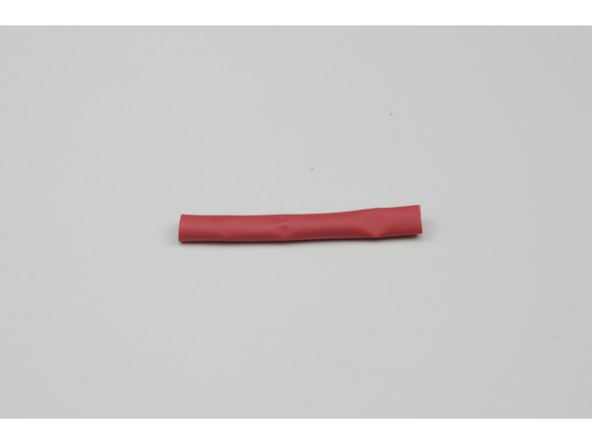
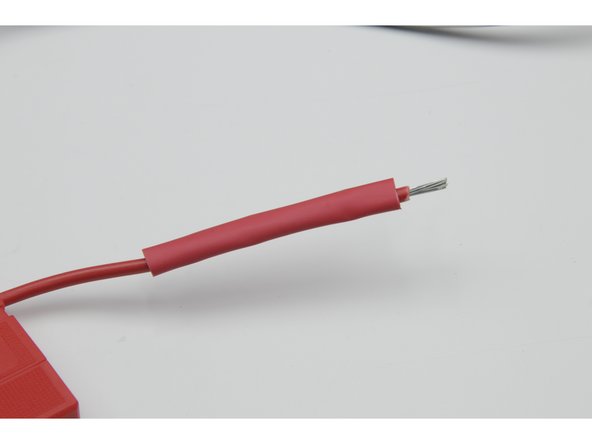
Cut and slide a 60mm length of heat shrink over the red fuse wire.
-
-
-
Twist the exposed wires together, forming a temporary joint that is as straight and smooth as practical. (No wires sticking off at an angle)
-
-
-
Turn the soldering iron on, and set to a temperature around 360*c or higher.
-
Exercise caution when using the soldering iron as it is extremely hot.
-
It is also essential to turn the soldering iron OFF when you are finished, or are leaving the table where it is located.
-
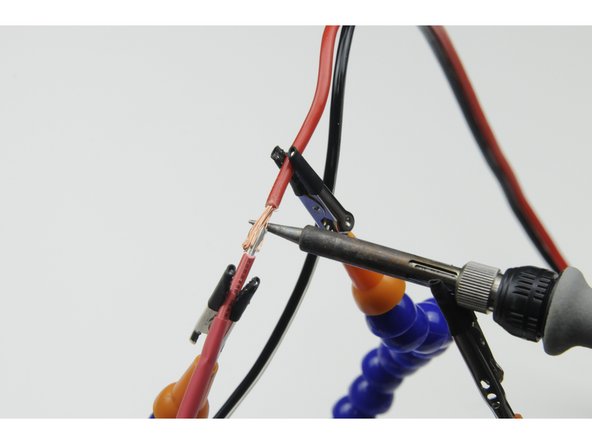
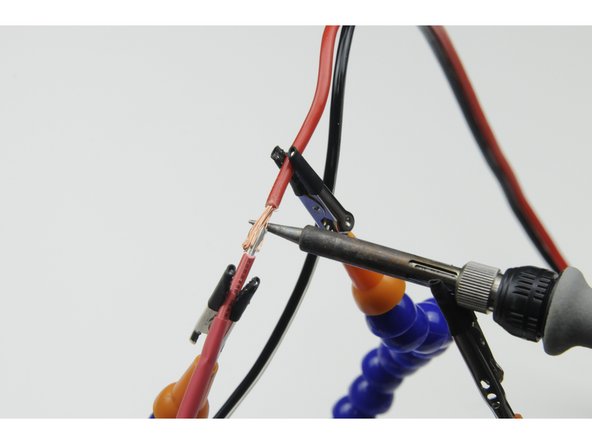
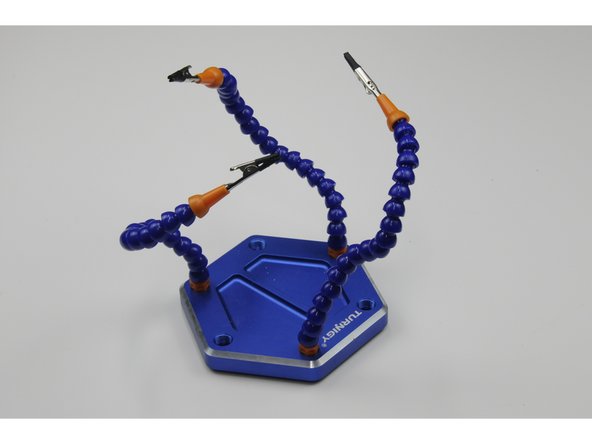
A soldering station is very useful in this instance as it provides a steady grip on the wires and can help prevent minor burns that can occur when holding wires close to a soldering iron.
-
Once the iron has come up to temperature, hold the flat edge of the tip against the joined wires, allowing the heat to pass into the wires.
-
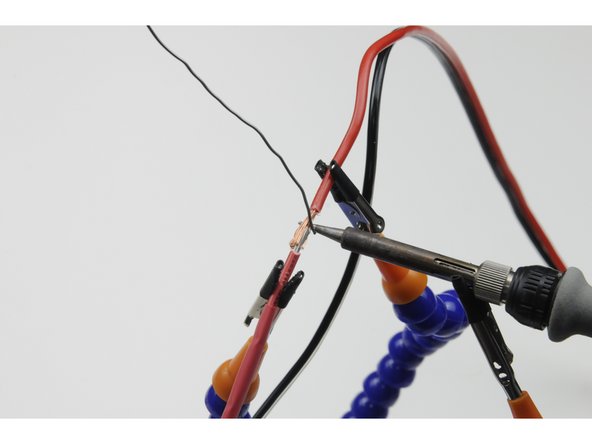
Once they have reached a sufficient temperature, slowly introduce the solder, allowing it to run from the tip of the iron into the wires.
-
When hot enough, the solder should run freely into the twisted wires.
-
Use sufficient solder to properly join the two wires, creating a strong connection, however not too much to the point that solder begins to drip from the wires or run further than the stripped secion.
-
-
-
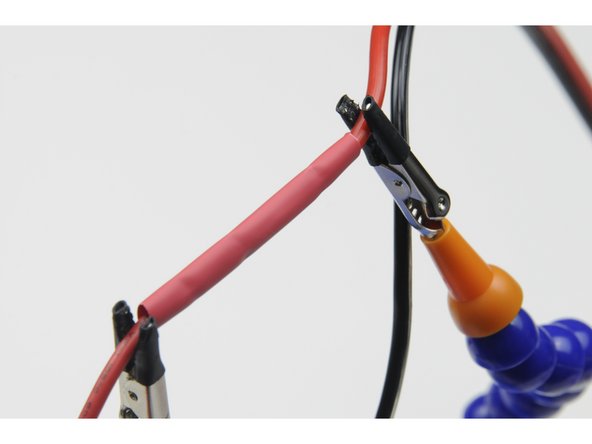
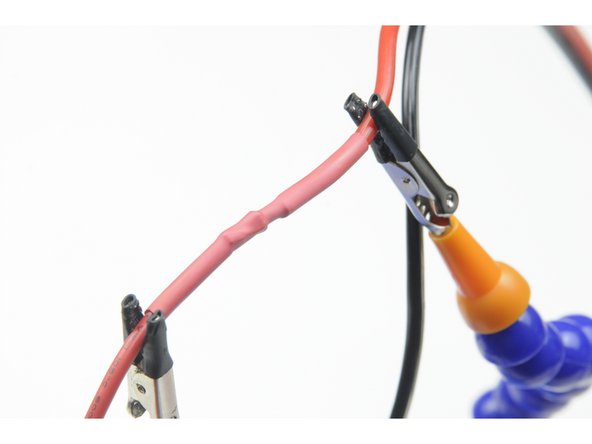
Once cooled, slide the length of heat shrink back over the joined wires.
-
When using a heat gun exercise caution as both the heat gun and propelled air are extremely hot.
-
Use a heat gun to secure the heat shrink in place, creating a waterproofed seal.
-
A careful approach to using a lighter can be substituted in place of a heat gun, however where possible a heat gun is always the better option.
-

